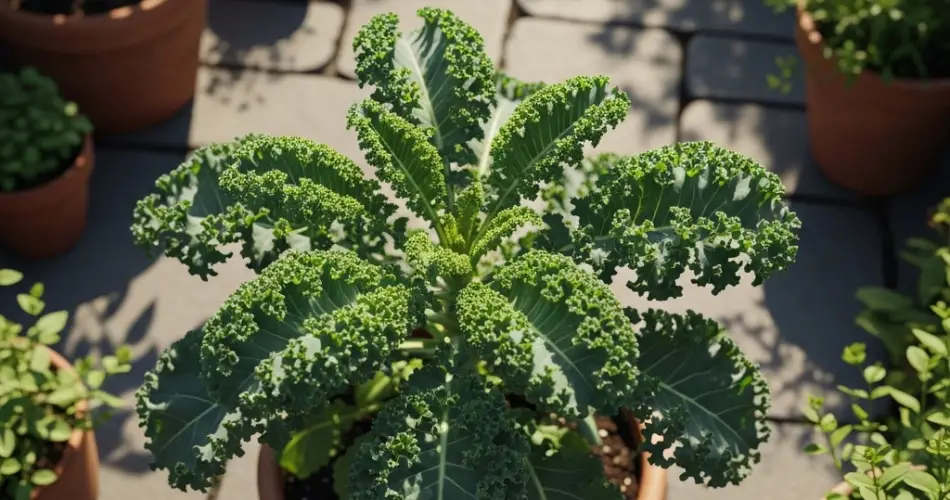
Kale, a nutrient-packed leafy green known for its versatility and health benefits, is one of the easiest vegetables to grow in containers. Whether you live in an apartment with a sunny balcony, a small patio, or even just a bright kitchen window, you can cultivate fresh kale without needing a backyard. Container gardening offers flexibility, control, and the joy of harvesting your own superfood just steps from your kitchen.
Here’s a complete guide to growing kale in containers, from planting to harvest, with tips to ensure a bountiful and continuous supply of this leafy green.
Why Kale is Perfect for Containers
Kale (Brassica oleracea) is a hardy, cool-season crop that adapts well to limited space. It has shallow roots, which makes it suitable for small containers, and its upright growth habit allows you to grow multiple plants in a small area. Plus, it can tolerate a range of weather conditions and even improves in flavor after a light frost.
Container-grown kale gives you the advantage of controlling the soil quality, sunlight exposure, and pest risks, making it an ideal crop for beginners and seasoned gardeners alike.
Choosing the Right Container
Kale doesn’t need a deep pot but does appreciate room to spread its roots. A container that’s at least 12 inches in diameter and 10–12 inches deep works well for one plant. For multiple plants, use a larger pot or a rectangular container with 12 inches of spacing between seedlings.
Ensure the container has good drainage. Use pots with multiple drainage holes at the bottom to prevent waterlogging and root rot. You can also elevate the container slightly using bricks or pot feet to improve drainage and airflow.
Best Soil for Kale
Healthy kale starts with rich, well-draining soil. Prepare a soil mix that is:
-
Loamy and loose
-
High in organic matter
-
pH between 6.0 and 7.5
A good DIY mix for container kale includes:
-
1 part garden soil or compost
-
1 part coco peat or peat moss
-
1 part perlite or coarse sand
This combination retains moisture without becoming soggy and provides the nutrients kale needs for leafy growth.
Before planting, you can mix in a balanced organic fertilizer or composted manure to give the young plants a boost.
Selecting Kale Varieties for Containers
Several kale varieties are well-suited to container gardening. Some top choices include:
-
Dwarf Blue Curled Kale: Compact and ideal for small containers
-
Lacinato Kale (Dino Kale): Tolerates heat better and grows upright
-
Red Russian Kale: Mild flavor and tender leaves, good for baby greens
-
Siberian Kale: Cold-hardy with broad, ruffled leaves
You can grow kale from seeds or buy seedlings from a nursery for a head start.
How to Plant Kale in Containers
-
Sowing Seeds: Sow kale seeds about ½ inch deep, directly into the container or seed trays. Space them about 3 inches apart if you’re thinning later.
-
Transplanting Seedlings: If using seedlings, plant them 12 inches apart to give each plant enough room to grow.
-
Watering: After planting, water gently and keep the soil consistently moist, especially during germination.
Kale seeds germinate in 5–10 days. Once the seedlings have 2–3 sets of true leaves, thin them or transplant extras to avoid overcrowding.
Sunlight and Temperature Needs
Kale prefers cool temperatures between 55°F and 75°F (13°C to 24°C) and can withstand light frosts. Place containers in a location that receives at least 6 hours of sunlight daily.
In warm climates or during summer, provide partial shade to protect kale from bolting or turning bitter. During colder months, place containers in a sunny spot, such as a south-facing window, or use frost protection covers.
Watering and Fertilizing
Kale needs consistent moisture but doesn’t like soggy roots. Water when the top inch of soil feels dry, aiming for even soil moisture.
Fertilize every 3–4 weeks with an organic liquid fertilizer or compost tea. Kale benefits from nitrogen-rich feeds to promote lush, leafy growth.
Mulch the top of the container with straw or shredded leaves to retain moisture and regulate temperature.
Common Pests and Problems
Container kale is less prone to pests than garden kale but still susceptible to:
-
Aphids
-
Cabbage worms
-
Whiteflies
Inspect plants regularly and remove pests by hand or spray with neem oil or insecticidal soap. Use floating row covers if pests persist.
Avoid overwatering, which can lead to root rot and fungal diseases. Ensure good air circulation around the container.
Harvesting Kale
Kale leaves can be harvested as soon as they reach about 5 inches in length. Use the “cut and come again” method:
-
Harvest the outer, lower leaves first
-
Leave the central bud intact for continued growth
This technique allows the plant to keep producing leaves for several months. Regular harvesting encourages new growth and prevents the leaves from becoming too tough or bitter.
Extend the Harvest
To enjoy kale year-round:
-
Succession Planting: Start a new pot every few weeks to maintain a steady supply.
-
Indoor Cultivation: Grow kale indoors during winter with sufficient light from grow lamps or sunny windows.
-
Overwintering: In mild climates, kale can survive outdoors with some protection from harsh frosts.
Conclusion
Growing kale in containers is a simple and rewarding way to enjoy fresh, homegrown superfoods no matter your space limitations. With the right care, you can harvest nutrient-rich leaves throughout the year. Whether on a balcony, rooftop, or sunny windowsill, kale is a reliable and healthy addition to your container garden.


