Sage is a versatile herb prized for its aromatic leaves and culinary uses. Beyond flavoring dishes, sage also offers medicinal and ornamental value. While many gardeners start sage from seeds or purchased plants, one of the simplest ways to propagate it is through water rooting. Using a bottle of water, you can transform a small cutting into a thriving plant, providing a continuous supply of fresh sage for your kitchen or garden.
Selecting the Right Sage Cuttings
The first step in water rooting sage is choosing healthy cuttings. Look for stems that are green, firm, and free of disease or pests. Ideally, select young shoots that are about 4 to 6 inches long, as these have the highest potential for developing roots. Avoid woody or overly mature stems, as they root less readily.
Trim the cutting just below a leaf node—the point where a leaf joins the stem—because this is where roots are most likely to form. Remove any lower leaves that might be submerged in water, leaving only the top few leaves intact. This helps prevent rotting and focuses the plant’s energy on root development.
Preparing the Bottle for Rooting
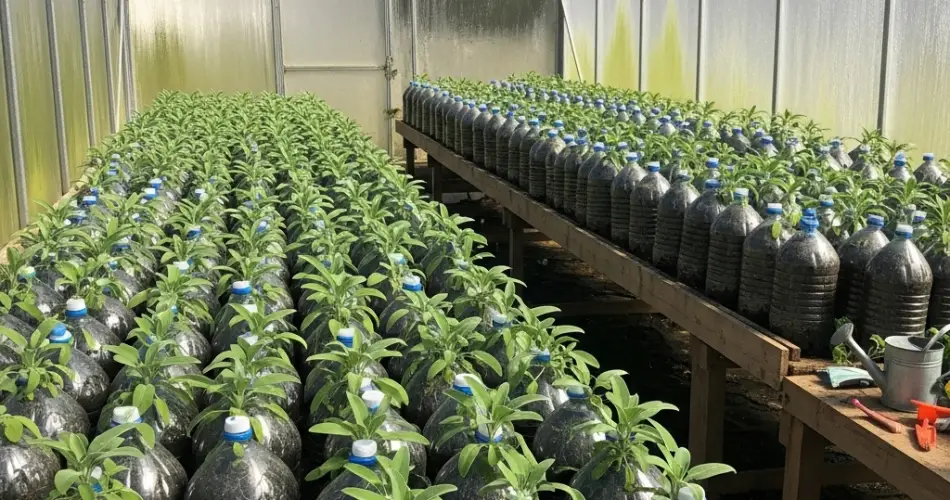
Choose a clear bottle or jar that allows you to monitor root growth. A narrow neck is fine, as it supports the stem upright, but ensure there is enough space for the roots to expand. Fill the bottle with clean, room-temperature water, leaving a few inches of headspace at the top. Avoid using water that has been treated with chemicals like chlorine, as these can slow or prevent root formation.
Before placing the cuttings in the bottle, it can be helpful to let tap water sit for a few hours or overnight to allow chlorine to dissipate. Alternatively, filtered or distilled water works well for sensitive cuttings.
Positioning for Optimal Growth
Place the bottle in a location that receives bright, indirect sunlight. Direct sunlight can overheat the water and damage the cuttings, while insufficient light will slow growth. A sunny windowsill that avoids harsh midday rays is ideal.
To encourage healthy rooting, change the water every few days. Fresh water provides oxygen to the developing roots and prevents bacterial growth. Each time you change the water, gently rinse the stems to remove any residue or slimy coating.
Monitoring Root Development
Within one to two weeks, you should notice small roots beginning to emerge from the cut end of the stem. As the roots grow longer and stronger, the cutting becomes more stable and capable of absorbing nutrients. Root growth may take longer during cooler months or if light levels are lower, so patience is essential.
At this stage, the leaves may also show signs of new growth. This is an indication that the cutting is establishing itself and preparing for longer-term development, either in water or soil.
Optional: Adding Nutrients
While sage can root successfully in plain water, adding a very dilute liquid fertilizer can boost growth. Use a weak, balanced fertilizer solution and apply sparingly to avoid overwhelming the cutting. Too much fertilizer can damage delicate roots, so moderation is key.
Transplanting to Soil
Once the roots are a few inches long and appear healthy, you can transfer the sage to soil. Choose a pot with good drainage and fill it with a light, well-draining potting mix. Plant the sage so that the roots are fully covered, keeping the leaves above the soil line. Water gently and place the pot in bright, indirect light for the first few days to reduce transplant stress.
Sage prefers soil that is not overly wet. Water the plant when the top inch of soil feels dry to the touch. Overwatering can lead to root rot, while occasional drying encourages strong, healthy root systems.
Ongoing Care and Harvesting
Once established, sage is relatively low-maintenance. Regularly trim the leaves to encourage bushier growth and prevent the plant from becoming leggy. Harvest leaves as needed, but avoid removing more than one-third of the plant at a time. Pruning also helps maintain airflow around the stems, reducing the risk of disease.
Sage can thrive indoors or outdoors, making it a versatile addition to any garden. When grown in water initially, it provides a continuous cycle of new plants from cuttings, saving money and reducing waste.
Troubleshooting Common Issues
Occasionally, cuttings may fail to root due to insufficient light, water stagnation, or damaged stems. Ensure the bottle is placed in a bright, warm location and that water is changed regularly. Remove any cuttings that develop mold or rot to protect healthy ones.
Conclusion
Water rooting sage in bottles is a simple, sustainable, and rewarding method for gardeners of all skill levels. By selecting healthy cuttings, providing clean water, and monitoring growth, you can turn a small stem into a thriving herb plant. Whether kept in water or transplanted to soil, sage propagated this way ensures a continuous supply of fresh, aromatic leaves for cooking, remedies, or decoration. With minimal tools and a little patience, water-rooted sage can become a staple of your home garden, offering both beauty and flavor year-round.


