Lavender (Lavandula spp.) is a timeless favorite in gardens for its soothing fragrance, beautiful purple blooms, and versatility in culinary, medicinal, and decorative uses. While traditionally grown in open gardens or decorative pots, lavender can thrive just as well in upcycled plastic bottles—making this herb accessible to anyone, even those with limited space or no garden at all.
Repurposing plastic bottles into lavender planters is a practical, eco-conscious gardening method that combines sustainability with charm. This guide shows you how to turn discarded bottles into productive, beautiful homes for your lavender plants. With the right setup and care, you’ll enjoy fresh lavender growing on your balcony, windowsill, or patio—no expensive planters required.
Why Grow Lavender in Plastic Bottles?
Plastic bottles are more than just waste—they’re an opportunity to grow herbs in compact spaces with style. Here’s why they work so well for lavender:
-
Eco-friendly: Reduces plastic waste by transforming it into functional planters.
-
Compact and space-saving: Great for balconies, small patios, and indoor areas.
-
Cost-effective: No need to invest in fancy pots or containers.
-
Lightweight and portable: Easy to move depending on light requirements.
-
Customizable: Can be cut, painted, and arranged to match your aesthetic.
Lavender thrives in containers, especially those with proper drainage and airflow—both of which can easily be managed in a well-prepared bottle planter.
Materials You’ll Need
To start your lavender-in-a-bottle project, gather the following:
-
1 clean plastic bottle (1.5 to 2-liter recommended)
-
Sharp scissors or craft knife
-
Potting soil (preferably with good drainage)
-
Perlite or coarse sand (optional)
-
Lavender seeds or a small seedling
-
Nail or skewer (to make drainage holes)
-
Mesh, coffee filter, or small fabric scrap (for lining)
-
String or wire (optional for hanging)
-
Marker (for cutting guides)
-
Decorative materials (optional: paint, twine, labels)
Step-by-Step Guide
Step 1: Prepare the Plastic Bottle
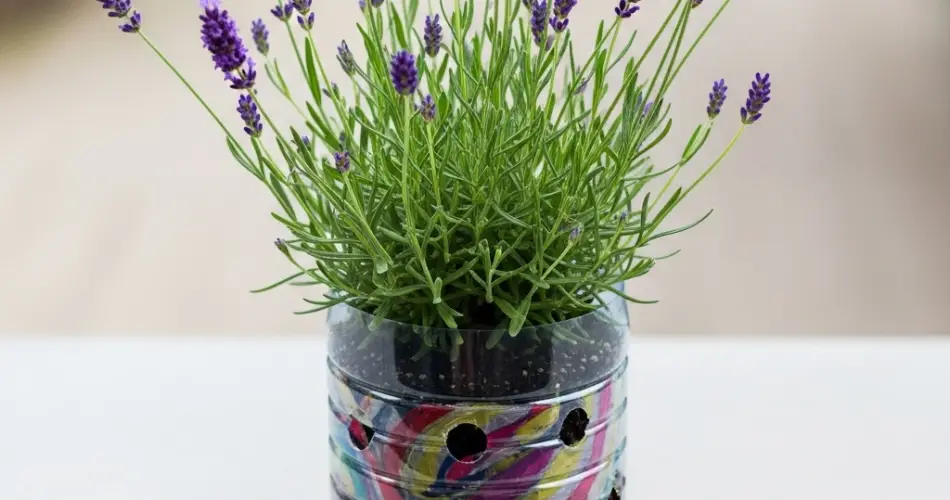
Rinse your bottle thoroughly and remove any labels. Use a marker to draw a line one-third of the way from the bottom. Cut along this line using scissors or a craft knife. You’ll be using the lower portion as the main planter.
You can also cut a window on the side of the bottle for a horizontal layout, or leave the top part off for a vertical-style planter. Choose your design based on space and preference.
Step 2: Make Drainage Holes
Using a nail, pin, or heated skewer, poke several holes in the bottom of the bottle. This step is essential, as lavender is very sensitive to soggy soil and poor drainage.
Optionally, place a small piece of mesh or a coffee filter over the holes to prevent soil from washing out while still allowing water to drain freely.
Step 3: Prepare the Soil Mix
Lavender prefers a light, well-draining soil. You can use a cactus or succulent mix, or make your own blend by combining:
-
2 parts potting soil
-
1 part coarse sand or perlite
-
Optional: crushed eggshells or lime to raise pH slightly
Lavender grows best in slightly alkaline soil and dislikes overly rich or moisture-retentive blends.
Step 4: Planting the Lavender
From seed:
Sprinkle lavender seeds over the surface of the soil and press them in gently. Do not cover heavily, as lavender seeds need light to germinate. Mist the surface with water.
From seedling:
Dig a small hole in the center of the bottle planter. Carefully place the seedling inside and press the soil gently around the roots. Water lightly.
Step 5: Light and Placement
Lavender loves full sun. Place your bottle planter where it receives at least 6–8 hours of direct sunlight each day. A bright balcony, south-facing window, or sunny porch is ideal.
If growing indoors, consider placing the bottle near a window or under a grow light to ensure the plant gets enough light.
Caring for Your Lavender Plant
-
Watering: Water sparingly. Allow the top inch of soil to dry out before watering again. Overwatering is the most common cause of failure when growing lavender.
-
Pruning: Trim back new growth lightly to encourage a bushier shape. Remove any dead or woody stems regularly.
-
Fertilizing: Feed once every 4–6 weeks during the growing season with a diluted liquid fertilizer. Avoid high-nitrogen formulas, which encourage leaf growth over flowers.
-
Air circulation: Make sure your planter is in an area with good airflow. This helps prevent mold and mildew, especially in humid climates.
Decorating Your Upcycled Planter
Plastic bottles don’t have to look like trash. Here are some fun ideas to personalize your lavender planter:
-
Paint the outside with soft pastels or earth tones.
-
Wrap the bottle in twine, burlap, or fabric for a rustic look.
-
Add a plant label with the word “Lavender” in cursive or stencil.
-
Hang several bottles vertically using string or hooks to create a living herb wall.
Harvesting and Uses
Once your lavender blooms, you can begin harvesting. Cut the stems just before the buds fully open for the best fragrance. Hang the harvested stems upside down to dry for future use in:
-
Herbal teas and sachets
-
Homemade bath salts or soaps
-
Potpourri or scented drawer inserts
-
Baking or infused syrups (culinary varieties only)
Final Thoughts
Upcycled plastic bottles offer a charming and sustainable way to grow lavender at home. With just a bit of preparation, you can turn an ordinary bottle into a productive mini herb planter that adds beauty, aroma, and eco-conscious value to your space.
Whether you’re a beginner gardener or simply want to reduce your environmental footprint, growing lavender in a bottle proves that elegance and sustainability can go hand in hand. All it takes is a sunny spot, a little care, and one well-planted bottle to enjoy lavender’s soothing magic year-round.


