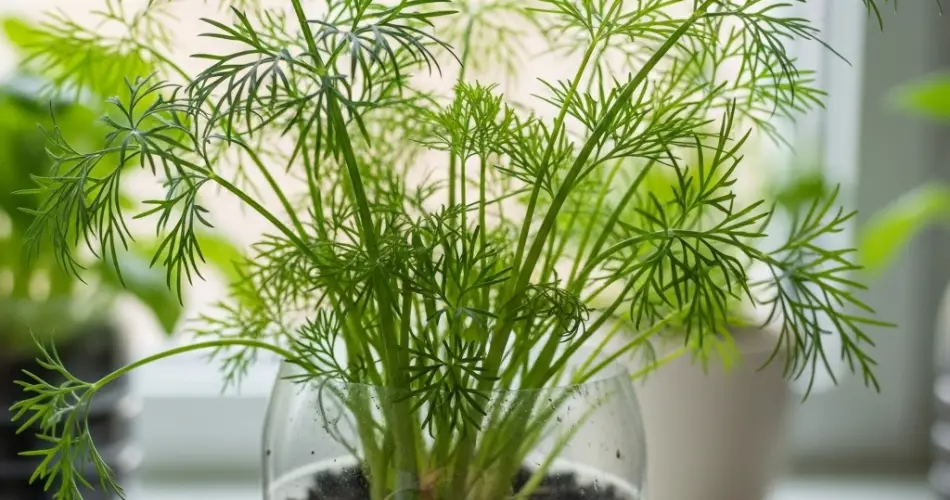
Dill is a fragrant herb known for its delicate, feathery leaves and distinctive flavor that complements a wide range of dishes—from pickles and salads to seafood and soups. Traditionally grown in outdoor herb gardens, dill is surprisingly easy to cultivate indoors, even in a recycled plastic bottle. With a little light, moisture, and care, you can grow your own fresh dill at home and enjoy a continuous supply for seasoning and garnishing.
Using plastic bottles as planters offers a budget-friendly, eco-conscious solution for gardeners with limited space. Whether you live in an apartment or simply want to keep your herbs close at hand in the kitchen, growing dill in bottles is a smart and sustainable choice.
Why Grow Dill in Plastic Bottles?
Plastic bottle gardening is a practical way to reduce waste while creating your own mini herb garden. Dill grows well in containers because it has shallow roots and doesn’t require much space or equipment.
Benefits of growing dill in bottles:
-
Makes use of recycled materials
-
Fits easily on windowsills, countertops, or balconies
-
Ideal for small-space gardening
-
Offers quick access for snipping and seasoning
-
Encourages sustainable, low-cost home gardening
With just a few supplies and a sunny spot, you can cultivate this flavorful herb indoors year-round.
Materials You’ll Need
To start your dill bottle garden, gather the following items:
-
1 clean plastic bottle (1.5–2 liters works best)
-
Scissors or a craft knife
-
Potting mix suitable for herbs (well-draining)
-
Dill seeds
-
Small stones or mesh (optional for drainage)
-
Spray bottle or watering can
-
A shallow tray or dish (to catch excess water)
Preparing the Bottle Planter
The vertical method is perfect for growing dill. The shape of a bottle naturally supports upright growth and makes the container easy to move or rotate.
Steps:
-
Clean the bottle thoroughly and remove any labels.
-
Cut off the top third of the bottle with scissors or a craft knife. The bottom section will serve as your planter.
-
Poke several small holes in the bottom for drainage using a heated nail or pointed tool.
-
Add a drainage layer of small stones or mesh if desired, to prevent waterlogging.
-
Fill with potting mix until about 1 inch from the top. Use light, well-aerated soil—avoid compact or heavy mixes.
Planting Dill
Dill is best started from seed, as it doesn’t transplant well due to its long taproot. Luckily, it grows quickly and germinates easily in the right conditions.
-
Sow the seeds about ¼ inch deep in the soil and space them 1 to 2 inches apart.
-
Cover lightly with soil and mist gently to moisten.
-
Keep the bottle in a warm, sunny location for germination (7–14 days).
Once seedlings emerge, thin them out by snipping the weaker ones, leaving 1 or 2 strong plants in the bottle.
Light Requirements
Dill requires full sunlight to grow lush and flavorful. It thrives with at least 6 hours of direct sunlight daily.
Ideal placement:
-
A south-facing window with lots of natural light
-
A balcony or windowsill garden
-
Under a grow light if natural light is limited
Rotate the bottle every few days to promote even growth and prevent the plant from leaning toward the light source.
Watering and Care
Dill prefers consistently moist soil, especially during the early stages of growth.
Watering tips:
-
Keep the soil slightly moist, but not soggy.
-
Use a spray bottle for gentle watering during germination.
-
Water deeply once the plants are established, allowing excess to drain out.
-
Avoid letting the roots sit in standing water.
Fertilizing
Dill doesn’t require heavy feeding but can benefit from a light nutrient boost.
-
Apply a diluted, all-purpose liquid fertilizer every 4–6 weeks during active growth.
-
Avoid over-fertilizing, as it can lead to overly leafy growth with a weaker flavor.
If your potting mix contains compost or organic matter, additional fertilization may not be necessary.
Harvesting Dill
Once your dill reaches about 6–8 inches in height, you can begin harvesting.
Harvesting tips:
-
Use scissors to snip off outer leaves first, starting from the top.
-
Leave the central stem and inner leaves intact to allow continued growth.
-
Regular trimming encourages a bushier plant and delays bolting.
-
If the plant starts to flower, the leaves may become bitter—harvest regularly to prevent flowering.
Dill leaves are best used fresh but can also be dried or frozen for later use.
Common Problems and Solutions
-
Leggy growth: Not enough sunlight. Move the plant to a brighter location.
-
Yellowing leaves: Could indicate overwatering or poor drainage. Allow the soil to dry slightly between waterings.
-
Early flowering (bolting): Happens in hot conditions or if the plant becomes stressed. Harvest leaves regularly to delay flowering.
Conclusion
Growing dill in recycled plastic bottles is a simple, rewarding way to enjoy fresh herbs at home without needing a large garden. With a bit of sunlight, regular watering, and care, your bottle-grown dill will flourish—ready for snipping whenever your dish needs a burst of fresh flavor. This DIY herb garden is a perfect project for anyone seeking to embrace sustainability, save space, and keep their cooking flavorful year-round.


