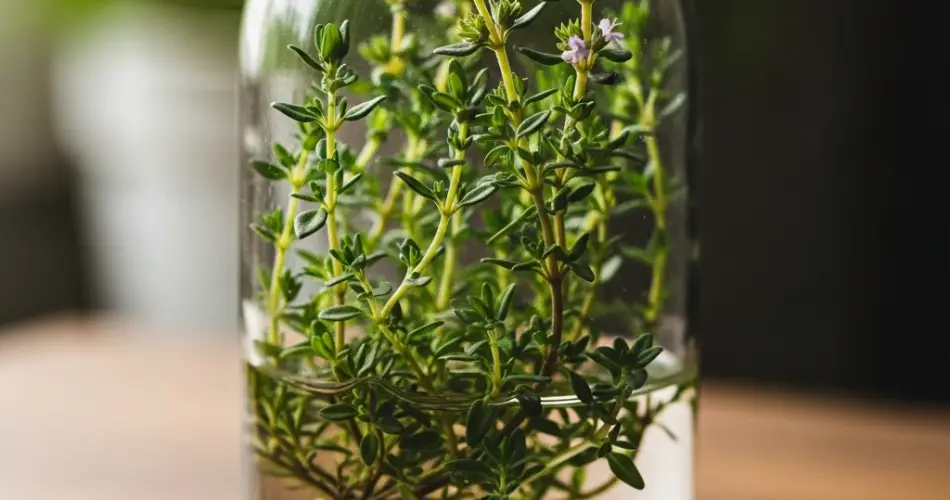
If you’re new to gardening or simply looking for a low-maintenance way to grow your own herbs, starting with thyme in a recycled plastic bottle is a great choice. This aromatic herb is not only easy to care for but also adds incredible flavor to a wide range of dishes. With just a few simple materials, you can transform an old plastic bottle into a thriving thyme planter, perfect for small spaces like windowsills, balconies, or even your kitchen counter.
This beginner-friendly project is budget-conscious, eco-friendly, and requires minimal space—making it ideal for urban gardeners, students, and anyone wanting to dip their toes into herb gardening.
Why Grow Thyme in a Plastic Bottle?
Plastic bottles are easy to find and surprisingly versatile as planters. Thyme is a Mediterranean herb that thrives in shallow containers with good drainage, making it an excellent candidate for bottle gardening. Growing thyme this way saves space, reduces waste, and keeps fresh herbs within easy reach for cooking or tea-making.
Materials You’ll Need:
-
1.5 or 2-liter plastic bottle (clean and clear)
-
Thyme seeds or small thyme seedlings
-
Potting mix (well-draining and light)
-
Pebbles or gravel (optional, for drainage)
-
Scissors or utility knife
-
Nail or screwdriver (to poke drainage holes)
-
Spray bottle or watering can
-
Sunny windowsill or balcony space
Step 1: Prepare the Plastic Bottle
Start by rinsing the plastic bottle thoroughly to remove any residue. Use scissors or a utility knife to cut out a rectangular window on the side of the bottle, leaving about two inches of plastic at the bottom and on each side to hold the soil securely.
Using a nail or screwdriver, carefully poke 3–4 small holes into the bottom of the bottle for drainage. This helps prevent water buildup that can lead to root rot. If you’ll be placing the bottle indoors, set it on a tray or shallow dish to catch any excess water.
Step 2: Add Drainage and Soil
Optionally, add a thin layer of pebbles or small stones to the bottom of the bottle. This provides extra drainage and protects the plant’s roots from sitting in moisture.
Fill the bottle with potting mix about two-thirds full. Thyme prefers soil that drains well, so choose a mix that contains perlite or sand. If you’re using standard potting soil, lighten it by mixing in a handful of sand or coco coir.
Step 3: Plant the Thyme
You can start thyme from seeds or use a small store-bought seedling.
If starting from seeds:
Sprinkle 4–6 thyme seeds on the soil surface and lightly press them down. Cover with a thin layer of soil—just enough to barely cover the seeds. Mist with a spray bottle to moisten.
If using a seedling:
Gently transplant the thyme into the soil, making a small hole to fit the root ball. Pat the soil around it and water lightly to settle it in.
Step 4: Provide Light and Warmth
Thyme loves sunlight. Place your bottle planter in a sunny location where it will receive at least 5–6 hours of light daily. A south-facing windowsill is ideal. If natural light is limited, consider using a grow light for supplemental lighting.
Keep the temperature between 18–24°C (64–75°F), which is optimal for thyme growth.
Step 5: Watering and Maintenance
Thyme is drought-tolerant and doesn’t like wet feet. Water only when the top inch of soil feels dry. Use a spray bottle or small watering can to avoid overwatering.
Avoid waterlogging the soil—excess moisture is one of the few things thyme dislikes. Make sure the drainage holes are working properly and that no water is collecting at the bottom.
Step 6: Harvesting Your Thyme
Once your thyme plant is about 4–6 inches tall and well-established, you can begin harvesting. Snip off a few sprigs with scissors, cutting just above a leaf node to encourage new growth.
You can harvest thyme continuously throughout the growing season. Regular trimming helps the plant stay bushy and productive.
Step 7: Feeding the Plant
Thyme doesn’t need much fertilizer, but you can give it a small boost every 4–6 weeks using a diluted organic liquid fertilizer or compost tea. Too much fertilizer can reduce the herb’s flavor, so use a light hand.
Creative Ideas for Your Thyme Bottle Garden
-
Label your bottle using chalkboard paint or waterproof stickers.
-
Hang multiple bottles from a wooden board to create a vertical herb wall.
-
Decorate the planter with twine, fabric, or paint to match your kitchen or balcony decor.
Final Thoughts
Growing thyme in a bottle is a simple and satisfying way to start your herb garden journey. It’s low-maintenance, space-saving, and sustainable—all while giving you access to one of the most versatile herbs in the kitchen. With a bit of light, water, and care, your upcycled thyme planter will flourish, providing fresh sprigs whenever you need a burst of flavor.


