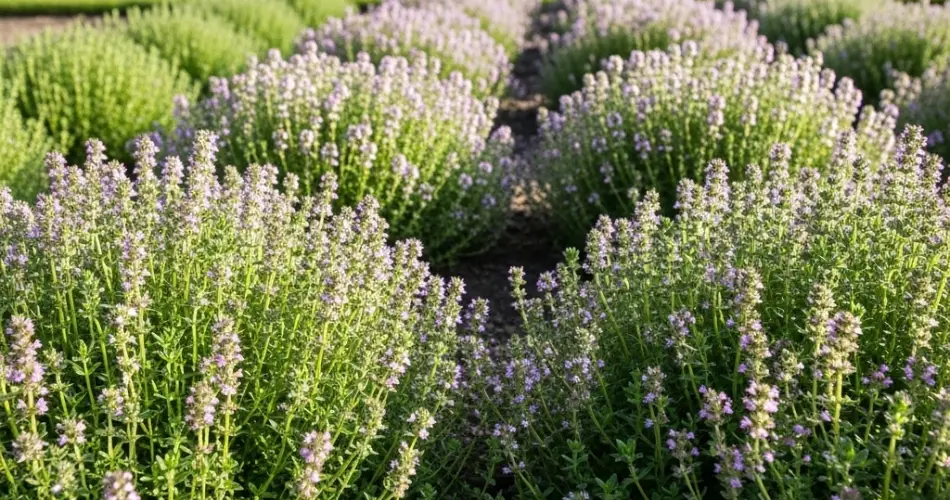
Growing herbs like thyme at home doesn’t have to be complicated or time-consuming. With a simple self-watering system made from recycled plastic bottles, you can enjoy fresh thyme year-round without the constant worry of overwatering or drying out your plants. This clever method is ideal for busy individuals, small-space gardeners, and anyone looking to reuse materials sustainably while cultivating useful, aromatic herbs.
Thyme is a low-maintenance Mediterranean herb that thrives in containers and dry conditions. A self-watering planter gives it the consistent moisture it needs while preventing soggy soil—a perfect setup for both beginners and seasoned gardeners alike.
Why Choose a Self-Watering Bottle Planter?
Plastic bottles are easily accessible, lightweight, and recyclable, making them a great choice for DIY gardening projects. A self-watering planter made from a bottle helps maintain the right moisture level by allowing the plant to draw water as needed from a reservoir. This means fewer watering sessions and healthier roots.
Thyme in particular benefits from this setup. While it prefers soil that dries out between waterings, it still needs occasional moisture at the root level. The self-watering system supports this balance, promoting stronger and more consistent growth without daily maintenance.
What You’ll Need
To build a self-watering plastic planter for thyme, gather the following items:
-
One 1.5 to 2-liter plastic bottle
-
A piece of cotton rope or thick string (for wicking)
-
Potting soil with good drainage
-
Small pebbles or charcoal (optional)
-
Thyme seeds or cuttings
-
Scissors or a sharp cutter
-
A nail or heated pin (for making holes)
-
Water
How to Make a Self-Watering Planter
-
Clean and Prepare the Bottle
Wash the bottle thoroughly to remove any residues. Remove the label for a cleaner look and to help monitor the water level. -
Cut the Bottle in Two
Using scissors or a cutter, slice the bottle in half across the middle. The top half will hold the plant and soil, while the bottom half will serve as the water reservoir. -
Insert the Wick
Take a piece of cotton rope or thick string (about 6–8 inches long). Thread it through the bottle’s neck so that part of it hangs inside the reservoir and the other part extends into the soil. This will draw water upward as the soil dries out. -
Prepare the Planter Base
Add a few pebbles or some charcoal to the neck area inside the top half to help with drainage and prevent the wick from getting clogged with soil. -
Add Soil
Fill the top half of the bottle with well-draining potting mix. Thyme prefers sandy or slightly gritty soil. Mix in a bit of sand or perlite for added drainage if needed. -
Set Up the Reservoir
Fill the bottom half of the bottle with clean water, about two-thirds full. Place the top half (planting section) upside down into the bottom half, ensuring the wick reaches the water below.
Planting Thyme
You can grow thyme from seeds or cuttings. Here’s how to do both:
From Seeds:
-
Sprinkle a few thyme seeds on the surface of the soil.
-
Lightly press them into the soil but do not bury deeply.
-
Mist gently with water.
-
Cover with a piece of clear plastic to retain moisture until germination (about 10–14 days).
From Cuttings:
-
Take a healthy 4–6 inch thyme cutting.
-
Remove the leaves from the lower half.
-
Place the cutting in water until roots develop (around 7–10 days).
-
Plant in the soil and water lightly.
Care and Maintenance
-
Light:
Thyme needs at least 6 hours of sunlight per day. Place the planter near a sunny window or on a balcony. -
Watering:
The self-watering system keeps the soil evenly moist. Refill the reservoir as needed—typically once every few days depending on indoor conditions. -
Feeding:
Feed your thyme once a month with a diluted liquid fertilizer or compost tea. Avoid overfeeding, as this can affect the flavor of the leaves. -
Pruning:
Regularly pinch back the tips to encourage bushier growth. Remove any flower buds to keep the plant focused on leaf production.
Harvesting Thyme
Begin harvesting thyme once the plant is well-established and has grown several inches tall. Use scissors to trim sprigs just above a leaf node. Never harvest more than one-third of the plant at once to keep it healthy.
Harvested thyme can be used fresh or dried for long-term storage. It adds wonderful flavor to meats, stews, soups, and roasted vegetables.
Final Thoughts
Making a self-watering planter from a plastic bottle is a simple yet effective way to grow thyme indoors or on a balcony. This method reduces water waste, repurposes plastic, and makes herb care much easier. Thyme’s resilience and minimal water needs make it especially well-suited for this container system.
Whether you’re an urban gardener or someone trying indoor planting for the first time, this low-maintenance setup offers a steady supply of fresh, fragrant thyme with very little effort. Give it a try—you’ll be surprised how rewarding it is to grow your own herbs with just a bottle and a bit of creativity.


