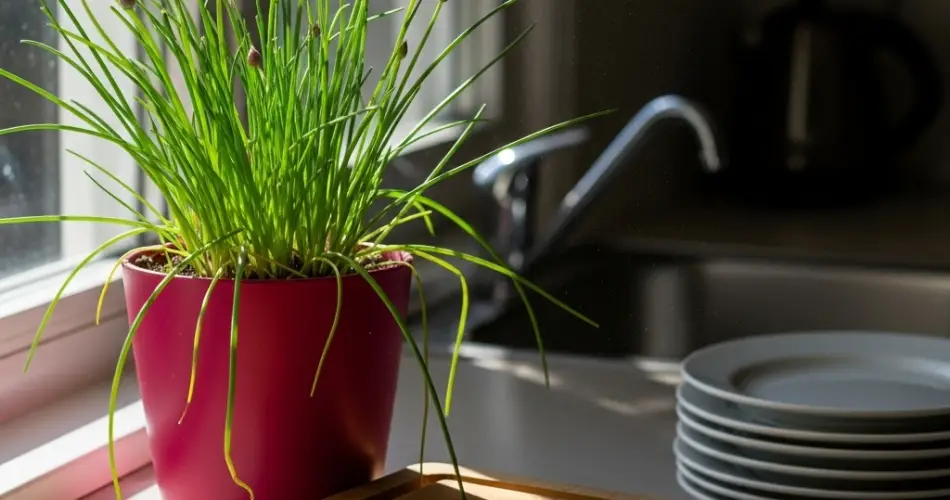
For anyone who enjoys cooking, having fresh herbs close at hand can make a world of difference in the kitchen. Among the many herbs you can grow indoors, chives stand out as one of the easiest and most rewarding. Their mild onion flavor enhances everything from eggs to soups, and they thrive in small pots on a sunny windowsill. If you’re looking to start an indoor herb garden, chives are the perfect place to begin.
Why Choose Chives for Indoor Gardening?
Chives belong to the allium family, which includes onions, leeks, and garlic. Unlike their larger relatives, they are compact and adaptable, making them especially suitable for indoor cultivation. They don’t require a lot of space, regenerate quickly after harvesting, and provide fresh green shoots nearly year-round with proper care.
In addition to their culinary uses, chives are visually appealing. Their slender green leaves and occasional purple blossoms add a touch of freshness and beauty to any kitchen setting.
Getting Started: Pots and Soil
The first step in growing chives indoors is choosing the right container. Since their roots are shallow, a pot about 6 inches deep is sufficient. Make sure the container has drainage holes, as standing water can cause root rot. A slightly wider pot will allow you to grow a fuller clump of chives, ensuring plenty of leaves for harvesting.
As for soil, chives do best in a light, well-draining potting mix. A blend that contains organic matter, such as compost, will provide the nutrients needed for healthy growth. If you want to give your plants an added boost, mix in a small amount of slow-release fertilizer when planting.
Planting Options
There are two main ways to start growing chives indoors: from seed or by dividing an existing plant.
-
From seed: Sprinkle the seeds lightly over the soil surface and cover them with a thin layer of soil. Keep the pot moist but not soggy until germination occurs, which usually takes about two to three weeks.
-
From division: If you have access to mature chives, dividing a clump is the fastest way to get started. Carefully separate a section of the plant and replant it in your prepared pot. With this method, you’ll have harvest-ready leaves much sooner.
Light and Placement
Chives need good light to thrive indoors. Place your pot on a sunny windowsill where it will receive at least six hours of direct sunlight per day. A south-facing window is often the best choice.
If your kitchen doesn’t get enough natural light, consider using a small grow light. LED grow lights are compact and efficient, making them perfect for small spaces. With consistent light exposure, your chives will stay lush and productive.
Watering and General Care
Watering is an important part of chive care. Keep the soil evenly moist but avoid overwatering, as too much moisture can damage the roots. A simple way to check is to press your finger into the soil—if the top inch feels dry, it’s time to water.
Because indoor air can be dry, especially during winter, misting the leaves occasionally helps keep them fresh. You can also rotate the pot every few days to encourage even growth.
Harvesting Your Chives
Once the leaves reach about 6 inches in height, they are ready to harvest. Use clean scissors to cut the leaves close to the soil level, leaving about 2 inches of growth. This allows the plant to regrow quickly, giving you a constant supply of fresh herbs.
Chives will also produce attractive purple flowers if allowed to bloom. These blossoms are edible and make a colorful garnish. However, if your main goal is leaf production, pinch off the flowers so the plant focuses its energy on growing more leaves.
Culinary Uses of Chives
Chives are versatile and can be used in a wide range of dishes:
-
Eggs and breakfast dishes: Sprinkle chopped chives over scrambled eggs, omelets, or quiches.
-
Soups and stews: Add them as a finishing touch for a burst of fresh flavor.
-
Salads and dressings: Mix into vinaigrettes or toss directly into salads.
-
Potatoes: Pair with sour cream or butter for a classic topping.
-
Herb spreads: Blend with cream cheese, butter, or yogurt to make quick, flavorful spreads.
Their delicate flavor is best enjoyed fresh, making an indoor supply especially valuable.
Keeping Your Plants Healthy Long-Term
To maintain a thriving chive plant indoors:
-
Fertilize lightly with a diluted liquid fertilizer every four to six weeks.
-
Divide and replant clumps every couple of years to keep growth vigorous.
-
Keep harvesting regularly, as frequent cutting encourages fresh growth.
With minimal care, chives can live for years, becoming a long-lasting addition to your indoor garden.
Final Thoughts
Growing chives indoors is an easy and rewarding project for cooks of all skill levels. Their compact size, simple care requirements, and continuous regrowth make them one of the best herbs to cultivate in a kitchen. With just a small pot, some good soil, and a sunny spot, you’ll enjoy fresh, flavorful chives year-round—always within reach when you need them.
By bringing this perfect herb into your home, you’re not only enhancing your meals but also creating a touch of greenery and freshness in your everyday space.


