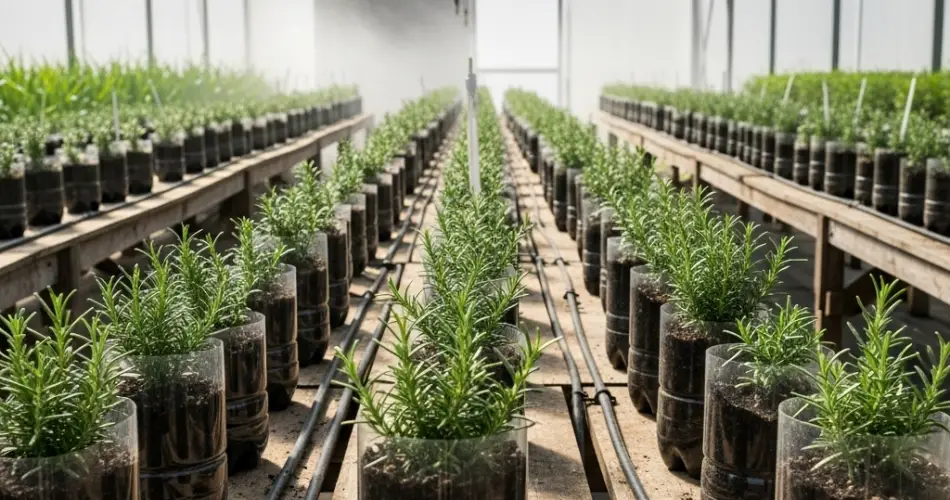
Rosemary is a hardy, aromatic herb beloved for its culinary uses, medicinal properties, and ornamental value. Propagating rosemary from cuttings is an easy and cost-effective way to expand your herb garden, and using bottles or transparent containers creates an ideal environment for rooting. Bottled propagation provides consistent moisture and protection for delicate cuttings while allowing you to observe root development clearly. With careful preparation and attention, you can successfully grow new rosemary plants from cuttings in a compact, indoor-friendly setup.
This guide offers step-by-step instructions for rooting rosemary in bottled environments, making it easy for beginners and urban gardeners alike.
Why Root Rosemary in Bottles?
Using bottles or transparent containers offers several advantages for rosemary propagation:
-
Controlled environment: Bottles maintain humidity around the cutting, reducing the risk of drying out.
-
Easy monitoring: Transparent sides allow you to watch roots form without disturbing the plant.
-
Space-saving: Bottles take up minimal room on windowsills or countertops.
-
Cleanliness: The enclosed environment reduces exposure to pests and diseases.
This method is particularly effective for indoor gardening or urban spaces where traditional garden propagation is limited.
Step 1: Selecting Healthy Rosemary Cuttings
Choose strong, healthy stems from an established rosemary plant.
-
Length: Cuttings should be 4–6 inches long.
-
Stem type: Use non-flowering, semi-hardwood stems with several leaf nodes. Avoid woody stems, as they root more slowly.
-
Leaf condition: Select vibrant green leaves free from pests, disease, or discoloration.
Use clean, sharp scissors or pruning shears to make a precise cut just below a leaf node. This ensures the cutting has the best chance to develop roots.
Step 2: Preparing the Cuttings
Before placing cuttings in the bottle, proper preparation encourages faster root growth:
-
Remove lower leaves: Strip off the leaves from the bottom 2 inches of the stem to prevent rotting in water or soil.
-
Optional rooting hormone: Dip the cut end in a natural rooting hormone or powdered hormone to stimulate root development. While optional, this can increase success rates.
Step 3: Choosing the Bottle or Container
Select a bottle or transparent container that is both practical and functional for rooting.
-
Size: A bottle or jar large enough to hold the stem upright without bending.
-
Opening: Wide enough to easily insert cuttings but narrow enough to support the stems.
-
Transparency: Clear containers allow monitoring of root progress without disturbing the cuttings.
Rinse the container thoroughly to remove any residues that could harm the cuttings.
Step 4: Filling the Bottle
Rosemary cuttings can root in either water or a soilless medium.
Water Method:
-
Fill the bottle with clean, room-temperature water.
-
Ensure that only the stripped portion of the stem is submerged.
-
Change the water every 5–7 days to prevent stagnation and bacterial growth.
Soil or Hydroponic Medium:
-
Use a well-draining medium like perlite, vermiculite, or a mixture of potting soil and sand.
-
Moisten the medium lightly before inserting the cutting.
-
Avoid overwatering to prevent root rot.
Both methods are effective; water rooting allows easy monitoring, while soil provides a smoother transition for eventual planting.
Step 5: Positioning the Bottle
Where you place your rosemary cuttings significantly impacts rooting success.
-
Light: Bright, indirect sunlight is ideal. Direct sunlight can overheat the container or dry out cuttings.
-
Temperature: Maintain a warm environment, ideally 65–75°F (18–24°C). Avoid drafts or sudden temperature swings.
-
Humidity: Bottles naturally maintain humidity, but if rooting in open soil, lightly cover the cutting with a plastic bag or dome to retain moisture.
Step 6: Monitoring and Caring for the Cuttings
Regular observation and care are crucial for successful rooting.
-
Water level: For water rooting, ensure the cut end remains submerged but leaves stay dry.
-
Air circulation: Avoid sealing the bottle completely airtight. Gentle air circulation prevents mold.
-
Time: Rosemary cuttings typically develop roots in 2–4 weeks, depending on environmental conditions.
Step 7: Transplanting Rooted Cuttings
Once roots reach 1–2 inches in length, the cutting is ready to be transferred to soil:
-
Preparation: Use a well-draining potting mix, such as a blend of potting soil and sand.
-
Planting: Gently place the rooted cutting into soil, keeping roots undisturbed.
-
Initial care: Water lightly and place in a location with bright, indirect sunlight. Gradually acclimate the plant to full sunlight over several days.
With proper care, the cutting will develop into a strong, mature rosemary plant capable of thriving in pots, baskets, or garden beds.
Conclusion
Rooting rosemary in bottles is a simple and effective way to propagate this versatile herb, even in small indoor spaces. By selecting healthy cuttings, providing the right environment, and maintaining consistent care, you can successfully grow new rosemary plants from stem cuttings. Transparent bottles not only save space but also allow easy monitoring, giving you the satisfaction of watching roots form firsthand. With patience and attention, your rooted rosemary cuttings will soon become thriving plants, ready to enhance your kitchen and garden with their fragrance and flavor.


