Growing herbs indoors or in small outdoor spaces can be challenging, especially for plants like rosemary that thrive in warm, sunny conditions. Rosemary is a hardy herb, but when it’s young, it requires extra care to develop strong roots and adapt to its environment. One clever solution is to use a simple plastic bottle to create a mini greenhouse. This homemade greenhouse maintains consistent humidity, protects the seedling from sudden temperature changes, and promotes faster, healthier growth.
If you’re looking for an affordable and practical way to nurture rosemary at home, here’s a step-by-step guide to building a mini greenhouse bottle and tips to ensure your herb thrives.
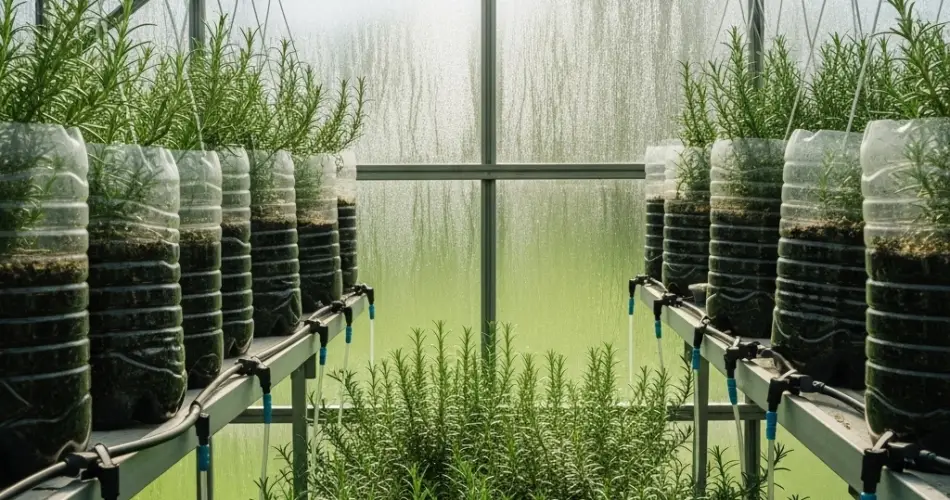
Why Use a Bottle Greenhouse for Rosemary?
Rosemary originates from the Mediterranean, where the climate is warm, dry, and sunny. However, when the plant is just starting out, its delicate roots and stems are more vulnerable to stress. A bottle greenhouse mimics a controlled environment, helping seedlings acclimate before they’re transplanted into larger pots or outdoor gardens.
Some benefits of using a bottle greenhouse for rosemary include:
-
Humidity Control: The closed environment keeps moisture in, preventing the soil from drying out too quickly.
-
Protection from Drafts: Indoor air can be dry or drafty, which can stunt growth. A bottle shields the plant.
-
Consistent Temperature: Helps buffer sudden shifts in weather, especially useful during cooler nights.
-
Pest Barrier: Provides a layer of protection against insects while the plant is still tender.
Materials You’ll Need
Making a bottle greenhouse requires only basic items, many of which you may already have at home:
-
A clean, transparent plastic bottle (1–2 liters works best)
-
Scissors or a sharp utility knife
-
Potting soil suitable for herbs
-
A small rosemary cutting or seedling
-
A pot with drainage holes
Optional: A spray bottle for watering, and a piece of mesh or paper to cover the opening if needed.
Preparing the Soil and Container
Start with a small pot filled with a well-draining soil mix. Rosemary does not tolerate soggy soil, so drainage is crucial. A recommended mix includes:
-
Two parts potting soil
-
One part sand or perlite for aeration
-
A small amount of compost for nutrients
Place your rosemary cutting or seedling in the center, gently pressing the soil around the roots. Water lightly to help it settle but avoid soaking the soil.
Making the Bottle Greenhouse
-
Clean the Bottle: Rinse thoroughly to remove any residue. Remove the label if possible to allow maximum light penetration.
-
Cut the Bottle: Using scissors or a utility knife, carefully cut the bottle in half around its midsection. The top half will act as the greenhouse dome.
-
Place the Dome: Invert the top half over the pot, pushing it slightly into the soil to anchor it. Ensure it covers the rosemary plant completely.
-
Ventilation: Keep the bottle cap off to allow air circulation. If conditions are very dry, you can screw the cap on loosely, but be careful not to trap too much humidity, which can encourage mold.
This simple setup creates a warm, moist microclimate, helping rosemary establish stronger roots.
Caring for Rosemary in the Bottle Greenhouse
-
Light: Place the pot in a sunny windowsill or balcony where it receives at least 6–8 hours of light. If natural sunlight is limited, consider supplementing with a grow light.
-
Watering: Check soil moisture daily. The greenhouse effect reduces evaporation, so water sparingly. Use a spray bottle to mist the soil surface when it feels dry.
-
Ventilation: Lift the bottle dome once or twice a day for a few minutes to refresh the air inside. This prevents mold and fungal problems.
-
Gradual Acclimation: Once the rosemary shows new growth and looks stronger, start leaving the dome off for longer periods. This process, known as hardening off, helps the plant adapt to normal conditions before the greenhouse is removed entirely.
When to Remove the Bottle
Rosemary seedlings can usually stay under the bottle greenhouse for two to three weeks, depending on the climate and the plant’s vigor. Once the plant is sturdy and the roots have spread, the bottle can be removed permanently. At this point, rosemary will be ready to grow in its pot without extra protection, thriving with regular care.
Additional Tips for Success
-
Prune Early Growth: Once your rosemary is established, pinch off the tips to encourage bushier growth.
-
Avoid Overwatering: Rosemary is drought-tolerant when mature, so letting the soil dry slightly between waterings helps prevent root rot.
-
Fertilize Lightly: A diluted organic fertilizer once a month during the growing season keeps the plant healthy without overwhelming young roots.
Final Thoughts
A mini greenhouse made from a simple plastic bottle is a cost-effective, eco-friendly, and practical way to give rosemary the best start in your garden. This method provides the perfect balance of humidity, warmth, and protection during the crucial early growth phase. Once your rosemary is strong enough, it will thrive with minimal care, rewarding you with aromatic leaves for cooking, teas, or even natural remedies.
By repurposing everyday materials, you can create an efficient growing system that proves gardening doesn’t always require big spaces or expensive tools. With a little creativity, fresh rosemary can flourish right on your windowsill or balcony, ready to add flavor and fragrance to your home.


