Chili peppers are one of the most rewarding plants you can grow at home. Not only do they add spice and flavor to countless dishes, but they also bring vibrant color to your garden. For those with limited space, basket gardening offers a practical and visually appealing way to grow chili peppers right on a balcony, patio, or small yard. With the right care, you can enjoy a steady supply of fresh chilies throughout the season.
This guide provides step-by-step instructions to help you successfully plant and grow chili peppers in baskets.
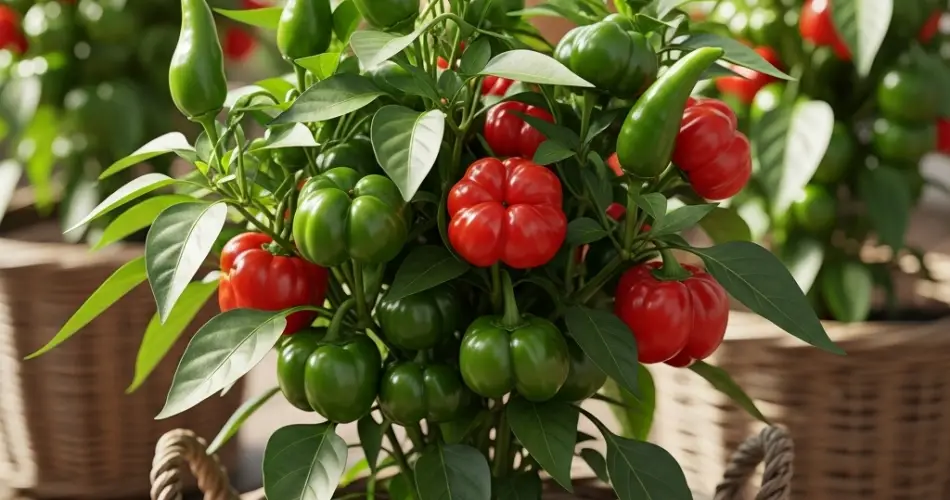
Why Grow Chilies in Baskets?
Basket gardening has become increasingly popular, especially among urban gardeners. Chilies adapt well to container growing, making baskets an excellent choice. Here’s why:
-
Space-saving: Perfect for balconies, porches, or apartments with little room.
-
Portability: Baskets can be moved to follow sunlight or brought indoors during storms.
-
Better drainage: Properly lined baskets prevent waterlogging while keeping soil consistently moist.
-
Aesthetic appeal: Hanging or standing baskets filled with chili plants are both decorative and functional.
Step 1: Choosing the Right Basket
The first step to success is selecting a suitable basket.
-
Size: A basket at least 12–14 inches deep and wide is ideal for one chili plant. For multiple plants, go larger, ensuring each one has 12 inches of space.
-
Material: Woven baskets lined with coconut fiber, burlap, or fabric are excellent for breathability. Plastic or resin baskets are also durable.
-
Drainage: Make sure the basket has proper drainage holes. If not, create some to avoid water accumulation.
Lining the basket with coco coir or sphagnum moss helps retain soil while allowing excess water to escape.
Step 2: Preparing the Soil
Chilies thrive in nutrient-rich, well-draining soil. A balanced potting mix sets the stage for healthy growth.
-
Base mix: Use high-quality potting soil as the foundation.
-
Organic matter: Add compost or aged manure to provide natural nutrients.
-
Drainage: Mix in perlite or coarse sand to keep the soil light and airy.
-
pH level: Aim for slightly acidic to neutral soil, around 6.0–7.0.
Before planting, blend in a slow-release organic fertilizer to give the young plants a strong start.
Step 3: Planting Chilies
Chilies can be started from seeds or transplanted seedlings.
-
From seeds: Sow seeds ¼ inch deep into seedling trays indoors 6–8 weeks before the growing season. Once seedlings are 4–6 inches tall, transplant them into baskets.
-
From seedlings: Purchase healthy young plants from a nursery and transfer them directly into prepared baskets.
Plant each chili deep enough so the root system is firmly covered with soil. Pat the soil gently to secure the base.
Step 4: Watering and Feeding
Chilies need consistent care to thrive, especially in baskets where soil dries out faster.
-
Watering: Keep the soil evenly moist but never soggy. Water deeply whenever the top inch of soil feels dry. During hot weather, daily watering may be necessary.
-
Mulching: Apply a layer of straw, shredded leaves, or coco coir on the surface to help retain moisture.
-
Feeding: Use a balanced liquid fertilizer every two weeks. Once plants begin flowering, switch to a fertilizer higher in potassium and phosphorus to promote fruit development.
Step 5: Providing Light and Warmth
Chilies love warmth and sunlight.
-
Sunlight: Place baskets where plants can get at least 6–8 hours of full sun daily.
-
Temperature: Ideal growing temperatures are between 70–85°F (21–29°C). In cooler climates, move baskets indoors or into a greenhouse to maintain warmth.
-
Air circulation: Ensure baskets are not overcrowded to allow proper airflow and prevent fungal issues.
Step 6: Supporting and Pruning Plants
As chili plants grow taller, they may need extra support.
-
Staking: Use bamboo stakes or small trellises to support heavy branches laden with chilies.
-
Pruning: Remove weak or crowded branches to encourage better airflow and stronger fruit production.
-
Deadheading: Snip off early flowers if plants are still small, directing energy into stronger root and stem growth first.
Step 7: Pest and Disease Management
Chili plants in baskets are less prone to soil-borne diseases, but they still need monitoring.
-
Common pests: Watch for aphids, whiteflies, and spider mites. Use neem oil, insecticidal soap, or natural predators like ladybugs for control.
-
Fungal issues: Avoid overhead watering and ensure good air circulation to reduce mildew or rot.
-
Regular checks: Inspect leaves and stems weekly to catch problems early.
Step 8: Harvesting Chili Peppers
The best part of growing chilies is harvesting the colorful fruits.
-
Timing: Depending on the variety, chilies are ready 60–90 days after transplanting.
-
Signs of readiness: Fruits are firm, glossy, and have reached their full size and color.
-
Harvest method: Use scissors or pruning shears to cut chilies cleanly, leaving part of the stem attached.
Harvesting regularly encourages more flower and fruit production, giving you a continuous supply.
Conclusion
Growing chili peppers in baskets is a fun and rewarding way to enjoy fresh, spicy harvests even in limited spaces. By selecting the right basket, preparing nutrient-rich soil, and giving consistent care, you can grow healthy chili plants that thrive throughout the season. With their bright colors, fiery flavor, and decorative appeal, basket-grown chilies are perfect for urban gardeners who want both beauty and practicality in their space.


