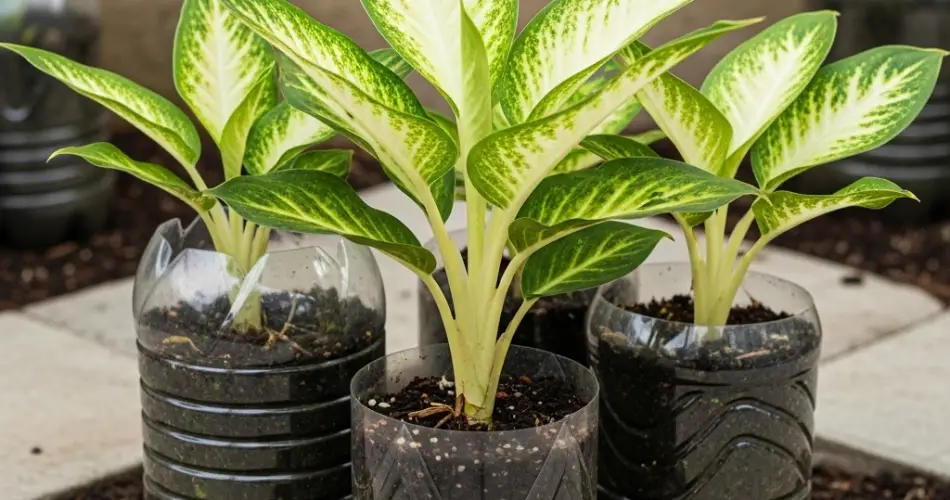
Dieffenbachia, also known as dumb cane, is a striking tropical plant prized for its lush foliage and bold variegation. It’s a popular choice for indoor spaces thanks to its ability to thrive in low to moderate light and its minimal maintenance requirements. However, like all potted plants, Dieffenbachia eventually outgrows its container and needs to be repotted to stay healthy and vibrant.
Knowing when and how to repot your Dieffenbachia can keep it thriving and prevent issues such as root rot, stunted growth, or top-heavy tipping. This guide will walk you through the timing, tools, and steps needed to successfully repot your Dieffenbachia.
When to Repot Dieffenbachia
Repotting is typically required every 1 to 2 years, depending on the plant’s growth rate and pot size. Some key signs that it’s time to repot your Dieffenbachia include:
-
Roots are circling the pot or emerging from the drainage holes
-
Soil dries out too quickly after watering
-
Slowed or stunted growth, despite proper care
-
Yellowing lower leaves, which may suggest nutrient deficiency or overcrowded roots
-
Top-heavy plant, which may easily tip over
The ideal time to repot Dieffenbachia is in spring or early summer, during its active growing season. Repotting during this period allows the plant to recover and establish new roots more quickly. Avoid repotting during fall or winter unless absolutely necessary.
Choosing the Right Pot
Selecting the right container is crucial for a successful repotting. Here’s what to look for:
-
Size: Choose a pot that is 1 to 2 inches (2.5 to 5 cm) larger in diameter than the current one. A pot that is too large can lead to water retention and root rot.
-
Drainage: Ensure the pot has adequate drainage holes to prevent soggy soil.
-
Material: Plastic, ceramic, or terra cotta pots all work well. Terra cotta is more breathable but dries out faster, while plastic retains moisture longer.
If your plant is very top-heavy, consider a heavier pot to help stabilize it.
Preparing to Repot
Before you begin, gather the following materials:
-
A new pot with drainage holes
-
Fresh, well-draining potting mix (preferably with peat, perlite, and compost)
-
Clean scissors or pruning shears
-
Gloves (Dieffenbachia sap can be irritating to skin)
Optional: A tarp or newspaper to catch soil spills and make cleanup easier.
Step-by-Step Repotting Process
-
Water Beforehand: Water your Dieffenbachia a day before repotting. Moist soil helps the root ball come out more easily.
-
Remove the Plant: Gently turn the pot on its side, supporting the base of the plant. Tap the sides of the pot or squeeze it slightly (if plastic) to loosen the root ball.
-
Inspect the Roots: Once removed, check the roots. Healthy roots are white or light tan and firm. Trim away any dead, black, mushy, or rotting roots using clean scissors.
-
Loosen the Root Ball: Tease apart any circling or densely packed roots. This encourages new root growth in the fresh soil.
-
Prepare the New Pot: Place a layer of fresh potting mix at the bottom of the new pot.
-
Place the Plant: Position the Dieffenbachia in the center of the pot. Adjust the height so that the top of the root ball is about 1 inch (2.5 cm) below the pot’s rim.
-
Fill with Soil: Add potting mix around the root ball, pressing lightly to remove air pockets. Do not pack the soil too tightly.
-
Water Thoroughly: Water the plant until it drains from the bottom. This settles the soil around the roots and helps reduce transplant shock.
Aftercare Tips
-
Keep it in bright, indirect light for a few weeks post-repotting.
-
Avoid fertilizing for 4 to 6 weeks, as fresh soil usually contains nutrients.
-
Monitor moisture levels carefully. The plant may drink less while adjusting, so water only when the top inch of soil feels dry.
Dieffenbachia may temporarily droop after repotting but usually recovers within a week or two. Watch for new growth as a sign that it has settled into its new pot.
Cautions and Safety
Dieffenbachia sap is toxic and can cause skin and eye irritation. Always wash your hands after handling the plant, and wear gloves while pruning or repotting. Keep the plant out of reach of pets and small children, as ingesting it can cause swelling or discomfort.
Conclusion
Repotting your Dieffenbachia is a simple task that goes a long way in promoting healthier growth and a more attractive plant. With the right timing, tools, and care, you can help your dumb cane flourish in its new home and continue to brighten your indoor space for years to come.


