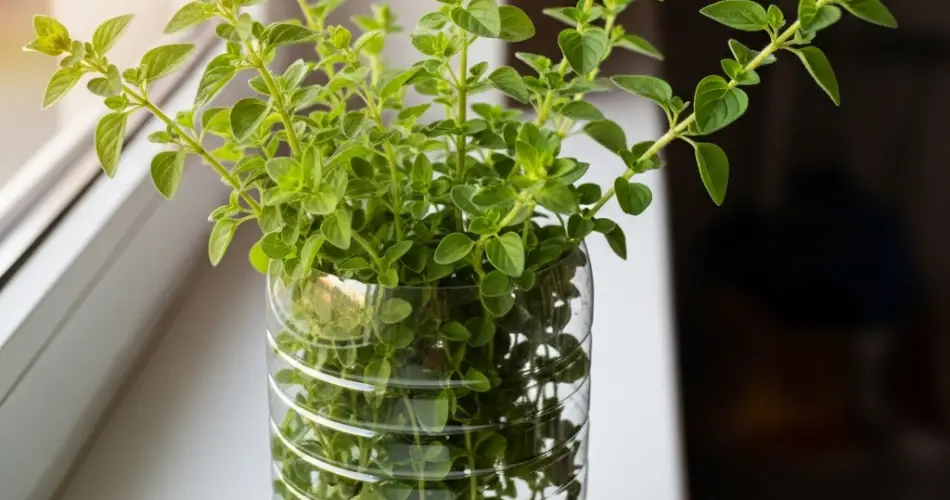
Oregano is a hardy, aromatic herb that thrives in containers and brings a burst of Mediterranean flavor to a wide range of dishes. If you’re looking for a sustainable and affordable way to grow it at home, consider turning plastic bottles into practical planters. This DIY method is perfect for small spaces like windowsills, balconies, or kitchen corners and offers an eco-friendly way to reuse plastic waste.
Here’s a complete guide to growing oregano in plastic bottles—from setup to harvesting—so you can enjoy fresh herbs year-round without needing a traditional garden.
Why Grow Oregano in Plastic Bottles?
Plastic bottles are widely available, easy to work with, and ideal for compact herb gardening. Oregano, in particular, grows well in containers and doesn’t require deep soil. When planted in recycled bottles, it becomes a convenient and space-saving way to grow your own herbs while helping reduce plastic waste.
This method is especially useful for apartment dwellers or anyone with limited gardening space.
What You’ll Need:
-
1.5- or 2-liter plastic bottles
-
Oregano seeds or seedlings
-
Light potting mix (preferably with sand or perlite for drainage)
-
Scissors or utility knife
-
Nail or screwdriver (to create drainage holes)
-
Optional: string for hanging, pebbles for added drainage, compost or organic fertilizer
-
Spray bottle or watering can
Step 1: Prepare the Bottles
Begin by washing the plastic bottles thoroughly to remove any residue. Use a utility knife or scissors to cut a rectangular opening on one side of the bottle—this will be your planting space. Leave about an inch or two of plastic along the edges to hold the soil in place.
Using a nail or screwdriver, make 3–4 small drainage holes in the bottom of each bottle. This is essential to prevent water buildup that could cause root rot.
If you plan to hang the bottles, make two small holes near the top edge (on opposite sides) and thread string or wire through them.
Step 2: Prepare the Soil
Oregano prefers well-draining, slightly sandy soil. Use a potting mix that contains perlite or mix standard potting soil with sand or coco coir to improve aeration. You can also add a small handful of compost to enrich the soil with nutrients.
Fill the bottle about two-thirds full with the prepared soil. Avoid compacting the soil too tightly, as this can interfere with drainage and root development.
Step 3: Planting Oregano
You can start oregano from either seeds or small seedlings. If planting seeds, sprinkle 3–5 seeds evenly across the soil surface, then cover with a thin layer of soil—about 0.5 cm deep. Lightly water the soil using a spray bottle.
If using seedlings, gently transplant one into the bottle and firm the soil around the roots. Water thoroughly after planting.
Place your planter in a bright area that receives 4–6 hours of sunlight daily. A sunny kitchen windowsill or balcony ledge works perfectly.
Step 4: Watering and Care
Oregano doesn’t like to sit in soggy soil. Water only when the top inch of soil feels dry to the touch. Use a spray bottle or watering can with a narrow spout to avoid overwatering, especially in smaller containers.
Ensure that excess water can drain freely through the bottom holes. If you’re keeping the bottle indoors, place a shallow tray underneath to catch drips.
Trim off any yellowing or dead leaves to encourage new growth and keep the plant healthy.
Step 5: Pruning and Harvesting
Once your oregano plant has grown 4–6 inches tall, you can begin harvesting. Use clean scissors to snip off the top leaves or cut entire sprigs just above a leaf node. This will encourage bushier growth and prevent the plant from becoming too leggy.
Frequent harvesting actually benefits oregano, stimulating more foliage and delaying flowering, which can reduce leaf flavor.
If flowers do start to appear, pinch them off to maintain optimal leaf production.
Step 6: Feeding Your Plant
Oregano doesn’t need heavy feeding, but a boost now and then can enhance growth. Apply a diluted organic fertilizer or compost tea every 3–4 weeks during the growing season. Avoid over-fertilizing, as this can reduce the herb’s concentration of essential oils—the compounds that give oregano its intense aroma and taste.
Creative Ideas for Bottle Oregano Gardens
-
Wall-mounted garden: Line several bottles along a wooden plank or shelf for a vertical herb display.
-
Hanging kitchen planters: Suspend bottles near a bright window for easy access while cooking.
-
Decorative touch: Paint or label the bottles to add charm and character to your indoor garden.
Conclusion
Turning plastic bottles into oregano planters is a simple yet effective way to grow flavorful herbs while practicing sustainability. This compact gardening method allows you to bring fresh, homegrown oregano into your meals—whether it’s sprinkled over pasta, added to sauces, or brewed into herbal tea. With just a few materials and minimal maintenance, you’ll have a thriving mini herb garden that adds green beauty and culinary value to your home.


