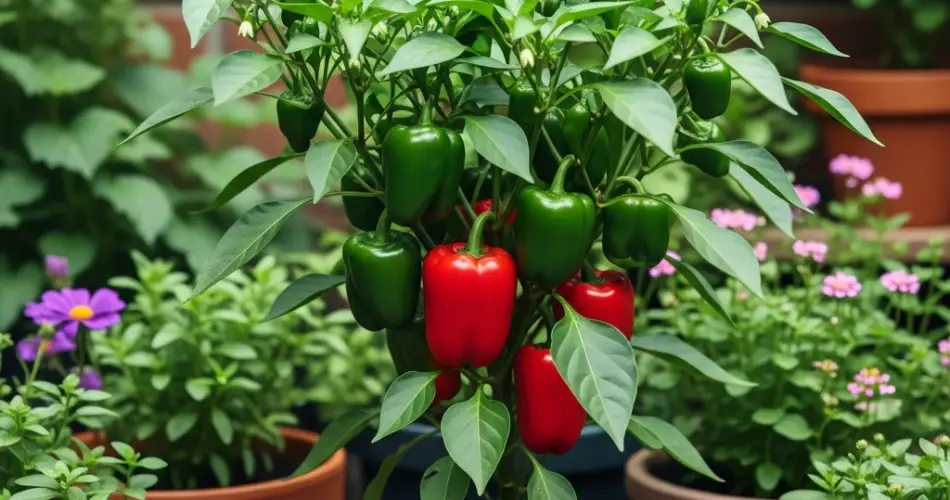
Peppers are among the most popular and versatile vegetables to grow at home. Whether you prefer the mild crunch of bell peppers or the fiery kick of chili varieties, you can grow them easily in pots—no backyard required. With the right container, sunlight, and care, peppers thrive on patios, balconies, decks, or even sunny windowsills.
Growing peppers in containers offers flexibility and control over soil, watering, and pest management. It’s a practical and rewarding approach for anyone who wants to enjoy homegrown flavor, even in limited spaces.
Why Grow Peppers in Pots?
Peppers are naturally compact plants, and many varieties grow beautifully in containers. Pot gardening offers a range of benefits:
-
Space-saving – Ideal for urban homes, apartments, and small outdoor areas
-
Pest control – Easier to monitor and manage pests and diseases
-
Mobility – Move pots to optimize sun exposure or protect from extreme weather
-
Extended growing season – Containers can be brought indoors during cold spells
-
Better soil control – Create the perfect environment for healthy growth and productivity
Whether you’re growing hot or sweet peppers, containers provide a convenient and productive way to enjoy fresh produce right at home.
Best Pepper Varieties for Containers
Many pepper varieties are well-suited to pot cultivation. Here are some top choices for container gardening:
Sweet Peppers:
-
Mini Bell – Compact and perfect for smaller pots
-
California Wonder – Classic large bell peppers
-
Lunchbox Peppers – Small, colorful, and ideal for snacking
Hot Peppers:
-
Jalapeño – Popular medium-heat chili
-
Cayenne – Great for drying or adding to sauces
-
Thai Chili – Prolific and excellent for compact spaces
-
Habanero – Very hot, thrives in warm, sunny spots
Compact or dwarf varieties are best for containers, but even larger types can succeed in big enough pots.
What You’ll Need
Before you begin, gather the following materials:
-
Containers at least 12–16 inches deep with drainage holes
-
High-quality potting mix enriched with compost
-
Pepper seedlings or seeds
-
Organic fertilizer or compost tea
-
Mulch (optional)
-
Watering can or hose with a fine spray nozzle
-
Plant supports or stakes (for larger varieties)
Step 1: Choose the Right Container
Select containers that are deep and wide enough to accommodate your chosen pepper variety. A 5-gallon pot or grow bag is ideal for one plant. Ensure the pot has several drainage holes to prevent water from collecting at the bottom.
Larger containers help maintain consistent moisture and support stronger root development, which leads to healthier, more productive plants.
Step 2: Use the Right Soil
Peppers need well-draining, fertile soil. Use a high-quality potting mix blended with compost or aged manure. Avoid using garden soil in pots, as it compacts easily and may harbor pests or diseases.
Mix in a slow-release organic fertilizer or prepare to feed your plants with liquid fertilizer every few weeks during the growing season.
Step 3: Planting
If planting from seed, sow indoors 6–8 weeks before your last frost date, then transplant to pots once the weather is warm. For a quicker start, use healthy nursery seedlings.
Plant one seedling per pot, placing it slightly deeper than it was in its original container. Gently firm the soil around the base and water thoroughly.
Step 4: Sunlight and Temperature
Peppers love warmth and sunshine. Place your containers in a location that receives at least 6–8 hours of direct sunlight per day. South- or west-facing patios or windows are ideal.
If temperatures dip below 60°F (15°C), consider moving the pots indoors or providing temporary protection, especially at night.
Step 5: Watering and Feeding
Peppers prefer consistent moisture but dislike soggy roots. Water when the top inch of soil feels dry, usually every 1–2 days in hot weather. Always water at the base of the plant to keep leaves dry and reduce disease risk.
Feed your peppers with a balanced liquid fertilizer or compost tea every 2–3 weeks. Once fruits begin forming, switch to a fertilizer slightly higher in potassium to boost production and flavor.
Step 6: Support and Maintenance
Some pepper plants, especially larger or fruit-heavy varieties, may benefit from staking or a small cage to keep stems upright.
Regularly check for pests like aphids or spider mites, especially on the undersides of leaves. Remove any yellowing leaves, and prune lightly to improve airflow and sun penetration.
Remove the first flowers on young plants to encourage better root and leaf development before fruiting.
Step 7: Harvesting
Peppers are usually ready for harvest 60 to 90 days after transplanting, depending on the variety. You can pick them green or wait until they mature to red, yellow, or orange for a sweeter or spicier flavor.
Use scissors or garden snips to cut the fruits from the plant, leaving a short stem attached. Avoid pulling the peppers, as this can damage the plant.
Harvesting regularly encourages the plant to produce more fruit.
Final Thoughts
Growing peppers in pots is a practical and enjoyable way to produce flavorful fruits at home—whether you prefer sweet bells or fiery chilies. With just a bit of space, sun, and attention, container-grown peppers will reward you with a bountiful and tasty harvest.
Perfect for balconies, patios, and small gardens, potted peppers bring color, spice, and satisfaction to any home gardener’s space.


