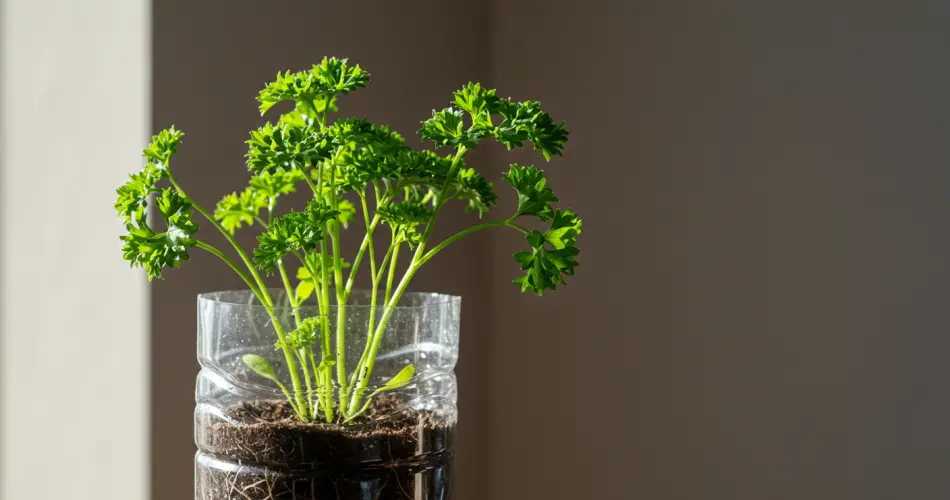
Parsley is one of the most versatile and widely used herbs in the kitchen. Originating from the Mediterranean, it has spread across the world and remains a staple in countless recipes—from fresh salads and sauces to soups and meat dishes. Beyond its culinary uses, parsley also offers a range of health benefits. It has antiseptic and carminative properties, may help regulate blood sugar levels, and is rich in antioxidants that support bone and dental health.
However, like any herb, parsley should be consumed in moderation. Overeating it in very large amounts can cause side effects such as anemia or liver problems. That said, using it as a flavorful addition in everyday recipes is perfectly safe and highly beneficial. And the best part? You don’t need to keep buying it from the grocery store. With a simple method, you can grow your own parsley plant from just one sprig and enjoy an endless supply at home.
Why Grow Your Own Parsley?
Fresh parsley is always superior to dried parsley in both flavor and aroma. Having it on hand means you can elevate your dishes at any moment without making an extra trip to the store. Growing parsley is cost-effective, environmentally friendly, and surprisingly easy—even if you don’t have much gardening experience.
Unlike many herbs that require seeds to sprout, parsley can be multiplied directly from a single sprig. All it takes is a little patience, proper care, and the right conditions.
Step 1: Choosing the Right Sprig
The first step in propagating parsley is selecting a healthy sprig. Ideally, the stem should be:
-
At least 4 centimeters long
-
Firm and not too young or tender
-
Equipped with small clusters of fresh green leaves at the top
You can simply ask your greengrocer for a fresh bunch of parsley and choose one of the strongest-looking stems. Avoid sprigs that are limp, yellowing, or damaged.
Once you’ve chosen your sprig, carefully remove the leaves from the bottom section of the stem, leaving the upper foliage intact.
Step 2: Rooting the Sprig in Water
To encourage the sprig to develop roots, place it in a tall glass filled with fresh water. Make sure only the lower part of the stem is submerged while the leafy portion remains above water.
Place the glass in a bright location but out of direct sunlight—for example, on a windowsill that gets filtered light. Direct sunlight may overheat the water or scorch the tender sprig.
Temperature is also key. Parsley thrives in warmth, so try to keep the environment around 20°C (68°F). If your home is too cold, the rooting process may be delayed.
Step 3: Waiting for Roots to Appear
This is where patience comes in. Within a few weeks, you’ll notice tiny roots emerging from the base of the stem. Continue to change the water every few days to prevent stagnation and mold.
Once the roots are strong and thick enough—usually after two to three weeks—the sprig will be ready for transplanting into soil.
Step 4: Transplanting into Soil
Parsley prefers rich, well-draining soil. The ideal mix should contain:
-
Black peat – for moisture retention
-
Light (blonde) peat – for aeration
-
Clay – to promote drainage and prevent waterlogging
Fill a medium-sized pot with this soil blend and create a small hole in the center. Gently place your rooted sprig into the soil, covering the roots without pressing down too firmly. Water lightly to settle the soil around the roots.
Step 5: Caring for Your New Parsley Plant
Now that your parsley plant is in soil, the real care begins. Luckily, parsley is relatively low-maintenance if you follow a few golden rules:
-
Watering: Keep the soil consistently moist but not waterlogged. During hot summer days, water more frequently, but always check that the topsoil is slightly dry before watering again. Parsley dislikes soggy conditions.
-
Light: Parsley grows best in a sunny location with at least 4–6 hours of light daily. If you live in a colder region, move the pot indoors during the winter and place it near a sunny window.
-
Protection in winter: If you keep your parsley outdoors in cold months, cover it with a nylon sheet or plastic cloche to shield it from frost.
-
Fertilization: During spring and summer, feed your plant with nitrogen-rich fertilizer or organic compost. This encourages lush, leafy growth.
Step 6: Harvesting and Enjoying
Once the plant has established itself, you can begin harvesting leaves. Always cut the outer stems first, leaving the central ones intact to keep the plant regenerating. This method ensures a continuous supply of fresh parsley for months.
Parsley can be used in countless dishes: chopped fresh into salads, blended into sauces like chimichurri or gremolata, sprinkled over roasted vegetables, or infused in soups and stews. It not only adds flavor but also a burst of green freshness to every meal.
Best Time to Plant Parsley
Although parsley can grow year-round in mild climates, the best season for propagation is spring. Temperatures during this time are moderate—not too hot and not too cold—providing the perfect environment for root development and healthy growth.
Final Thoughts
Growing parsley from a sprig is one of the easiest ways to enjoy fresh herbs at home without spending extra money. With just a glass of water, some patience, and a pot of soil, you can transform a single stem into a thriving plant that keeps producing for months.
Whether you’re a passionate cook or just someone who loves adding a touch of green to everyday dishes, this simple gardening trick ensures that you’ll always have parsley on hand.
Try it yourself and discover how rewarding it is to grow your own herbs—starting with a single sprig of parsley that can turn into a never-ending supply.