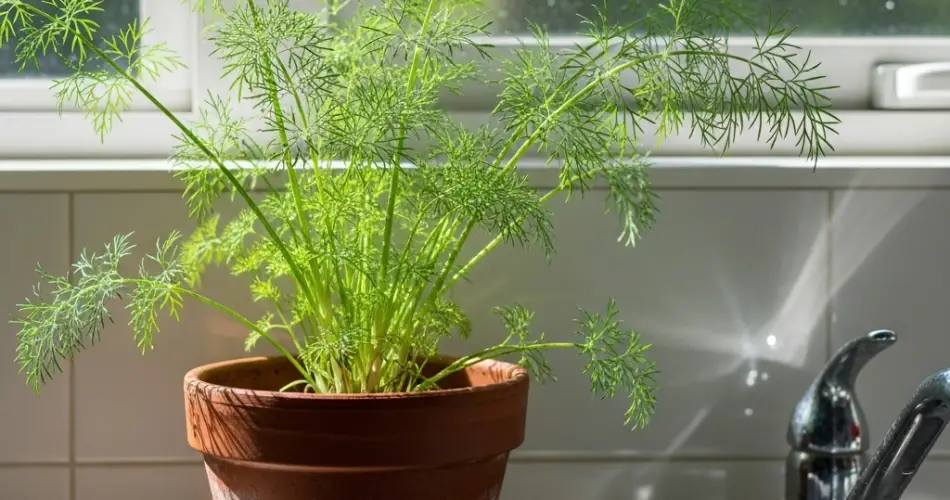
Dill is a wonderfully aromatic herb that brings a fresh, tangy flavor to many dishes. Known for its feathery green leaves and delicate seed heads, dill is a staple in cuisines worldwide, especially in pickling, salads, seafood, and soups. Growing dill indoors in your kitchen offers the advantage of having fresh herbs ready for daily cooking without frequent trips to the market. Whether you have a sunny windowsill, a small balcony, or a kitchen counter, dill can thrive in containers with proper care. This guide will walk you through everything you need to successfully grow dill indoors, ensuring you have a steady supply of fresh, flavorful leaves all year round.
Why Grow Dill Indoors?
Dill is a fast-growing annual herb that adapts well to container gardening and indoor environments. There are several reasons to grow dill indoors:
-
Convenience: Fresh dill is always at hand when cooking, eliminating the need to buy packaged herbs.
-
Space-Saving: Perfect for small living spaces where traditional gardening isn’t feasible.
-
Aesthetic: Its delicate, feathery foliage adds a lovely green touch to your kitchen.
-
Cost-Effective: Growing your own dill reduces the cost of frequently buying fresh herbs.
Choosing the Right Container for Your Kitchen Dill
The container you use can greatly influence how well your dill grows indoors:
-
Size: Select a pot at least 8-10 inches deep and wide to accommodate dill’s long taproots.
-
Material: Terracotta pots are ideal because they allow soil to dry out between watering, preventing root rot. Plastic pots hold moisture longer but need careful watering.
-
Drainage: Ensure your container has multiple drainage holes to avoid waterlogging.
Soil Requirements for Dill
Dill prefers light, well-draining soil rich in organic matter:
-
Potting Mix: Use a high-quality potting mix blended with compost or aged manure.
-
Texture: Light, loamy soil with good aeration works best.
-
pH Range: Dill thrives in slightly acidic to neutral soil, ideally between 5.5 and 7.0.
-
Fertilizing: Dill doesn’t need heavy feeding. Applying a balanced, diluted liquid fertilizer every 3-4 weeks supports healthy growth.
Starting Dill from Seeds
Dill is most easily grown from seed, which germinates quickly indoors:
-
Sowing: Plant dill seeds about ¼ inch deep in moist soil.
-
Spacing: If sowing multiple seeds in one container, space them 2-3 inches apart, or thin seedlings after germination to avoid overcrowding.
-
Germination: Seeds usually sprout within 7-14 days under consistent moisture and moderate temperatures.
-
Succession Planting: Sow seeds every 2-3 weeks for a continuous harvest.
Light and Temperature Needs for Indoor Dill
Dill requires ample light and moderate temperatures to thrive:
-
Sunlight: Dill needs 6-8 hours of direct sunlight daily. A south-facing window is best.
-
Supplemental Lighting: Use grow lights for 10-12 hours per day if natural light is insufficient, especially in winter.
-
Temperature: Ideal indoor temperatures range from 60°F to 75°F (15°C to 24°C). Avoid placing dill near drafts or heating vents.
Watering Your Indoor Dill
Proper watering is essential for healthy dill plants:
-
Frequency: Keep soil consistently moist but not soggy. Water when the top inch of soil feels dry.
-
Method: Water gently to avoid disturbing roots or compacting soil.
-
Drainage: Always empty excess water from saucers to prevent root rot.
Pruning and Harvesting Dill
Regular harvesting encourages new growth and prolongs the plant’s productivity:
-
When to Harvest: Begin harvesting when plants reach 6-8 inches tall.
-
How to Harvest: Snip the outer leaves first, allowing the center to continue growing.
-
Seed Harvest: Allow some plants to flower and produce seeds for pickling or spice use.
-
Pruning: Remove flower heads if you want to prolong leaf production, as flowering can reduce leaf flavor.
Common Problems and How to Solve Them
-
Leggy Growth: Often caused by insufficient light. Move dill to a sunnier location or add grow lights.
-
Yellowing Leaves: May indicate overwatering or poor drainage. Adjust watering habits and check pot drainage.
-
Pests: Watch for aphids and spider mites; treat infestations with insecticidal soap or neem oil.
-
Bolting: Dill tends to bolt in warm conditions. Keep the plant cool and provide adequate light.
Benefits of Growing Dill in Your Kitchen
-
Freshness: Homegrown dill is more flavorful and aromatic than store-bought.
-
Nutrition: Dill is rich in antioxidants, vitamins A and C, and has digestive benefits.
-
Low Maintenance: Dill requires minimal care once established.
-
Versatility: Use fresh dill in a wide range of dishes, from soups and salads to pickles and fish.
Tips for a Thriving Kitchen Dill Garden
-
Rotate Your Plant: Turn your pot regularly for even light exposure.
-
Avoid Overcrowding: Thin seedlings to improve airflow and reduce disease risk.
-
Companion Herbs: Grow dill alongside other herbs like parsley, cilantro, or basil for a diverse kitchen garden.
-
Repotting: Refresh soil and repot every 1-2 years to maintain healthy roots.
Conclusion
Growing dill indoors is an easy and rewarding way to ensure fresh, aromatic herbs are always available for your daily cooking. By selecting the right container, providing well-draining soil, offering sufficient light, and practicing proper watering and harvesting techniques, you can cultivate a thriving dill garden right in your kitchen. Whether you’re enhancing a salad, seasoning fish, or making homemade pickles, having fresh dill at your fingertips elevates your culinary creations and brightens your kitchen space.


