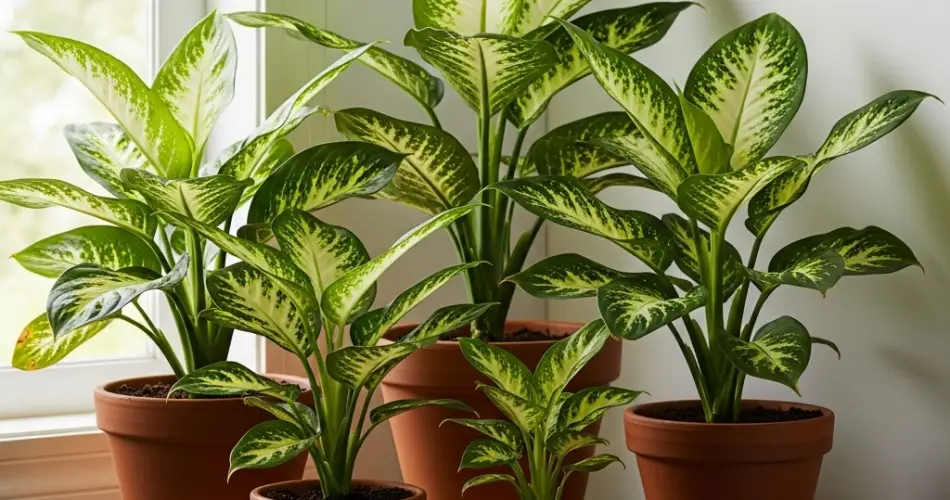
Dieffenbachia, commonly known as Dumb Cane, is a favorite among indoor plant enthusiasts for its lush, tropical leaves and striking patterns. With varieties that feature vibrant greens, creamy whites, and even speckled or striped patterns, it makes a bold statement in any home. While it’s relatively low-maintenance, growing Dieffenbachia successfully in containers requires attention to the plant’s specific needs—especially when it comes to pot size, soil, watering, and light.
This guide covers everything you need to know to keep your Dieffenbachia healthy and thriving in a container setup, whether you’re a new plant parent or an experienced indoor gardener.
Why Container Growing Works Well for Dieffenbachia
Dieffenbachia adapts well to life in pots. In fact, container growing allows better control of soil quality, drainage, light exposure, and watering—all critical to preventing the most common problems associated with this plant.
Benefits of container growing include:
-
Mobility: Easily move your plant to adjust light exposure or humidity.
-
Controlled environment: Reduce the risk of pests and diseases.
-
Better drainage: Prevents soggy soil, a major cause of root rot.
-
Stylish display: Choose decorative pots to enhance your indoor decor.
Whether placed on the floor, on a plant stand, or tucked into a well-lit corner, Dieffenbachia in a container adds vibrant greenery to any interior.
Choosing the Right Container
Start with a container that supports the plant’s height and growth habits. Dieffenbachia can grow quite tall—up to 5 feet indoors—so your pot needs to accommodate both its root system and top-heavy structure.
Container tips:
-
Size: Use a pot that is 1–2 inches wider than the plant’s current root ball. Avoid oversized pots, which can retain excess water.
-
Material: Choose ceramic, plastic, or terracotta. Plastic and ceramic help retain moisture; terracotta is breathable and reduces waterlogging.
-
Drainage: Ensure the pot has drainage holes. If using a decorative container without holes, place the plant in a plastic nursery pot inside the decorative pot to allow water to escape.
A heavier pot will also help stabilize the plant as it grows taller and more top-heavy.
Best Potting Soil for Dieffenbachia
The right soil mix is crucial for Dieffenbachia health. It prefers rich, well-draining soil that holds moisture without becoming soggy.
Recommended mix:
-
2 parts peat moss or coconut coir
-
1 part perlite or coarse sand
-
1 part compost or high-quality potting soil
This combination provides the balance of drainage, aeration, and nutrient retention the plant needs.
Avoid heavy garden soils or mixes that stay too wet, as Dieffenbachia roots are prone to rot in poorly draining soil.
Light and Location
Dieffenbachia thrives in bright, indirect light. It can tolerate medium light, but insufficient light may cause leaf color to fade and growth to slow.
Lighting guidelines:
-
Place near a north or east-facing window for soft morning light.
-
Avoid direct afternoon sun, which can scorch the leaves.
-
In low-light spaces, consider supplementing with fluorescent or LED grow lights.
Rotate the pot every few weeks to encourage even growth and prevent the plant from leaning toward the light source.
Watering and Humidity
Proper watering is key to success with Dieffenbachia. It prefers evenly moist soil but does not tolerate soggy roots.
Watering tips:
-
Water when the top 1–2 inches of soil feel dry.
-
Reduce watering in winter when growth slows.
-
Always empty drainage trays after watering.
Dieffenbachia also appreciates higher humidity levels. If your home is dry, especially in winter:
-
Mist the leaves occasionally.
-
Use a humidifier or place the pot on a tray filled with water and pebbles.
-
Group it with other plants to create a mini humidity zone.
Feeding and Maintenance
Feed your Dieffenbachia every 4–6 weeks during the growing season (spring through early autumn) with a balanced liquid houseplant fertilizer diluted to half strength. Avoid over-fertilizing, which can lead to leaf browning.
Other care tips:
-
Dust the leaves regularly with a damp cloth to keep them clean and allow the plant to photosynthesize effectively.
-
Prune dead or yellowing leaves to encourage healthy growth and improve the plant’s appearance.
-
Support tall plants with a small stake if needed to keep them upright.
When and How to Repot
Repot your Dieffenbachia every 1–2 years or when you notice:
-
Roots growing through the drainage holes
-
Water sitting on the surface without absorbing
-
Slowed growth or a generally tired appearance
To repot:
-
Choose a pot one size larger than the current one.
-
Gently remove the plant and loosen the roots.
-
Replace old soil with fresh, nutrient-rich potting mix.
-
Water thoroughly and place in indirect light.
Watch Out for Common Issues
-
Yellow leaves: Often a sign of overwatering or poor drainage.
-
Drooping leaves: Could indicate underwatering or sudden environmental changes.
-
Brown tips: Usually caused by low humidity or excessive fertilizer.
-
Pests: Spider mites and aphids are common—treat with insecticidal soap if necessary.
Final Thoughts
Dieffenbachia is a stunning, easygoing houseplant that thrives in a well-planned container setup. With the right pot, soil, light, and care, it will reward you with lush, vibrant foliage all year long. Whether you’re styling it in a sleek modern planter or a woven basket for a natural look, this tropical beauty is sure to brighten your space and elevate your indoor garden with minimal effort.
Give it a little attention and the right environment, and your container-grown Dieffenbachia will thrive for years to come.


