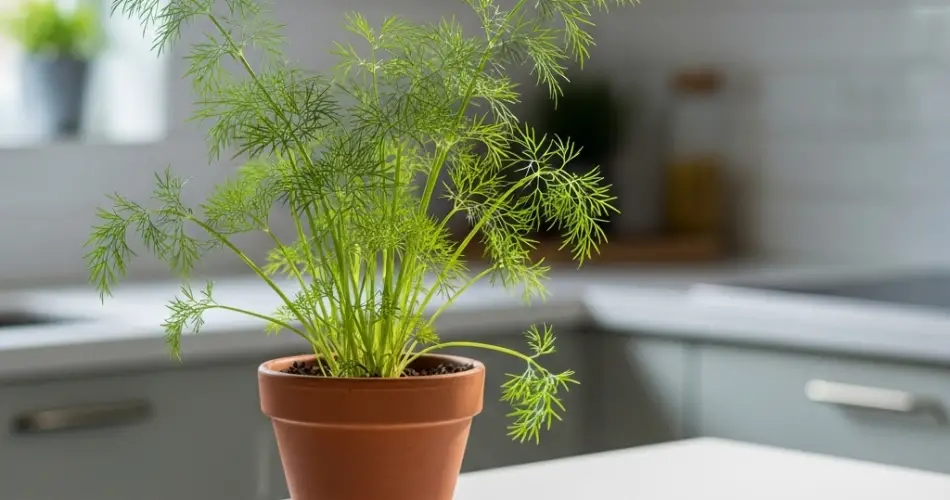
Dill is a wonderfully fragrant and feathery herb that brings a fresh, slightly tangy flavor to dishes ranging from pickles and sauces to salads and seafood. While it’s often grown outdoors in garden beds, dill can thrive indoors with the right care. This makes it a perfect addition to a kitchen herb garden, especially for home cooks who want fresh herbs within reach year-round.
With its quick growth and minimal maintenance requirements, dill is a great choice for small-space gardeners, apartment dwellers, or anyone looking to add flavor and greenery to their indoor cooking space.
Why Grow Dill Indoors?
Having dill on your windowsill or countertop means you’ll always have access to fresh leaves for cooking or garnishing. Indoors, dill is safe from extreme weather and pests, and it grows quickly—making it one of the easiest herbs to start from seed.
Plus, its delicate, fern-like foliage adds a decorative touch to any kitchen. Whether you’re mixing up homemade tzatziki, whipping together salad dressings, or preparing your own batch of pickles, fresh dill from your indoor garden will elevate your meals with little effort.
Best Dill Varieties for Indoor Growing
While most dill varieties can be grown indoors, some are better suited to small containers due to their compact size. Here are a few good choices:
-
Fernleaf Dill – A dwarf variety ideal for container growing; stays under 18 inches tall.
-
Bouquet Dill – Grows quickly and produces flavorful leaves and seeds; good for pickling.
-
Dukat Dill – A sweet-tasting variety with a high leaf yield, perfect for cooking.
Choose varieties based on your available space and whether you want to harvest mostly leaves or seeds.
Choosing the Right Container
Dill has a long taproot and prefers deeper pots. Select a container that is at least 10–12 inches deep to allow the roots room to grow. It should also have good drainage holes to prevent water from accumulating at the bottom, which can lead to root rot.
Terra cotta or plastic pots with a tray underneath work well. If space allows, a rectangular window box-style planter can accommodate several dill plants side by side.
Soil and Planting
Dill thrives in light, well-draining soil. Use a high-quality potting mix designed for vegetables or herbs. You can improve drainage further by mixing in a bit of perlite or coarse sand.
Start dill from seed directly in the container, as it doesn’t transplant well due to its sensitive taproot. Sprinkle the seeds over the soil surface, lightly cover with about ¼ inch of soil, and water gently.
Keep the soil moist (but not soggy) until the seeds germinate, which typically takes 7–10 days.
Light and Temperature Needs
Dill needs at least 6 to 8 hours of sunlight daily. Place the pot in a sunny, south-facing window for the best results. If natural light is limited, use a grow light positioned about 6 inches above the plant, keeping it on for 12 to 14 hours a day.
Dill prefers cooler indoor temperatures, ideally between 60°F and 70°F (15°C to 21°C). Avoid placing it near heat sources or in areas with strong drafts.
Watering and Feeding
Keep the soil consistently moist, especially during germination and early growth. Once the plant is established, water when the top inch of soil feels dry. Always water at the base of the plant and let excess water drain out to prevent soggy roots.
Dill doesn’t need much feeding. Apply a balanced, water-soluble fertilizer every 4–6 weeks during the growing season. Avoid overfeeding, as this can lead to excessive foliage with reduced flavor intensity.
Harvesting Dill Leaves and Seeds
You can begin harvesting dill once the plant reaches about 6 inches tall. Use clean scissors to snip the outer stems just above a leaf node. Regular harvesting encourages bushier growth and extends the life of the plant.
If allowed to flower, dill will eventually produce seeds. These can be harvested for culinary use or to start a new batch of plants. To collect seeds, allow the flower heads to dry on the plant, then cut them and shake the seeds into a paper bag.
If your primary goal is fresh leaves, pinch off flower buds as soon as they appear to prevent the plant from bolting (going to seed too early).
Common Indoor Dill Issues
-
Leggy growth is usually due to insufficient light. Move the plant to a sunnier location or increase grow light exposure.
-
Yellowing leaves may signal overwatering or nutrient deficiency. Let the soil dry slightly between waterings and consider a light feeding.
-
Aphids or fungus gnats can occasionally appear. Rinse the plant with water or use a natural insecticidal soap if needed.
Maintaining proper airflow and avoiding overcrowding helps reduce most common problems.
Final Thoughts
Growing dill indoors is a simple and rewarding way to bring freshness and flavor to your kitchen. With its fast growth, minimal care needs, and versatility in recipes, dill is the perfect herb to grow on a sunny windowsill. Whether you use it in creamy sauces, fresh salads, or crunchy pickles, homegrown dill adds a vibrant touch to any dish. Keep it happy with plenty of sunlight, occasional watering, and regular harvesting, and it will reward you with continuous culinary inspiration.


