Dill (Anethum graveolens) is a light, feathery herb known for its distinct flavor and versatility in the kitchen. Whether you enjoy it sprinkled over fish, mixed into yogurt sauces, or used in homemade pickles, dill adds a fresh and slightly tangy taste to your dishes. While it’s commonly grown outdoors, dill can also thrive indoors with the right care.
If you want quick access to fresh herbs without stepping outside, growing dill on your kitchen windowsill is a simple and rewarding option. Here’s how to grow healthy, flavorful dill indoors all year round.
Why Grow Dill Indoors?
Dill is a fast-growing annual herb that matures quickly and can be harvested multiple times throughout its life cycle. When grown indoors, dill is protected from pests and unpredictable weather. It also adds a soft, attractive greenery to your kitchen space while supplying fresh flavor on demand.
Indoor dill cultivation is especially ideal for those with limited outdoor space, as it only requires a small pot and a sunny location. Plus, having it right in your kitchen makes it easy to harvest leaves whenever you’re cooking.
Choosing the Right Variety
Most types of dill will grow well indoors, but a few compact varieties are better suited to container growing. Consider:
-
‘Fernleaf’ Dill: A dwarf variety that stays under 18 inches tall, ideal for pots and windowsills.
-
‘Dukat’ Dill: Known for its fragrant leaves and good container performance.
-
Standard Dill (like ‘Bouquet’): Taller varieties that need a bit more space and support but still do well indoors with the right setup.
Choose a variety based on your space, light availability, and how often you plan to harvest.
Selecting the Best Container
Dill develops a long taproot, so it prefers a deep pot—at least 10 to 12 inches tall. Use a container with drainage holes at the bottom to prevent water from sitting around the roots, which can lead to rot.
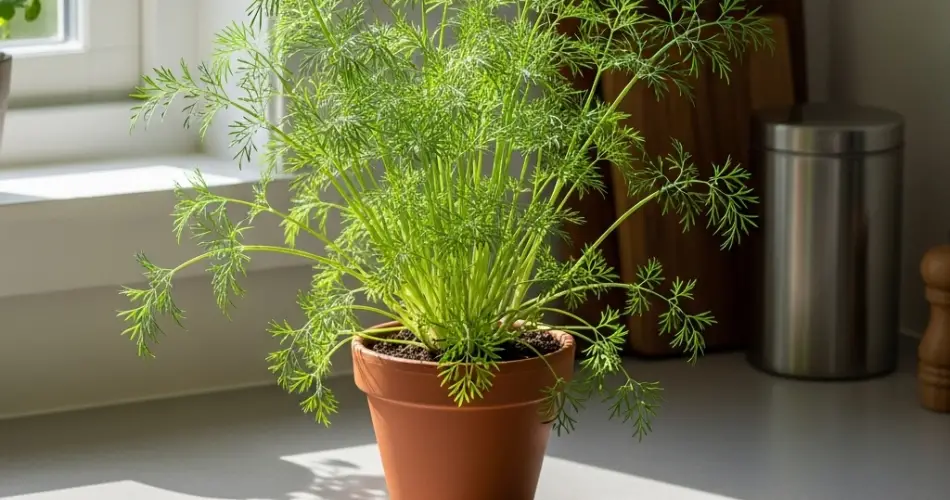
Terracotta or ceramic pots with a saucer underneath are excellent choices, as they allow for good airflow and help maintain soil balance.
The Right Soil Mix
Dill grows best in well-draining, loose soil. Use a high-quality potting mix suitable for herbs or vegetables. To improve drainage, mix in a bit of perlite or coarse sand.
You can make your own mix by combining:
-
2 parts potting soil
-
1 part compost or aged manure
-
1 part perlite or coarse sand
The soil should be slightly acidic to neutral, with a pH between 6.0 and 7.5.
Planting Dill Indoors
Dill grows best when started from seed. Since it doesn’t transplant well due to its delicate taproot, it’s best to sow the seeds directly into the container you plan to grow it in.
To plant:
-
Fill your pot with moist soil.
-
Scatter dill seeds evenly on the surface, about 1/4 inch apart.
-
Cover with a thin layer of soil (1/4 inch deep).
-
Mist lightly with water and place the container in a warm, sunny location.
Seeds will germinate in 7 to 14 days. Keep the soil moist but not soggy during germination.
Light and Temperature
Dill needs plenty of sunlight—ideally 6 to 8 hours of direct sun each day. A south-facing window is best. If your kitchen doesn’t get enough light, supplement with a full-spectrum LED grow light placed about 6–12 inches above the plant.
Keep the indoor temperature between 60–75°F (15–24°C). Avoid placing the plant near cold drafts or heating vents, which can stress the foliage.
Watering and Feeding
Water dill regularly, keeping the soil consistently moist but not soggy. Water when the top inch of soil feels dry. Drain any excess water from the saucer to prevent root rot.
Feed the plant every 4–6 weeks with a diluted, balanced liquid fertilizer. Over-fertilizing is not necessary and may lead to lanky growth.
Pruning and Harvesting
You can begin harvesting dill leaves once the plant reaches 8 inches tall. Use scissors to snip off the feathery fronds, cutting just above a leaf node to encourage bushier growth.
To keep the plant from bolting (producing flowers too soon), harvest frequently and remove any developing flower heads. However, if you’d like to collect seeds, allow a few flower heads to mature and dry.
Common Problems and Solutions
-
Spindly growth: Often caused by lack of light. Move the plant to a sunnier spot or add a grow light.
-
Yellowing leaves: Usually a sign of overwatering or poor drainage.
-
Aphids or spider mites: Wipe leaves with a damp cloth or use an organic insecticidal soap.
Using Fresh Dill
Dill is best used fresh, though it can also be dried or frozen for future use. Add it to:
-
Fish dishes, especially salmon
-
Creamy sauces or dips
-
Potato and cucumber salads
-
Egg dishes or deviled eggs
-
Homemade pickles or vinaigrettes
Fresh dill leaves are most flavorful when harvested just before use.
Final Thoughts
Growing dill in your kitchen is an easy way to elevate your meals with homegrown flavor. With its graceful appearance and culinary versatility, dill is a rewarding addition to any indoor herb garden. All you need is a sunny spot, good soil, and consistent care to enjoy this fragrant herb all year long.


