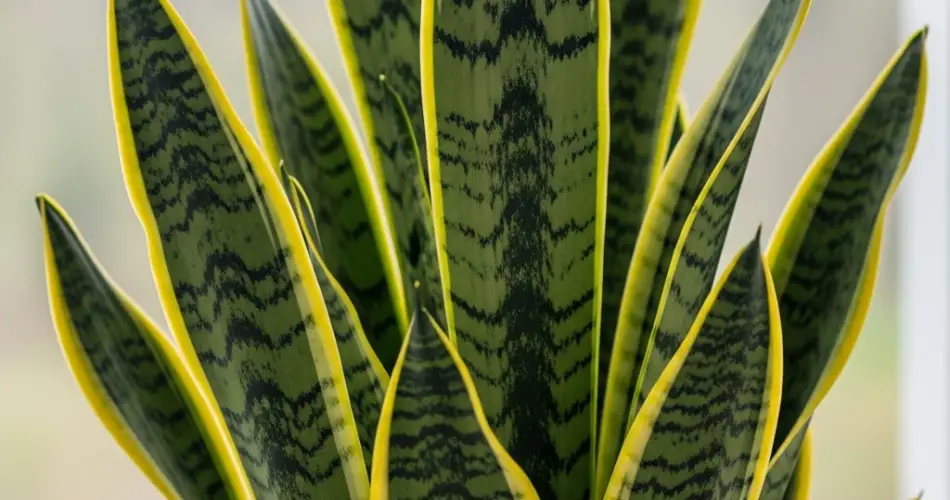
Snake plants (Sansevieria), also known as mother-in-law’s tongue, are among the most resilient and low-maintenance houseplants you can grow. Their upright, sword-like leaves add a modern touch to any home while improving air quality. If you want to nurture your snake plant without relying on expensive fertilizers or complicated care routines, using kitchen scraps is a simple, eco-friendly, and surprisingly effective method.
This guide will walk you through how to care for your snake plant with minimal effort, using everyday kitchen scraps to boost its growth and keep it healthy.
Why Snake Plants Are Ideal for Easy Care
Snake plants are perfect for beginners and even those who tend to “kill” plants accidentally. Here’s why:
-
They tolerate low light but grow best in indirect sunlight.
-
They require minimal watering since they store water in their thick leaves.
-
They are highly resistant to pests and diseases.
-
They improve indoor air by filtering toxins like formaldehyde and benzene.
These traits make snake plants a forgiving and rewarding houseplant choice.
Step 1: Choose the Right Pot and Soil
Snake plants need well-draining soil to prevent root rot. You can use a standard cactus or succulent mix, or prepare your own by mixing regular potting soil with sand or perlite.
Choose a pot with drainage holes to allow excess water to escape. This simple step protects your plant’s roots from sitting in soggy soil, which can cause damage.
Step 2: Prepare Kitchen Scrap Compost for Your Snake Plant
Kitchen scraps provide valuable nutrients to enrich the soil naturally. Items like vegetable peelings, coffee grounds, banana peels, and eggshells contain minerals and organic matter that benefit plant growth.
To prepare compost from kitchen scraps:
-
Collect vegetable peelings (carrots, cucumber skins, leafy bits), coffee grounds, crushed eggshells, and banana peels.
-
Avoid citrus peels or oily food scraps, which can alter soil pH or attract pests.
-
Chop scraps into small pieces to speed up decomposition.
-
Add these scraps to a compost bin or a DIY container with good drainage.
-
Turn or aerate the compost regularly.
-
After about 4-6 weeks, you’ll have nutrient-rich compost ready for use.
Using this homemade compost will improve your snake plant’s soil structure, moisture retention, and nutrient content, leading to healthier leaves and stronger growth.
Step 3: Apply Kitchen Scrap Compost to Snake Plant Soil
When you repot or refresh your snake plant’s soil, mix in your homemade compost. Use a ratio of about one part compost to three parts soil. This blend ensures the plant gets enough nutrients without waterlogging the roots.
If your snake plant is already potted and healthy, sprinkle a thin layer of compost on the soil surface as a slow-release fertilizer.
Step 4: Make a Kitchen Scrap Nutrient Tea
In addition to compost, you can boost your snake plant’s nutrition with a simple liquid fertilizer made from kitchen scraps.
To prepare:
-
Soak banana peels, vegetable scraps, and coffee grounds in a jar of water for 3-5 days.
-
Stir occasionally to encourage nutrient release.
-
Strain the mixture and dilute the liquid with water at a ratio of 1:5.
-
Use this nutrient-rich “tea” to water your snake plant once every two weeks during the growing season (spring and summer).
This gentle fertilizer provides essential minerals like potassium and nitrogen, promoting strong leaf growth and vibrant color.
Step 5: Proper Watering and Light
Watering is critical for snake plant health:
-
Water only when the top inch of soil is dry to the touch.
-
During winter, reduce watering frequency as the plant’s growth slows.
-
Avoid letting water sit in the saucer beneath the pot.
Snake plants prefer bright, indirect light but can tolerate low light conditions. Avoid direct sunlight, which can scorch their leaves.
Step 6: Temperature and Humidity
Snake plants thrive in typical indoor temperatures between 60°F and 85°F (16°C to 29°C). They tolerate dry air well and don’t require extra humidity, making them ideal for most homes.
Step 7: Regular Maintenance for Long-Term Health
-
Wipe leaves with a damp cloth to remove dust and keep the plant photosynthesizing efficiently.
-
Remove any yellowing or damaged leaves by cutting them off at the base.
-
Repot your snake plant every 2-3 years to refresh the soil and allow room for growth.
-
Propagate by dividing rhizomes or leaf cuttings if you want to multiply your collection.
Troubleshooting Common Issues
-
Yellow leaves usually signal overwatering or poor drainage.
-
Brown tips can indicate underwatering or dry air.
-
Soft or mushy leaves point to root rot—reduce watering and check soil drainage.
-
Pests are rare but may include spider mites or mealybugs; treat with insecticidal soap if needed.
Final Thoughts
Caring for your snake plant using kitchen scraps is a sustainable, cost-effective way to keep it thriving without complicated fertilizers or chemicals. The nutrients from homemade compost and kitchen scrap teas provide natural, gentle nourishment that supports healthy growth and vibrant leaves.
With minimal watering, indirect light, and this simple organic feeding routine, your snake plant will flourish and brighten your home for years to come. This easy care approach makes snake plants accessible even to those new to gardening or those who have struggled to keep plants alive in the past.
Start saving your kitchen scraps today, and watch your snake plant grow stronger and more beautiful with surprising ease.


