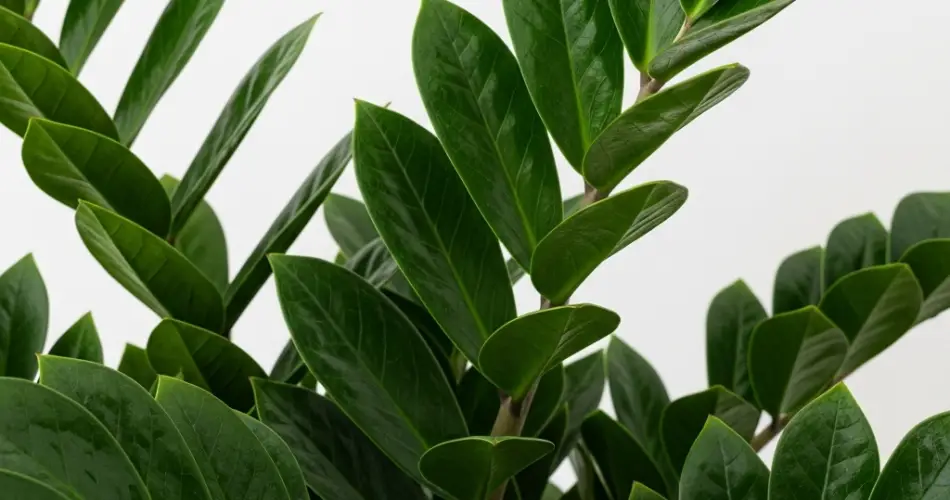
The ZZ plant (Zamioculcas zamiifolia) has become a popular choice for indoor gardening enthusiasts, especially for beginners. Known for its glossy, dark green leaves and remarkable tolerance to low light and drought, the ZZ plant is one of the easiest houseplants to grow and care for. Even if you have zero gardening experience and tend to struggle with growing plants, germinating and propagating a ZZ plant is surprisingly simple.
This guide will walk you through the step-by-step process of germinating and growing your own ZZ plant successfully from scratch, making it accessible and enjoyable for absolute beginners.
What Makes the ZZ Plant So Beginner-Friendly?
Before diving into germination, it’s helpful to know why the ZZ plant is ideal for new gardeners:
-
Tolerates low light: It can thrive in rooms with limited natural sunlight.
-
Drought resistant: Stores water in thick rhizomes, requiring infrequent watering.
-
Pest resistant: Rarely troubled by pests or diseases.
-
Minimal care needs: Does not demand constant attention or frequent fertilizing.
-
Attractive foliage: Adds a lush, tropical look to any indoor space.
Because of these qualities, the ZZ plant is forgiving to mistakes that beginners often make, such as overwatering or insufficient light.
Step 1: Obtain a Healthy ZZ Plant Cutting or Rhizome
The most common and easiest way to start germinating a ZZ plant is through propagation rather than seed germination. ZZ plants rarely produce viable seeds indoors, so propagation from leaf cuttings or division of rhizomes is preferred.
-
If you already have a ZZ plant, take a healthy leaf or stem cutting.
-
Alternatively, you can purchase a small ZZ plant or rhizome from a nursery or online.
-
Make sure your cutting or rhizome is firm, free of disease, and has a healthy green color.
Step 2: Prepare Your Growing Medium
The ZZ plant prefers a well-draining soil mix. Using standard potting soil can work if mixed with materials that improve drainage:
-
Combine regular potting soil with perlite or coarse sand at a ratio of about 2:1.
-
This mix ensures water drains quickly and prevents root rot.
-
Choose a pot with drainage holes to further avoid waterlogging.
Step 3: Propagate Through Leaf Cuttings or Rhizome Division
Leaf Cutting Method:
-
Cut a healthy leaf near the base with a clean, sharp knife.
-
Allow the cutting to dry and callous over for a day to prevent rot.
-
Insert the bottom end of the leaf cutting into the prepared soil.
-
Water lightly to moisten the soil but avoid soaking it.
-
Place the pot in bright, indirect light—avoid direct sun.
Rhizome Division Method:
-
If you have an established ZZ plant, gently remove it from the pot.
-
Locate the rhizomes—thick, potato-like structures at the base.
-
Use a clean knife to divide the rhizomes, making sure each division has roots and stems.
-
Plant each division in fresh potting mix.
-
Water lightly and keep in indirect light.
Step 4: Watering Basics — Less Is More
ZZ plants store water in their rhizomes, so they require less frequent watering than many houseplants.
-
Water only when the top 1-2 inches of soil feel dry.
-
Overwatering is the most common cause of ZZ plant failure.
-
During winter or slower growth periods, reduce watering even more.
-
Always allow excess water to drain away; never let the plant sit in standing water.
Step 5: Provide Proper Light and Temperature Conditions
-
ZZ plants prefer bright, indirect light but tolerate low light well.
-
Avoid placing your ZZ plant in direct sunlight, which can scorch the leaves.
-
Ideal temperature range is between 65°F and 75°F (18°C to 24°C).
-
Protect the plant from drafts and sudden temperature drops.
Step 6: Be Patient — ZZ Plants Grow Slowly
ZZ plants are slow growers, especially when propagated from leaf cuttings.
-
It may take several months for roots and new shoots to develop.
-
Do not be discouraged if you don’t see rapid growth.
-
With consistent care, your ZZ plant will steadily establish itself and eventually thrive.
Step 7: Fertilizing Your ZZ Plant
ZZ plants don’t require frequent fertilizing but will benefit from occasional feeding during the growing season (spring and summer).
-
Use a balanced, water-soluble fertilizer diluted to half strength.
-
Fertilize once every 2-3 months.
-
Avoid fertilizing during fall and winter.
Step 8: Troubleshooting Common Issues
-
Yellowing leaves: Usually due to overwatering or poor drainage.
-
Drooping leaves: Can result from underwatering or sudden changes in environment.
-
Root rot: Caused by excessive moisture; ensure proper drainage and watering practices.
-
Pests: Rare, but spider mites or mealybugs can appear. Treat with insecticidal soap if necessary.
Final Thoughts
Germinating and caring for a ZZ plant requires minimal effort and is ideal for beginners with no gardening experience. By propagating through leaf cuttings or rhizome division, providing well-draining soil, watering sparingly, and placing the plant in indirect light, you can enjoy a beautiful and resilient houseplant in your home.
The ZZ plant’s adaptability and low-maintenance nature make it perfect for anyone new to indoor gardening. With patience and simple care, your ZZ plant will grow into a stunning and lasting addition to your green space.


