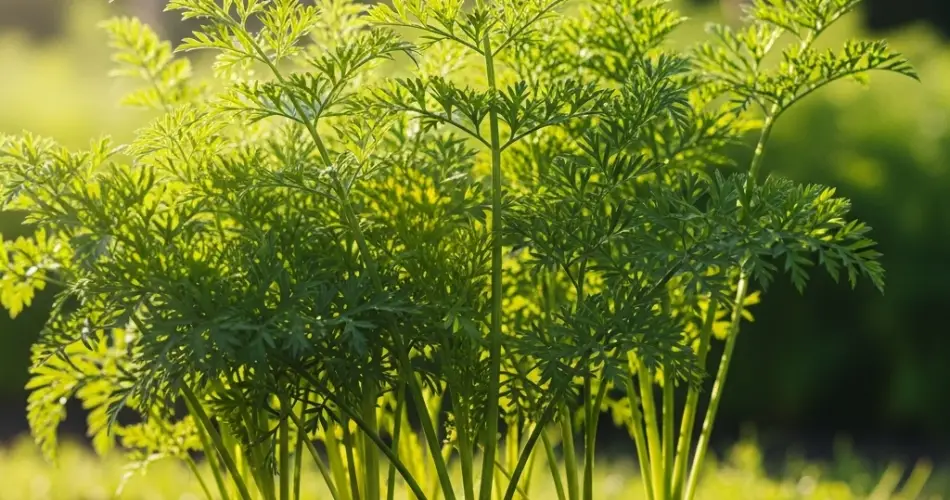
Carrots are a beloved vegetable in many kitchens worldwide — crunchy, sweet, and packed with nutrients. Growing your own carrots can be both rewarding and surprisingly simple, especially when you harness the power of kitchen scraps. Not only does this approach save money and reduce waste, but it also provides a sustainable way to cultivate fresh carrots right at home. Whether you have a garden patch or just a small container, raising carrots using kitchen scraps is easier than you might think. Here’s a detailed guide to help you grow carrots with surprising ease by reusing kitchen scraps.
Why Grow Carrots from Kitchen Scraps?
Growing carrots from scraps is an eco-friendly gardening hack. Instead of tossing the carrot tops, you can regenerate them and grow fresh carrot greens, which are edible and nutritious. While you can’t regrow the actual root from scraps, carrot tops will sprout new greens that can be used in salads, pestos, or as garnishes. Plus, you can grow carrot seeds or small roots alongside this to get full carrots.
Using kitchen scraps like carrot tops, vegetable peelings, and compost enriches your soil naturally, reduces waste, and creates a thriving growing environment. It’s a great way to connect your cooking and gardening.
Step 1: Regrowing Carrot Tops for Greens
You can regrow carrot tops to get fresh carrot greens, which add flavor and texture to many dishes.
-
Cut about 1 to 2 inches from the top of a fresh carrot.
-
Place the carrot top in a shallow dish or bowl with water, cut side down.
-
Keep the dish in a sunny windowsill with indirect light.
-
Change the water every couple of days to prevent mold or bacteria buildup.
-
In about a week, you’ll notice green shoots emerging from the center.
-
Once the greens grow a few inches tall, you can trim and use them in salads, soups, or as a garnish.
While carrot tops won’t regrow into full carrots, this method gives you fresh, homegrown greens using kitchen scraps.
Step 2: Preparing Soil with Kitchen Scraps Compost
Growing full carrots requires nutrient-rich soil, and kitchen scraps can help create excellent compost.
-
Collect vegetable peelings, coffee grounds, eggshells, and fruit scraps in a compost bin or pile.
-
Avoid meat, dairy, or oily foods that can attract pests.
-
Turn the compost every week or so to speed up decomposition.
-
In about 2-3 months, you’ll have rich, dark compost that’s perfect for carrot beds or containers.
Mix this homemade compost into your garden soil or potting mix to improve fertility and structure, giving your carrots the best start.
Step 3: Sowing Carrot Seeds for Full Roots
To grow full carrots, you’ll need seeds or baby carrots with intact roots.
-
Choose carrot varieties suited to your growing space, such as Nantes or Imperator.
-
Sow seeds directly into loose, well-draining soil mixed with compost.
-
Plant seeds about ¼ inch deep and space them roughly 1 to 2 inches apart.
-
Keep the soil consistently moist but not soggy.
-
Carrots prefer cooler temperatures, so spring and fall are ideal planting times.
Thin seedlings when they reach 2 inches tall, removing weaker plants to allow room for healthy growth.
Step 4: Using Kitchen Scraps as Natural Fertilizers
Beyond compost, some kitchen scraps can be used directly as fertilizer.
-
Crushed eggshells add calcium to soil and deter pests like slugs.
-
Coffee grounds enrich soil with nitrogen, encouraging leafy growth.
-
Banana peels supply potassium and phosphorus for root development.
Chop or blend these scraps finely and sprinkle them around carrot plants, lightly working them into the soil.
Step 5: Caring for Your Carrots
Carrots need consistent care for optimal growth:
-
Water regularly to keep soil moist but avoid waterlogging.
-
Mulch with straw or shredded leaves to retain moisture and suppress weeds.
-
Keep the bed free of weeds that compete for nutrients.
-
Protect carrots from pests like carrot flies by using row covers or companion planting with onions or garlic.
With patience and proper care, carrots typically mature in 60 to 80 days.
Step 6: Harvesting and Enjoying Your Carrots
Knowing when and how to harvest is key.
-
Gently loosen the soil around the carrots with a garden fork.
-
Pull carrots carefully to avoid breaking the roots.
-
Harvest smaller carrots earlier for tender snacks.
-
Larger carrots are ready once they reach the desired size and diameter.
Wash your carrots and enjoy them fresh, roasted, or in your favorite recipes.
Bonus Tips: Extending Your Carrot Growing Season
-
Use containers or raised beds to control soil temperature.
-
Start seeds indoors early and transplant seedlings outside.
-
Use kitchen scraps compost to nourish plants throughout the growing season.
-
Save seeds from mature carrots for future planting.
Conclusion
Raising carrots using kitchen scraps is a surprisingly easy, rewarding, and sustainable gardening practice. From regrowing carrot tops for fresh greens to enriching your soil with homemade compost, you can reduce waste and grow your own nutritious carrots with minimal effort. This method connects your kitchen and garden, turning everyday scraps into vibrant, edible growth.
Start experimenting with your kitchen scraps today and discover how simple it can be to cultivate fresh carrots that taste better than store-bought. With a little care and patience, you’ll enjoy the satisfaction of harvesting your own homegrown carrots—proving that gardening success can be just a kitchen scrap away.


