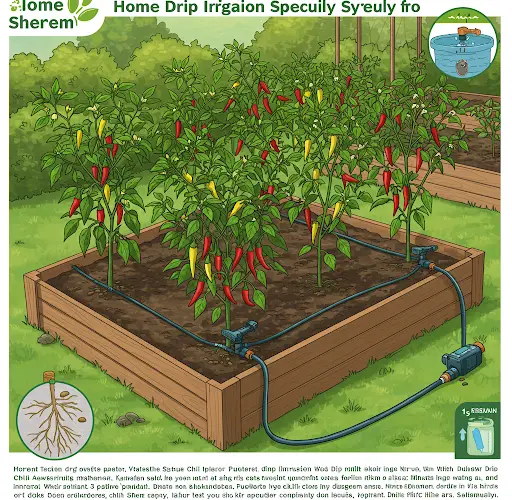
How to Make a Home Drip Irrigation System for Chillis
Growing chillis at home can be a rewarding experience, but keeping them properly watered can sometimes be a challenge, especially during hot or dry seasons. A simple, inexpensive drip irrigation system can make a big difference by providing a steady, slow supply of water directly to the roots of your chilli plants. Not only does this method save time and conserve water, but it also promotes healthier, more productive plants.
Here’s a complete guide on how to create an easy, budget-friendly drip irrigation system for your chillis using everyday materials.
Why Use Drip Irrigation for Chillis?
Chilli plants thrive when they receive consistent moisture. Irregular watering—either too much or too little—can stress the plants, leading to poor fruit development or diseases such as blossom end rot. A drip irrigation system ensures that water is delivered slowly and evenly, encouraging strong root growth and higher yields.
Additionally, drip irrigation helps conserve water by minimizing evaporation and reducing water runoff, making it an eco-friendly choice for home gardeners.
Materials Needed
-
Plastic bottles (1 to 2-liter size recommended)
-
Sharp pin, nail, or needle
-
Candle or lighter (optional, for heating the needle)
-
Scissors or utility knife
-
String or garden wire (optional for hanging installations)
-
Water
Step-by-Step Instructions
1. Select Your Bottles
Choose plastic bottles based on the size of your chilli plants and garden space. One-liter bottles work well for individual plants, while two-liter bottles can serve larger or multiple plants. Ensure the bottles are clean and sturdy.
2. Clean the Bottles
Thoroughly wash the bottles to remove any residues or chemicals. Rinse them well with clean water. Removing labels is also a good idea so you can easily monitor the water level.
3. Create Small Holes
Using a sharp pin, nail, or heated needle, make one or two tiny holes in the bottle cap. If necessary, heat the needle slightly with a candle or lighter to help puncture the plastic.
Tip: Small holes ensure a slow, steady drip, which is ideal for chillis. Avoid making the holes too large, or the water will drain too quickly.
Alternatively, you can make holes near the bottom of the bottle if you plan to place the bottle upright in the soil.
4. Fill the Bottle with Water
Fill the cleaned bottle with water. You can also mix in a diluted fertilizer if you want to provide nutrients slowly along with the water, promoting stronger growth and better fruiting.
5. Install the Bottle
There are two easy ways to install your drip system for chillis:
-
Upside-Down Method:
Insert the bottle cap-first into the soil near the base of the chilli plant. Bury part of the bottle to keep it stable, ensuring the holes are below the soil surface to deliver water directly to the roots. -
Standing Bottle Method:
If you made holes near the bottom of the bottle, stand the bottle upright next to the plant, partially buried. This method makes refilling easier without disturbing the setup.
For chillis grown in pots or raised beds, you can suspend the bottle using string or wire, positioning it upside down to drip slowly into the soil.
6. Adjust and Monitor
After installing the bottle, check the drip rate. Ideally, the bottle should release a few drops per minute. Monitor the moisture level of the soil around the plant to ensure it stays consistently damp but not waterlogged.
If the bottle empties too quickly, make the holes smaller next time. If it drips too slowly or not at all, gently enlarge the holes.
Additional Tips for Success
-
Pre-Wet the Soil:
Water the soil thoroughly before installing the drip system to slow the initial absorption and extend the drip period. -
Mulch Around the Plants:
Adding mulch around your chilli plants helps retain soil moisture, reducing the frequency with which you need to refill the bottles. -
Secure the Bottles:
Use stakes, rocks, or soil to stabilize the bottles, preventing them from tipping over. -
Customize According to Plant Needs:
During hot weather, your chillis may require more water. Adjust the number of bottles or their size according to the season and plant size. -
Refill Regularly:
Check the water levels every few days, especially in very dry conditions, and refill the bottles as needed.
Benefits of a Homemade Drip Irrigation System for Chillis
-
Low-Cost and Eco-Friendly:
Reuses plastic bottles and saves water. -
Consistent Moisture:
Provides a steady supply of water directly to the roots where it’s needed most. -
Time-Saving:
Reduces the need for daily watering, especially helpful for busy gardeners. -
Improved Plant Health:
Healthy, well-watered chillis produce better yields with fewer diseases. -
Simple to Build:
No specialized tools or skills are required—just basic household items.
Final Thoughts
Creating a homemade drip irrigation system for your chilli plants is an easy and affordable way to ensure they receive consistent, efficient watering. With a few simple materials and a little bit of effort, you can enjoy healthier plants, better fruit production, and a more sustainable garden. Whether you have a few potted chillis on your balcony or a large backyard garden, this drip system can help you grow a thriving, productive chilli harvest with minimal hassle.
Give this method a try and see the difference in your chilli plants!


