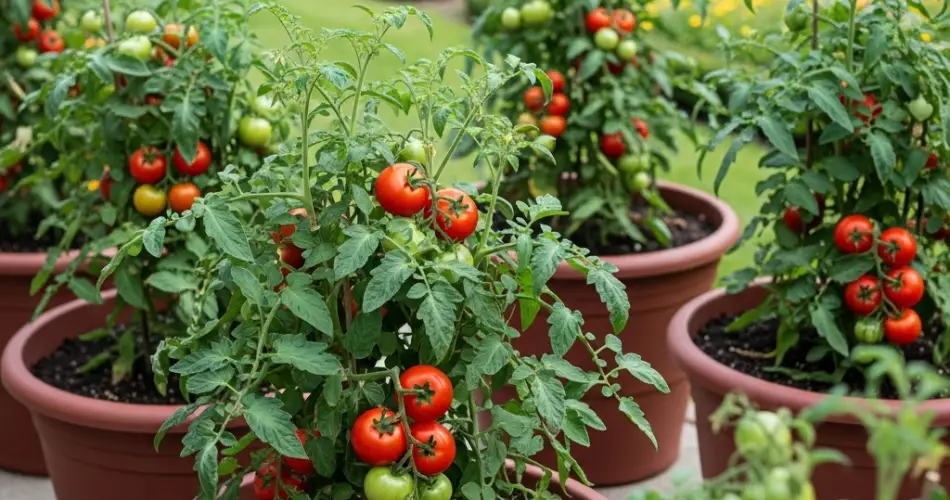
Tomatoes are among the most satisfying and productive crops you can grow at home, even without a traditional garden. Container-grown tomatoes flourish on patios, balconies, porches, or sunny windows—making them a top choice for urban gardeners and anyone short on space. With the right container, soil, and care, you can enjoy juicy, flavorful tomatoes from your own homegrown plants.
Growing tomatoes in containers gives you better control over soil quality, watering, and sun exposure. Whether you’re a first-time grower or a seasoned gardener, container tomato gardening offers convenience and excellent results.
Why Grow Tomatoes in Containers?
Tomatoes thrive in containers because of their ability to adapt to a range of growing environments. Container gardening offers several key advantages:
-
Space-efficient – Perfect for apartment balconies, decks, or small patios
-
Pest management – Reduces the risk of soil-borne diseases and pests
-
Mobility – Allows you to move plants for optimal sunlight or protection from storms
-
Soil control – Custom-blend soil for ideal drainage and nutrition
-
Extended growing season – Easily bring pots indoors when the weather turns cold
By growing tomatoes in containers, you’ll be able to harvest fresh, ripe fruits just a few steps from your kitchen.
Choosing the Best Tomato Varieties for Pots
When it comes to container gardening, compact and productive tomato varieties work best. Here are some excellent options:
-
Cherry or Grape Tomatoes – ‘Tiny Tim’, ‘Sweet 100’, and ‘Sun Gold’ are productive and perfect for smaller containers
-
Bush Tomatoes (Determinate) – ‘Bush Early Girl’ or ‘Patio Princess’ grow to a fixed height and require less staking
-
Dwarf or Container Varieties – Specifically bred for pots; examples include ‘Balcony’, ‘Husky Cherry Red’, and ‘Window Box Roma’
-
Indeterminate Varieties – These vining types like ‘Better Boy’ or ‘Big Beef’ can also thrive in large containers with proper support
Determinate and dwarf varieties are easier to manage in containers, but indeterminate types will produce throughout the season if supported properly.
What You’ll Need
To get started, gather the following materials:
-
A container (at least 5 gallons for most varieties) with drainage holes
-
High-quality potting mix rich in compost or organic matter
-
Tomato seedlings or transplants
-
Organic fertilizer or compost tea
-
Stakes, cages, or trellises for support
-
Mulch (optional)
-
Watering can or hose with a gentle spray setting
Step 1: Choose the Right Container
Tomatoes require deep, roomy containers to develop strong roots and support fruiting. Use pots that are at least 12 inches deep and 14–18 inches wide, depending on the variety. The larger the container, the better—especially for indeterminate types.
Plastic pots, fabric grow bags, half-barrels, and even large buckets all work well, as long as they provide good drainage.
Step 2: Prepare the Soil
Tomatoes prefer loose, nutrient-rich, well-draining soil. Avoid using garden soil, which may be too dense and harbor diseases.
Mix a high-quality potting mix with compost or aged manure. For extra drainage and aeration, add a handful of perlite or coconut coir. You can also blend in a slow-release organic fertilizer to feed the plant over time.
Step 3: Planting Your Tomatoes
Transplant tomato seedlings into the container by burying the stem deeply—up to the first set of leaves. Tomatoes grow roots along their stems, which helps the plant become more stable and productive.
Water the soil thoroughly after planting to settle the roots.
Step 4: Provide Sunlight and Support
Tomatoes need at least 6–8 hours of direct sunlight daily to produce fruit. Place your container in the sunniest location available, ideally facing south or west.
Install a tomato cage, stake, or trellis at the time of planting to avoid damaging the roots later. Indeterminate varieties especially need strong support as they grow taller and produce more fruit.
Step 5: Watering and Feeding
Consistent watering is crucial for healthy tomatoes. Container soil dries out faster than in-ground soil, especially during hot weather.
-
Water deeply when the top inch of soil feels dry
-
Avoid splashing the leaves to reduce fungal risk
-
Mulch the surface to retain moisture and regulate temperature
Fertilize every 2–3 weeks with a liquid organic fertilizer or compost tea. As the plant begins to flower, switch to a formula higher in phosphorus and potassium to support fruiting.
Step 6: Pruning and Maintenance
For indeterminate varieties, pinch off suckers (the small shoots that form between the main stem and branches) to direct energy toward fruit production.
Regularly remove yellowing or diseased leaves to improve airflow and prevent fungal problems. Keep an eye out for pests like aphids or whiteflies and treat with insecticidal soap or neem oil if needed.
Step 7: Harvesting
Tomatoes are ready to harvest when they are fully colored and slightly soft to the touch. Pick fruits gently to avoid damaging the plant.
For the best flavor, allow tomatoes to ripen on the vine. Regular harvesting encourages the plant to produce more fruit.
Final Thoughts
Growing tomatoes in containers is an easy and accessible way to enjoy homegrown produce—even without a traditional garden. With proper soil, sunlight, and care, container-grown tomatoes can yield a bountiful harvest throughout the season.
Whether you’re growing sweet cherry tomatoes for snacking or hearty slicers for sandwiches, container gardening brings fresh, flavorful tomatoes right to your door.


