Kale has become one of the most popular superfoods in recent years, thanks to its impressive nutritional profile and versatility in the kitchen. Packed with vitamins, minerals, and antioxidants, kale is not only healthy but also relatively easy to grow at home. Even if you don’t have a large garden, you can successfully cultivate kale in small containers. With the right approach, you can enjoy fresh, homegrown leaves right from your balcony, patio, or windowsill.
Why Kale is Perfect for Container Gardening
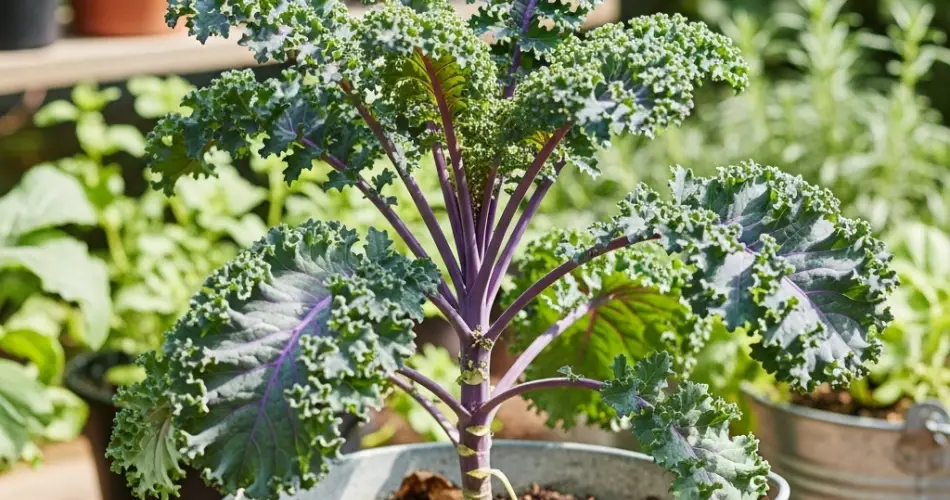
Kale adapts well to container growing because it has a manageable root system and does not require deep soil like some other vegetables. Compact varieties, in particular, thrive in pots and still yield an abundant harvest. Growing kale in containers also allows you to move the plants easily, giving them the right amount of sunlight and protecting them from pests or extreme weather.
Another advantage of container gardening is the control it gives you over soil quality. Unlike garden beds that may harbor pests, weeds, or diseases, containers provide a clean environment for your kale to flourish.
Choosing the Right Container
For kale, a container that is at least 12 inches deep and wide works well. Each container should be able to hold one to two plants comfortably, giving them enough room to spread their roots and leaves. Plastic, ceramic, or clay pots all work, but ensure they have drainage holes at the bottom to prevent water from pooling.
If you plan to grow several plants, larger rectangular containers or planter boxes are also suitable. Adding saucers or elevating the pots slightly will help improve drainage and airflow.
Preparing the Soil
Healthy soil is the foundation of productive kale plants. Use a high-quality potting mix that is light, fertile, and well-draining. Mixing in compost or worm castings provides organic nutrients to support steady growth.
Kale prefers soil with a slightly acidic to neutral pH (6.0–7.0). If your soil is too acidic, adding a small amount of garden lime can balance it. The addition of perlite or coarse sand can further improve drainage, ensuring roots receive both moisture and oxygen.
Planting Kale in Containers
You can grow kale from seeds or transplants. If starting from seed, sow them directly into the container about half an inch deep. Space seeds 8–12 inches apart, depending on the variety. Once seedlings emerge and are 3–4 inches tall, thin them out to avoid overcrowding.
If using transplants from a nursery, plant them at the same depth they were growing in their pots. Gently firm the soil around the base and water well.
For continuous harvests, sow seeds every 3–4 weeks to maintain a steady supply of fresh leaves.
Sunlight and Temperature Needs
Kale grows best in cool weather, with ideal temperatures ranging between 55–75°F (13–24°C). However, it is quite resilient and can tolerate both light frost and moderate heat. In fact, cooler temperatures often improve the flavor, making the leaves sweeter.
Place containers in a location where the plants can receive at least 6 hours of sunlight per day. In hotter climates, providing light afternoon shade will prevent heat stress and premature bolting. The portability of containers makes it easy to adjust placement as the seasons change.
Watering and Fertilizing
Consistent watering is essential for kale, especially when grown in containers, as pots dry out faster than garden soil. Water when the top inch of soil feels dry, aiming to keep the soil evenly moist without becoming waterlogged. Mulching the soil surface with straw or shredded leaves can help retain moisture and regulate temperature.
Kale is a heavy feeder and benefits from regular fertilization. Apply a balanced liquid fertilizer every two weeks, or use organic options like compost tea or fish emulsion to encourage vigorous leaf growth.
Pest and Disease Management
While kale is hardy, it can be affected by pests such as aphids, cabbage worms, and flea beetles. Inspect your plants regularly and remove pests by hand when possible. Natural solutions like neem oil or insecticidal soap can help control infestations without harming your plants.
Container growing reduces the risk of soil-borne diseases, but it is still important to practice good hygiene. Remove yellowing leaves promptly, avoid overhead watering, and rotate or refresh the soil between growing cycles.
Harvesting Kale
Kale leaves can be harvested as soon as they reach a usable size, usually 30–40 days after planting. Use the cut-and-come-again method by snipping outer leaves while leaving the central growth intact. This allows the plant to keep producing new leaves for several weeks or even months.
Younger leaves are tender and perfect for salads, while mature leaves are excellent for cooking in soups, stews, or stir-fries. Regular harvesting encourages new growth and helps prevent the plant from becoming too woody.
Final Tips for Success
-
Choose compact kale varieties like dwarf curly kale for small containers.
-
Sow seeds in succession for a continuous supply.
-
Provide afternoon shade in hot weather to prevent stress.
-
Fertilize regularly for lush, nutrient-rich leaves.
-
Refresh soil between growing cycles to keep plants healthy.
By following these steps, you can easily grow kale in small containers and enjoy a fresh, nutritious superfood at home. Container gardening not only makes kale accessible to those with limited space but also provides a convenient way to harvest healthy greens just steps away from your kitchen.


