Kale has quickly gained popularity as a superfood thanks to its high levels of vitamins, minerals, and antioxidants. While it’s often seen in large garden beds, kale also grows beautifully in containers, making it a perfect crop for those with small patios, balconies, or limited yard space. With just a bucket, good soil, and proper care, you can enjoy a continuous harvest of nutrient-packed kale leaves right outside your door.
Why Kale Works Well in Buckets
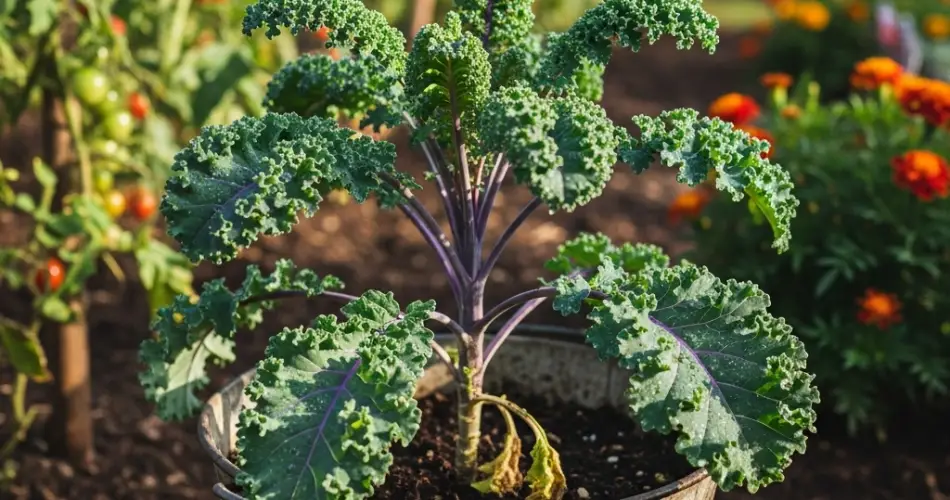
Kale is a hardy, versatile green that adapts well to container gardening. Its compact growth habit and tolerance for cooler weather make it a reliable choice. Growing kale in buckets offers several benefits:
-
Space efficiency – Perfect for small patios or urban balconies.
-
Portability – Buckets can be moved to follow sunlight or shield plants from harsh weather.
-
Extended harvest – Kale grows continuously, allowing you to pick leaves for months.
-
Pest control – Growing in containers reduces soil-borne diseases and makes it easier to manage pests.
Kale thrives in cool conditions, but container growing also lets you extend the season by moving buckets indoors or into sheltered spaces during temperature extremes.
Choosing the Right Bucket
For kale, a 5-gallon bucket provides enough room for the roots to spread and for the plant to grow to full size. If you’d like to plant multiple kale plants together, use a wider container such as a tub or fabric grow bag.
-
Drainage: Drill several holes in the bottom of the bucket to prevent waterlogging.
-
Material: Plastic buckets are affordable and lightweight, while fabric containers offer excellent airflow for root health.
-
Placement: Set the bucket on a stand, saucer, or wheeled plant caddy to improve drainage and mobility.
Preparing the Soil
Kale prefers nutrient-rich, well-draining soil. For bucket gardening, create a balanced mix such as:
-
40% potting soil or loam
-
40% compost or aged manure for fertility
-
20% perlite, coarse sand, or coco coir for aeration
Mix in a slow-release organic fertilizer or worm castings before planting. Kale is a heavy feeder, so nutrient-rich soil ensures healthy leaf production throughout the season.
Planting Kale in Buckets
Kale can be grown from either seeds or seedlings.
-
From Seeds:
-
Sow seeds ½ inch deep in the bucket and cover lightly with soil.
-
Space seeds about 6–8 inches apart.
-
Thin seedlings once they sprout, leaving the strongest plants.
-
-
From Seedlings:
-
Purchase healthy young plants and transplant them into the prepared soil.
-
Space them 8–12 inches apart for good airflow and leaf development.
-
Buckets typically hold one to two kale plants comfortably, depending on the container’s width.
Sunlight and Watering Needs
Kale grows best in cool weather with plenty of light.
-
Sunlight: Provide 5–7 hours of sunlight per day. In hotter climates, protect plants from harsh afternoon sun to prevent leaf scorch.
-
Watering: Keep soil evenly moist. Kale prefers consistent hydration but not waterlogged conditions. Water deeply whenever the top inch of soil feels dry.
Adding mulch on top of the soil helps retain moisture and keeps roots cooler during warm spells.
Fertilizing for Continuous Growth
Since kale produces leaves over a long season, it benefits from steady feeding.
-
During growth: Use a nitrogen-rich fertilizer every 2–3 weeks to encourage leafy growth.
-
Organic options: Compost tea, fish emulsion, or diluted seaweed extract work well.
-
Tip: Avoid overfertilizing with high-nitrogen feeds late in the season, as this can make leaves too soft and less flavorful.
Harvesting Kale
Kale is one of the easiest greens to harvest. Depending on the variety, leaves are ready in 50–70 days, but baby leaves can be picked much earlier.
-
Cut-and-Come-Again Method: Snip the outer leaves while leaving the central crown intact. The plant will keep producing new leaves.
-
Full Harvest: For larger harvests, cut the whole plant at the base. This works best at the end of the season.
For best flavor, harvest leaves while they are young and tender. Older leaves can become tougher and slightly bitter, but they’re still excellent for soups and stews.
Managing Pests and Problems
Although kale is hardy, some common pests may appear.
-
Aphids – Spray with neem oil or a mild soap solution.
-
Cabbage worms – Inspect leaves regularly and remove them by hand.
-
Flea beetles – Use floating row covers or sprinkle diatomaceous earth on the soil surface.
To reduce disease risks, avoid overhead watering and ensure your bucket setup has good airflow.
Growing Kale Year-Round
Kale is naturally a cool-weather crop, thriving in spring and fall. However, with container flexibility, you can extend your harvest:
-
Summer: Grow heat-tolerant kale varieties and provide shade during the hottest part of the day.
-
Winter: Move buckets to a sheltered spot or indoors near a sunny window. Some kale varieties can withstand frost, and cold actually improves their flavor.
By staggering plantings every few weeks, you can keep a steady supply of fresh kale leaves throughout much of the year.
Final Thoughts
Kale is an ideal leafy green for bucket gardening. It’s resilient, nutritious, and rewarding, providing a long-lasting harvest of fresh leaves even in small spaces. With proper soil preparation, consistent watering, and a little pest management, you can turn your patio or balcony into a thriving mini kale garden.
Whether blended into smoothies, sautéed with garlic, or added to soups and salads, homegrown kale brings both health and flavor to your table. Bucket gardening ensures that even with limited space, you can enjoy this superfood straight from your patio whenever you like.


