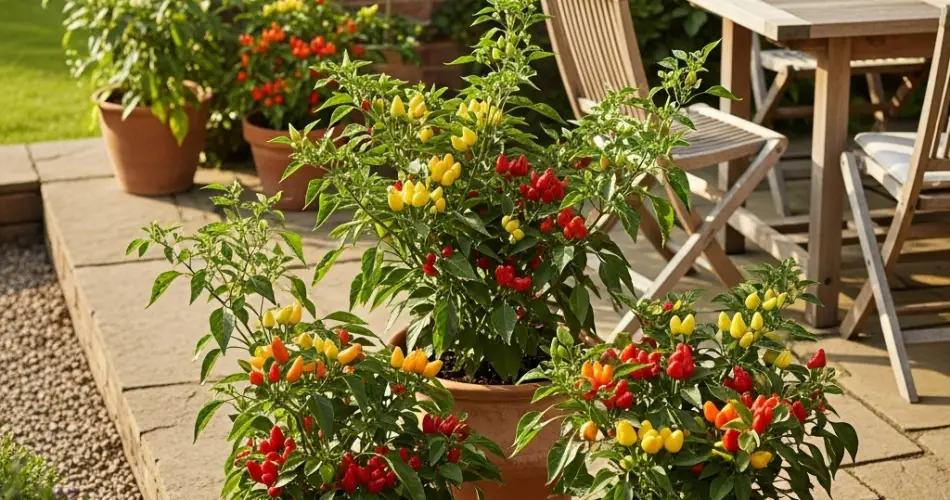
Chilies are a fiery, flavorful addition to any garden—and they grow exceptionally well in pots. Whether you enjoy a mild kick or a scorching bite, cultivating chili peppers in containers is a practical way to grow these spicy favorites at home. Perfect for patios, balconies, and sunny windowsills, potted chili plants thrive with the right soil, light, and care.
Compact, ornamental, and productive, chili plants are ideal for container gardening. They don’t require much space, and their bright fruits add color and character to small garden settings. Here’s a complete guide to growing fiery chilies in patio pots.
Why Grow Chilies in Pots?
Container gardening offers several benefits, especially for chili growers:
-
Space-efficient: Ideal for limited spaces like patios, balconies, and decks.
-
Portable: Easily move pots to catch more sun or protect from harsh weather.
-
Soil control: Grow in the perfect mix without worrying about poor native soil.
-
Pest and disease management: Containers help reduce soil-borne issues.
-
Extended growing season: Bring pots indoors when temperatures drop.
Whether you’re a seasoned gardener or a beginner, growing chilies in containers is simple, rewarding, and spicy fun.
Best Chili Varieties for Pots
Many chili pepper varieties are compact and suited for container gardening. Some top picks include:
-
Cayenne: Long, slender fruits with medium to high heat.
-
Bird’s Eye (Thai Chili): Tiny but very hot—great for small pots.
-
Jalapeño: Mildly spicy and ideal for fresh use or pickling.
-
Habanero: Extremely hot with fruity undertones.
-
Numex Twilight: Colorful ornamental variety with edible, hot fruit.
-
Scotch Bonnet: Sweet and spicy, popular in Caribbean cooking.
Choose varieties based on your preferred heat level and intended culinary use.
Choosing the Right Pot
Chili plants have moderate root systems but benefit from room to grow:
-
Use a pot that’s at least 10–12 inches (25–30 cm) deep and wide.
-
Make sure it has several drainage holes to prevent soggy roots.
-
Clay, ceramic, or plastic pots all work well—just avoid containers that retain too much water.
Larger pots allow for better moisture retention and can support bigger plants with heavier fruit loads.
Soil and Fertilizer
Chilies thrive in light, well-draining soil that’s rich in organic matter. For best results, use:
-
2 parts high-quality potting mix
-
1 part compost or aged manure
-
Optional: Add perlite or sand for extra drainage
Mix in a slow-release fertilizer at planting time, or feed with a balanced liquid fertilizer every 2–3 weeks during the growing season. When flowering begins, switch to a fertilizer higher in potassium to boost fruit production.
Planting Chili Peppers
-
Start from Seed or Seedling: If starting from seed, sow indoors 8–10 weeks before the last frost. Transplant seedlings when they’re 4–6 inches tall and temperatures are consistently warm.
-
Planting Depth: Plant chilies at the same depth as in their original container. Avoid burying the stem too deep.
-
Water After Planting: Give the pot a good soak to help settle the roots.
Sunlight and Temperature
Chilies are sun-loving plants. They need at least 6–8 hours of direct sunlight daily to grow strong and produce well. The warmer and sunnier the spot, the better.
These plants prefer temperatures between 21–29°C (70–85°F). They are sensitive to frost, so bring them indoors or provide protection when temperatures drop below 13°C (55°F).
Watering and Maintenance
-
Water consistently but avoid overwatering. Let the top inch of soil dry out between watering sessions.
-
Mulch the surface with straw or dry leaves to retain moisture and regulate temperature.
-
Staking may be needed for tall varieties with heavy fruit clusters. Use a bamboo stick or small cage for support.
-
Prune lightly to remove damaged leaves and improve airflow.
Flowering and Pollination
Chili plants produce small, star-shaped flowers before setting fruit. Outdoors, natural pollinators like bees will take care of the process. If growing indoors or in a wind-sheltered area, gently shake the plant or use a soft brush to transfer pollen between flowers.
Pest and Disease Prevention
While generally low-maintenance, chilies can occasionally suffer from:
-
Aphids and whiteflies: Spray with neem oil or insecticidal soap.
-
Spider mites: Increase humidity or use organic pest control sprays.
-
Fungal diseases: Avoid wetting the foliage and ensure proper air circulation.
Inspect plants regularly to catch any issues early.
Harvesting Chilies
Chilies are usually ready to harvest 60–90 days after transplanting, depending on the variety. You can pick them green or wait until they mature to red, orange, yellow, or purple, depending on the type.
Use scissors or garden shears to snip the fruit without damaging the plant. Regular harvesting encourages the plant to produce more peppers.
Final Tips
-
Rotate pots every few days if sunlight is uneven.
-
Water in the morning to reduce the risk of fungal issues.
-
Save seeds from mature, healthy fruits for next season’s planting.
-
Overwinter chili plants indoors in warm climates for extended productivity.
Final Thoughts
Growing fiery chilies in patio pots is a rewarding and manageable way to add spice to your home garden. Whether you’re a fan of subtle heat or crave a serious kick, container-grown chili plants offer color, flavor, and convenience in even the smallest spaces. With good sunlight, proper care, and a bit of patience, your patio can become a productive pepper patch bursting with fiery flavor.


