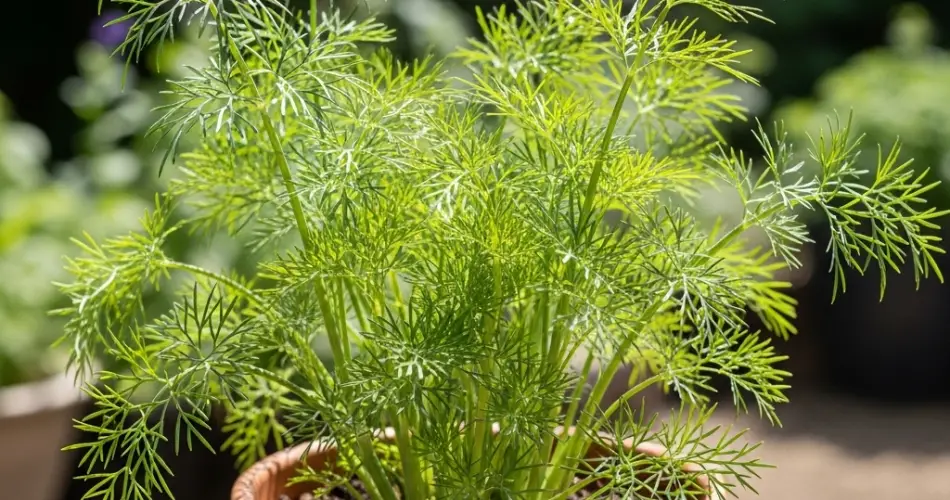
Dill is a fragrant and flavorful herb known for its feathery leaves and distinct aroma. It’s widely used in salads, pickles, seafood dishes, and sauces. Growing dill in containers is an excellent way to enjoy fresh herbs even if you don’t have a garden. Whether you’re a beginner or an experienced home grower, cultivating dill from seeds in pots is straightforward and rewarding. Here’s everything you need to know to get started.
1. Why Grow Dill in Containers?
Growing dill in containers offers several advantages. It allows you to control the soil conditions, reduce the risk of pests, and move the plant easily to optimize light exposure. If you live in an apartment or have limited outdoor space, container gardening is a practical way to add this herb to your kitchen garden.
2. Choosing the Right Container
Dill has a long taproot, so choose a container that is at least 30 cm (12 inches) deep. A wider pot is also beneficial, as it gives the plant room to spread out. Use a container with good drainage holes to prevent water from pooling at the bottom.
You can grow dill in clay pots, plastic containers, or even fabric grow bags, as long as the depth and drainage are suitable.
3. Preparing the Soil
Dill prefers light, well-draining soil with a slightly acidic to neutral pH (6.0–7.5). A general-purpose potting mix enriched with compost works well. You can also mix in a bit of sand or perlite to improve drainage.
Avoid overly rich soil, as too much nitrogen can result in lush leaves but reduced flavor. The goal is to strike a balance that promotes healthy leaf production with strong aromatic qualities.
4. Sowing Dill Seeds
Dill is best grown directly from seed, as it doesn’t transplant well due to its long root system.
Steps for sowing:
-
Fill your pot with prepared soil, leaving about 2 cm (1 inch) from the top.
-
Moisten the soil lightly.
-
Scatter dill seeds over the surface and cover them with a thin layer (about 6 mm or 1/4 inch) of soil.
-
Gently press down to ensure good contact between the seeds and the soil.
-
Water gently using a spray bottle or watering can with a fine rose.
Place the container in a sunny location and keep the soil consistently moist (but not soggy) until germination, which typically takes 7–14 days.
5. Light and Temperature Requirements
Dill thrives in full sun. Place your container where the plant can receive at least 6–8 hours of sunlight per day. A sunny balcony, patio, or south-facing window is ideal.
Dill prefers cooler weather and grows best in temperatures between 15–21°C (60–70°F). In very hot climates, consider offering some afternoon shade or growing dill during spring and autumn.
6. Watering and Feeding
Keep the soil evenly moist, especially during the germination phase and early growth. Water when the top inch of soil feels dry. Avoid overwatering, which can cause root rot or fungal issues.
Dill does not need heavy feeding. If your soil mix is already enriched with compost, additional fertilizer may not be necessary. If desired, apply a diluted liquid fertilizer once every 4–6 weeks during the growing season.
7. Thinning and Spacing
Once your dill seedlings have sprouted and grown to about 5 cm (2 inches) tall, thin them out so the remaining plants are spaced about 15–20 cm (6–8 inches) apart. This ensures adequate airflow and space for each plant to develop properly.
Use scissors to snip off excess seedlings at the base instead of pulling them out to avoid disturbing the roots of nearby plants.
8. Harvesting Dill
You can start harvesting dill leaves when the plant is about 15–20 cm (6–8 inches) tall. Pick leaves as needed by snipping them near the base. Start with the outer leaves and allow the inner leaves to continue growing.
For the best flavor, harvest dill in the morning when the essential oils are most concentrated. If you want to collect dill seeds for seasoning or replanting, allow the plant to flower and set seed. Harvest seed heads when they turn brown and dry, then store the seeds in a cool, dry place.
9. Managing Flowering and Growth
Dill naturally bolts (flowers and goes to seed) in hot weather. Once the plant starts to flower, leaf production slows down. To delay flowering:
-
Keep the plant cool during hot spells.
-
Harvest regularly to encourage leaf growth.
-
Succession sow dill every 3–4 weeks for a continuous supply.
10. Common Problems and Solutions
Dill is generally pest-resistant, but you might encounter issues like aphids or fungal diseases. If pests appear, rinse them off with water or apply an organic insecticidal soap. Ensure good air circulation and avoid overhead watering to reduce disease risks.
Watch out for overcrowding, as dense foliage can trap moisture and invite mildew.
Final Thoughts
Growing dill from seeds in containers is a simple and satisfying way to enjoy fresh herbs at home. With just a pot, some soil, and a sunny spot, you can cultivate your own supply of this versatile herb. Whether you’re garnishing dishes or pickling vegetables, having fresh dill within reach adds flavor and fragrance to your cooking—and beauty to your garden space.


