Chives are one of the easiest and most rewarding herbs to grow indoors. With their mild onion-like flavor, they’re perfect for adding freshness to salads, eggs, soups, and more. Best of all, chives grow exceptionally well in small containers and only need a sunny windowsill to thrive. If you want to grow your own fresh herbs without a garden, this step-by-step guide will walk you through how to grow chives indoors with minimal effort.
1. Why Chives Are Perfect for Indoor Growing
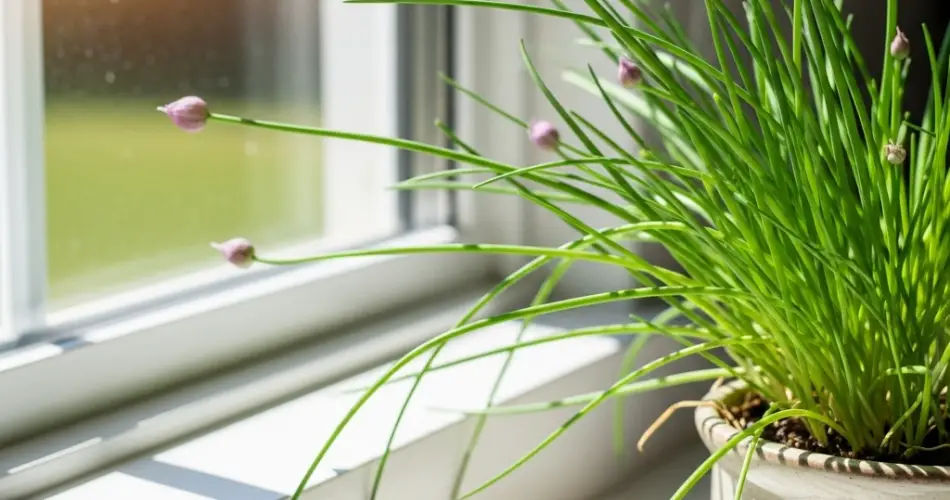
Chives (Allium schoenoprasum) belong to the onion family and are known for their slender green stalks and delicate purple flowers. Unlike other members of the allium family, such as onions or garlic, chives are compact, low-maintenance, and don’t require deep soil. Their small size and tolerance for container life make them ideal for growing in an apartment or small kitchen space.
2. Choose the Right Pot and Soil
Start with a small to medium-sized pot, ideally 10–15 cm (4–6 inches) deep. Make sure it has drainage holes to prevent water from sitting at the bottom and causing root rot. Terracotta or ceramic pots are excellent choices because they allow better air circulation to the roots.
For soil, use a lightweight, well-draining potting mix. You can use a commercial herb or vegetable potting mix or create your own blend using equal parts garden soil, compost, and sand or perlite. Avoid heavy soils that retain too much moisture.
3. Planting Chives from Seeds or Divisions
Chives can be started from seeds, small plants, or divisions from an established clump. Starting from seeds takes a bit longer but is budget-friendly.
To grow from seeds:
-
Sow seeds about 0.5 cm (1/4 inch) deep into the moist soil.
-
Cover lightly with soil and gently pat it down.
-
Water gently to moisten the soil without disturbing the seeds.
-
Place the pot in a warm spot and keep the soil moist.
-
Germination usually takes 10–14 days.
To grow from divisions:
-
If you have access to an established chive plant, divide a clump and plant it into a pot with fresh soil.
-
Water well and place in a sunny location.
4. Provide Plenty of Sunlight
Chives love sunlight. Place your pot in a sunny windowsill where the plant can receive at least 6 hours of direct light per day. South-facing windows are usually the best. If you don’t have enough natural sunlight, you can supplement with a grow light to provide the needed intensity.
Rotate the pot every few days so all sides of the plant receive equal light. This will encourage upright, even growth and prevent the plant from leaning toward the light source.
5. Watering and Feeding
Chives prefer consistently moist soil but not soggy conditions. Check the soil regularly and water when the top inch feels dry to the touch. Be careful not to let the soil dry out completely, especially during hot days.
Indoor chives benefit from occasional feeding. Use a diluted liquid fertilizer every 3–4 weeks during the growing season (spring and summer). Avoid over-fertilizing, as it can cause lush foliage with weak flavor.
6. Regular Harvesting Encourages Growth
Once your chive plant reaches about 15 cm (6 inches) tall, you can begin harvesting. Use scissors to cut the outer stalks about 2.5 cm (1 inch) above the base. Always leave the inner shoots to keep the plant regenerating.
Frequent harvesting not only gives you fresh herbs but also keeps the plant full and bushy. If you let chives grow without cutting, they can become leggy and flower too early.
7. Managing Flowering and Maintenance
Chives will eventually produce round, purple flowers, which are edible and attractive. However, if you want to prolong leaf production, pinch off flower buds as soon as they appear. Once the plant goes to seed, it may slow down leaf production.
Trim back the entire plant occasionally—about once every couple of months—to refresh growth and keep it productive. You can also divide the plant once a year if it becomes too crowded in the pot.
8. Overwintering Indoor Chives
If you live in a colder climate and keep your chives on a windowsill all year, the plant may enter a resting phase during winter. Growth might slow down, and the leaves may yellow. This is normal. Reduce watering and let the plant rest. In early spring, resume regular care, and it will bounce back quickly.
9. Pests and Problems
Chives grown indoors are less likely to suffer from pests, but occasional problems can include aphids or fungal issues. Keep the air around the plant circulating and avoid overwatering. If pests appear, rinse the plant under water or treat it with insecticidal soap.
Final Thoughts
Chives are one of the simplest herbs to grow indoors, even for beginners. With just a sunny spot, a small pot, and basic care, you can have a year-round supply of fresh, flavorful green stalks ready to enhance your cooking. Whether you use them for scrambled eggs, baked potatoes, or salad dressings, having fresh chives just a few steps away is a satisfying and delicious reward for your efforts.