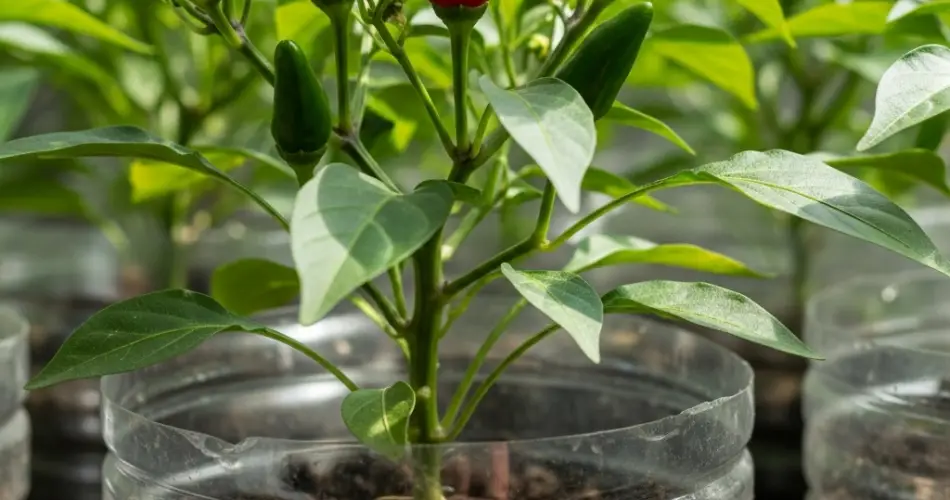
Growing chili peppers at home is both rewarding and practical, especially if you enjoy cooking with fresh, flavorful ingredients. Even if you don’t have a garden, you can successfully grow chili peppers using reused plastic bottles. This method is perfect for balconies, windowsills, patios, or other small spaces—and it helps reduce plastic waste by repurposing containers you already have at home.
Whether you’re planting spicy bird’s eye chilies or milder varieties, this compact gardening technique allows you to enjoy fresh harvests with minimal space and resources.
Why Use Plastic Bottles for Growing Chili Peppers?
Reusing plastic bottles to grow chili peppers offers several advantages:
-
Cost-effective: No need to buy planters or pots.
-
Space-saving: Great for vertical or container gardening in small areas.
-
Eco-friendly: Gives plastic waste a new purpose, reducing landfill contribution.
-
Customizable: Easy to adjust size and shape for different varieties or plant stages.
-
Portable: Lightweight and easy to move for optimal sunlight exposure.
Chili plants are well-suited to containers, making them a perfect match for recycled bottle planters. With good drainage, nutrient-rich soil, and plenty of sunlight, they can thrive in a bottle just as they would in a garden bed.
Materials Needed
To get started, gather the following materials:
-
1.5-liter or 2-liter plastic bottles (larger ones for bigger varieties)
-
Scissors or a utility knife
-
High-quality potting soil or compost-rich mix
-
Chili seeds or young seedlings
-
A small tray or plate to catch water runoff
-
Water
-
Optional: slow-release fertilizer or compost tea
Preparing the Bottles
-
Clean the Bottles: Rinse thoroughly to remove any residue. Let them dry.
-
Cut the Bottle:
-
For upright planting, cut off the top third of the bottle and use the bottom as a container.
-
For a horizontal or side-planting setup, cut a rectangular opening along one side while keeping the rest intact.
-
-
Add Drainage Holes: Poke several small holes at the bottom of the bottle using a heated nail, knife tip, or scissors. This allows excess water to escape and prevents root rot.
-
Set the Bottle: Place it on a tray or shallow dish to collect drained water and make watering tidier.
Selecting the Right Chili Variety
Most chili pepper varieties adapt well to container gardening. However, compact or dwarf types are especially ideal for growing in bottles. Some recommended varieties include:
-
Thai chili (Bird’s Eye)
-
Cayenne
-
Jalapeño
-
Tabasco
-
Habanero (for advanced growers)
Choose seeds or seedlings based on your preferred heat level and available space.
Planting Chili Peppers
-
Fill the Bottle: Add potting mix until about 2–3 cm below the bottle’s edge. The mix should be well-draining and rich in organic material.
-
Sow Seeds or Transplant Seedlings:
-
For seeds: Plant 2–3 seeds about 1 cm deep. Cover lightly and water gently.
-
For seedlings: Make a small hole and carefully place the root ball inside. Firm the soil around the base.
-
-
Water Lightly: Use a watering can with a narrow spout or a spray bottle to moisten the soil evenly without disturbing seeds or roots.
Positioning and Sunlight
Chili peppers thrive in warmth and sunlight. Place your bottle garden in a spot that receives at least 6 to 8 hours of direct sunlight daily. A sunny windowsill, balcony railing, or outdoor shelf are ideal locations.
If growing indoors, supplement with a grow light if needed to ensure the plant gets enough light.
Ongoing Care and Maintenance
-
Watering: Keep the soil slightly moist but not soggy. Allow the top layer to dry out slightly between waterings to avoid overwatering.
-
Feeding: Once the plant establishes (2–3 weeks after sprouting or transplanting), feed every two weeks with diluted compost tea or an organic liquid fertilizer.
-
Pruning: Pinch off the top of the plant once it reaches about 20–25 cm tall to encourage bushier growth and more fruit production.
-
Supporting Growth: For taller varieties, insert a small stick into the bottle and tie the main stem loosely with string for support.
-
Pollination: Outdoors, insects help with pollination. Indoors, you can gently shake the plant or use a soft brush to transfer pollen between flowers.
Flowering and Fruiting
Chili plants usually begin flowering around 6–8 weeks after germination. Soon after, small peppers will start to develop. The more flowers you have, the more fruits your plant can produce—provided it has enough nutrients and sunlight.
Be patient. Some chili varieties take 70–100 days from germination to harvest.
Harvesting
Harvest peppers when they reach full size and desired color. Use scissors or gently twist the peppers off to avoid damaging the plant. Regular harvesting encourages continued fruit production.
Wear gloves when picking very hot peppers to avoid skin irritation.
Replanting or Expanding
After harvesting, you can refresh the soil in your bottle and plant another round of chilies or even try other vegetables like basil, tomatoes, or lettuce. Bottles are reusable and easy to label for crop rotation.
You can also expand your setup by adding more bottles, stacking them vertically, or attaching them to a wooden or wire frame for a full bottle garden wall.
Final Thoughts
Growing chili peppers in reused bottles is a practical, sustainable way to enjoy homegrown spice even in the smallest of spaces. With just a bit of care and creativity, you can turn discarded containers into thriving mini-gardens. Whether you’re new to gardening or a seasoned plant lover, this method offers flavorful results with minimal effort—and a green way to reuse plastic at home.


