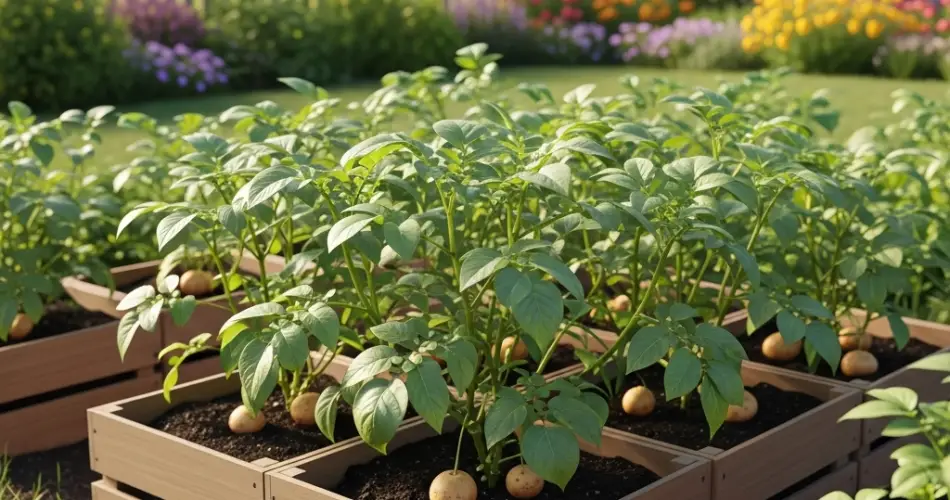
Growing potatoes in crates is an excellent solution for gardeners with limited space or poor soil conditions. This method allows you to cultivate a generous crop of potatoes in a small area, while giving you better control over soil quality, drainage, and pest prevention. Whether you have a compact backyard, a sunny patio, or even a spacious balcony, crate-grown potatoes can thrive with just a little care and attention.
Here’s a complete guide to growing a bountiful potato harvest using wooden crates.
Why Grow Potatoes in Crates?
Crate gardening provides many advantages for growing potatoes. Potatoes need loose, well-draining soil and benefit from being hilled (covered with soil as they grow). Crates make this easy, allowing you to add soil in layers as the plants develop. This vertical growth approach is space-efficient and reduces issues with soil compaction and waterlogging.
Crates also help deter pests such as potato beetles and slugs, and they’re easier to manage and harvest than in-ground beds.
Materials You’ll Need
Before starting, gather these basic materials:
-
A deep wooden crate (minimum 16–18 inches tall)
-
Seed potatoes (certified disease-free)
-
Loose, well-draining soil
-
Compost or aged manure
-
Straw or mulch (optional)
-
Landscape fabric or burlap for lining (optional)
-
A trowel or small shovel
-
A watering can or garden hose with a gentle spray setting
Step 1: Prepare the Crate
Choose a wooden crate that is deep and sturdy. If it doesn’t have drainage holes, drill several at the base to prevent excess moisture buildup. For added structure and cleanliness, line the inside with landscape fabric or burlap to contain soil while allowing water to drain.
Position the crate in a location that receives at least 6–8 hours of direct sunlight per day. Potatoes need warmth and light to grow well.
Step 2: Prepare the Seed Potatoes
Purchase certified seed potatoes to ensure they’re free from disease. A few days before planting, cut large seed potatoes into chunks with at least one or two eyes each. Let the cut pieces sit at room temperature for 24–48 hours to allow the cut surfaces to dry and form a protective callus.
Smaller seed potatoes can be planted whole without cutting.
Step 3: Start with a Shallow Soil Base
Fill the bottom of the crate with 4–6 inches of soil mixed with compost or aged manure. Potatoes prefer slightly acidic, loose soil that drains well. Avoid using heavy clay soils, which can hinder tuber growth and drainage.
Place the seed potatoes on the soil surface with the eyes facing up, spaced about 6 inches apart. Cover them with another 3–4 inches of soil.
Step 4: Watering and Initial Growth
After planting, water the crate thoroughly but gently. Keep the soil moist, not soggy. Consistent watering is important, especially as sprouts begin to appear. Avoid letting the soil dry out completely during the growing season.
In a week or two, green shoots will emerge from the soil. Once the plants grow to about 6 inches tall, it’s time to start hilling.
Step 5: Hilling the Plants
Hilling is the process of adding more soil around the base of the plants as they grow. This encourages the formation of more tubers and protects them from sunlight, which can turn them green and toxic.
When the stems reach 6–8 inches high, add 4 inches of soil around the base, covering the lower leaves. Repeat this process every 1–2 weeks until the crate is nearly full. You can also use straw or shredded leaves as a lightweight alternative to soil for hilling.
Step 6: Ongoing Care
Potatoes don’t need a lot of maintenance, but consistent watering is key to preventing irregular tuber growth. Water deeply whenever the top inch of soil feels dry. Avoid overwatering, as soggy soil can lead to rot.
Fertilize with compost tea or a low-nitrogen, high-phosphorus organic fertilizer once or twice during the growing season. This supports healthy root and tuber development.
Keep an eye out for pests like aphids or potato beetles. Handpick any visible pests or use natural sprays like neem oil if infestations occur.
Step 7: Harvesting Your Potato Bounty
Potatoes are ready to harvest when the foliage begins to yellow and die back, usually about 10–12 weeks after planting for early varieties, and up to 20 weeks for maincrop types.
To harvest, gently remove the top layer of soil and sift through the crate by hand. You’ll find the tubers nestled in the soil layers. Handle them gently to avoid bruising.
Brush off excess dirt but avoid washing the potatoes until you’re ready to use them, as moisture can reduce storage life.
Storage Tips
Let freshly harvested potatoes cure in a cool, dark, and well-ventilated area for 1–2 weeks to toughen their skins. After curing, store them in a breathable container in a cool, dry, and dark place—never in the fridge.
Growing potatoes in crates is an efficient and enjoyable way to produce a generous harvest at home, even in limited space. With minimal effort and a bit of patience, you’ll be rewarded with fresh, homegrown potatoes that are perfect for boiling, roasting, or mashing.


