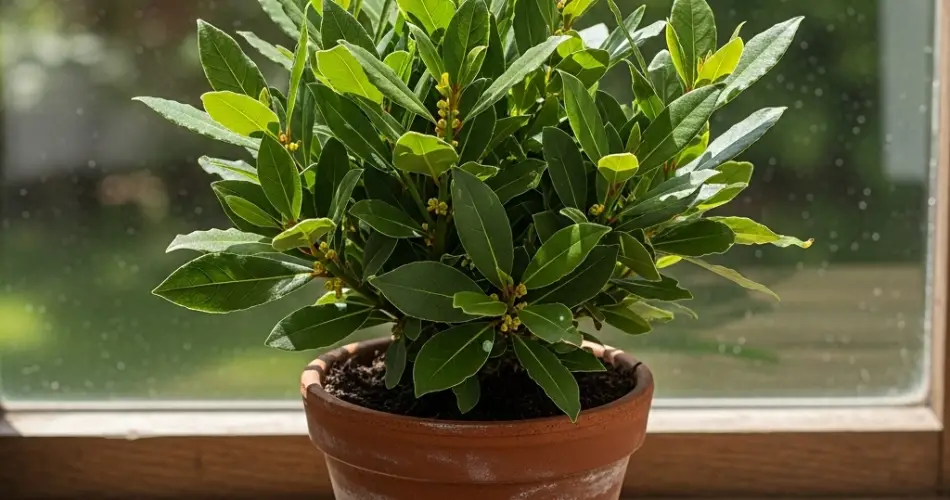
Bay leaves, with their distinctive aroma and subtle flavor, are a beloved addition to countless recipes. From soups and stews to marinades and sauces, these leaves impart a rich, earthy undertone that enhances dishes without overwhelming them. Many cooks reach for dried bay leaves from the store, but growing your own fresh supply at home brings a new dimension to your cooking while ensuring a constant, sustainable harvest. Fortunately, you don’t need a sprawling garden to cultivate this flavorful herb. With the right care, bay laurel (Laurus nobilis) thrives in planters or tubs, making it an excellent choice for patios, balconies, or even indoor spaces with sufficient light.
Why Choose Planters or Tubs for Bay Laurel?
Bay laurel is naturally a tree, capable of reaching heights of 30 feet in the ground. However, in containers, it stays compact and manageable. Growing in planters or tubs keeps the plant’s size under control while allowing you to move it to the best locations for sunlight and protection from harsh weather. This mobility is especially important in cooler regions since bay laurel is frost-sensitive and requires shelter during winter.
Container growth also gives you better control over soil quality and drainage, both of which are essential for maintaining a healthy plant. Instead of battling heavy or waterlogged garden soil, you can provide your bay laurel with the perfect conditions for slow but steady growth.
Choosing the Right Container
Since bay laurel is a slow-growing but long-lived plant, invest in a sturdy container that can accommodate its expanding root system. A planter or tub at least 12–16 inches deep and wide works well for young plants. As your bay tree matures, you may need to repot into a larger container every few years. Choose materials such as clay, ceramic, or heavy-duty plastic that can withstand outdoor conditions.
Drainage is critical. Ensure the container has multiple drainage holes to prevent root rot, as bay laurel dislikes soggy soil. Adding a layer of gravel or broken pottery shards at the bottom of the container can further improve drainage.
Soil and Planting
Bay laurel prefers well-draining soil with a slightly acidic to neutral pH. A high-quality potting mix blended with sand or perlite provides the right balance of aeration and moisture retention. Incorporating organic compost enriches the soil and supports healthy leaf growth.
When planting, position the bay laurel at the same depth it was growing in its nursery pot. Press the soil gently around the base, water thoroughly, and place the container in a sunny location. Bay laurel grows slowly, but patience pays off—it can live for decades with proper care.
Light and Water Needs
Bay laurel thrives in full sun but also tolerates partial shade. For best results, provide at least six hours of direct sunlight daily. If you’re growing the plant indoors, position it near a bright south-facing window or supplement with a grow light.
When it comes to watering, consistency is key. Keep the soil evenly moist during the growing season but never waterlogged. Allow the top inch of soil to dry out before watering again. In winter, reduce watering slightly as growth slows, but don’t let the soil dry out completely.
Fertilizing and Pruning
Feed your bay laurel with a balanced liquid fertilizer once a month during the spring and summer. Organic options such as seaweed extract or compost tea are excellent choices for maintaining healthy growth. Fertilization can be reduced in autumn and stopped entirely during winter dormancy.
Pruning helps maintain a compact and attractive shape, especially in containers. Trim back leggy branches or harvest leaves regularly to encourage fresh growth. Bay laurel also responds well to light topiary shaping if you’d like a decorative addition to your garden or patio.
Harvesting Bay Leaves
Once established, bay laurel provides a steady supply of aromatic leaves. You can harvest individual leaves at any time, though mature leaves offer the strongest flavor. Use them fresh for immediate cooking or dry them for later use. To dry, simply spread the leaves in a single layer in a cool, dry place until crisp, then store them in an airtight container. Properly dried bay leaves retain their flavor for months.
Pests and Problems
Bay laurel is relatively low-maintenance, but it can occasionally attract scale insects, aphids, or mites. These pests are best managed with a spray of insecticidal soap or a simple wipe with a damp cloth. Good air circulation also helps prevent fungal issues such as leaf spot. Regular inspection ensures problems are caught early before they spread.
Benefits of Homegrown Bay Leaves
Aside from their culinary uses, bay laurel adds ornamental value to any space. Its glossy evergreen leaves and naturally upright growth make it both decorative and useful. Growing your own bay leaves also reduces reliance on packaged herbs, aligning with more sustainable living practices.
Another advantage is freshness. Store-bought bay leaves often sit on shelves for months, gradually losing their potency. Harvesting straight from your plant ensures maximum aroma and flavor for your cooking.
Final Thoughts
Growing bay laurel in planters or tubs is a rewarding way to keep this versatile herb within reach year-round. With the right container, soil, and care, even small spaces can accommodate a thriving bay tree that provides beauty and flavor for decades. Whether you use the leaves for soups, sauces, teas, or crafts, having a living bay laurel at home ensures you’ll always have access to fresh, fragrant herbs.
Container-grown bay laurel is more than just a kitchen staple—it’s a lasting, decorative, and sustainable addition to your garden, balcony, or indoor space.


