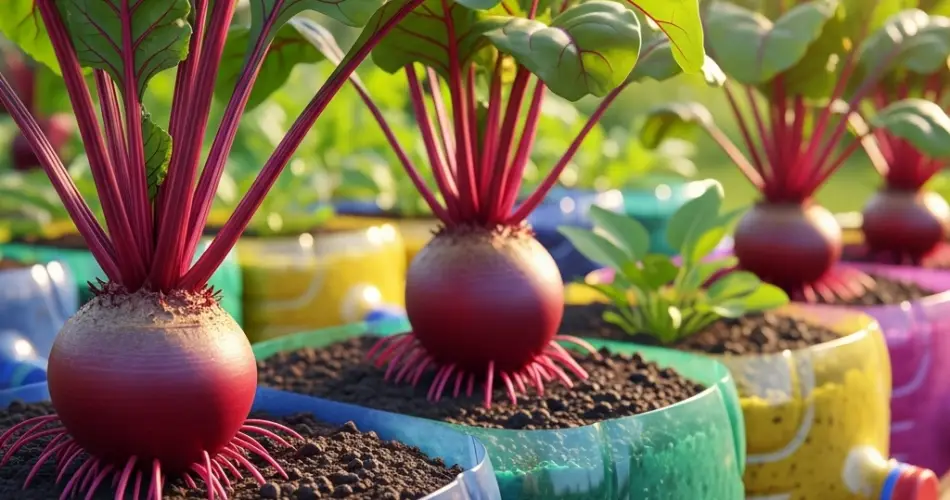
Beets are a versatile and nutritious root crop that don’t need a sprawling garden to grow well. In fact, you can grow them vertically using recycled plastic bottles mounted on a wall. This creative approach to gardening saves space, reuses materials, and produces both tender roots and leafy greens that are delicious and healthy.
Vertical gardening with bottles is ideal for urban dwellers, apartment residents, or anyone looking to grow more in less space. With a little planning, you can enjoy a steady supply of homegrown beets right from your wall—no soil beds or garden rows required.
Why Grow Beets Vertically in Bottles?
This method offers several benefits:
-
Space-saving – Perfect for small areas like balconies, patios, or narrow alleyways
-
Sustainable – Gives discarded plastic bottles a new life
-
Improved drainage – Bottles allow for customized soil and drainage conditions
-
Ease of maintenance – Easier access for watering, harvesting, and pest inspection
-
Decorative and functional – A vertical bottle garden doubles as wall art and food source
Beets thrive in cool to mild weather and don’t require deep soil, making them ideal for bottle-based growing.
Best Beet Varieties for Bottle Gardening
Choose beet varieties that produce small to medium roots and tender greens. Some suitable types include:
-
Detroit Dark Red – A classic variety with deep red flesh
-
Boltardy – Slow to bolt and excellent for small spaces
-
Chioggia – Italian heirloom with beautiful striped flesh
-
Golden Beet – Mild flavor and less staining, with yellow roots
-
Babybeets or Mini Beets – Bred for smaller spaces and quicker harvests
These varieties adapt well to confined environments and produce reliably in vertical setups.
Materials You’ll Need
To start your wall-mounted beet garden, gather these items:
-
Empty plastic bottles (1.5L or 2L soda bottles work best)
-
Sharp utility knife or scissors
-
Potting mix rich in compost
-
Beet seeds
-
A wall, fence, or frame for mounting
-
Screws, nails, or sturdy wire (for securing bottles)
-
A watering can or spray bottle
Optional: paint or decorate bottles for visual appeal
Step 1: Prepare the Bottles
-
Cut the bottle: Lay each bottle horizontally and cut out a large rectangular section along one side—this is where your plants will grow. Leave the cap on and poke small holes in it for drainage.
-
Puncture drainage holes: Add 3–4 small holes at the bottom of the bottle (opposite the cut side) for excess water to escape.
-
Mounting holes: Make small holes on each end of the bottle for attaching to the wall or frame.
You can use string to hang the bottles or attach them directly to a wooden panel, fence, or brick wall with screws or nails.
Step 2: Fill with Soil
Fill each bottle with a lightweight, well-draining potting mix. A blend of compost, coco coir, and a bit of sand or perlite works well. Make sure the soil is moist but not soggy before planting.
Avoid using garden soil, as it tends to compact in small spaces and may carry pests or diseases.
Step 3: Plant the Beet Seeds
Sow 2–3 beet seeds per bottle, spaced about 2–3 inches apart. Plant them about ½ inch deep. Once the seedlings emerge and develop true leaves, thin them to one strong seedling per spot to give each plant room to grow a healthy root.
Beets can also be grown for their greens. If your goal is to harvest baby leaves, you can plant seeds more densely and trim the leaves as needed without thinning the plants.
Step 4: Sunlight and Watering
Beets need 4–6 hours of sunlight daily for good root development. Mount your bottle garden on a wall that receives adequate sunlight—preferably east- or south-facing.
Water your plants gently and consistently. Since bottles can dry out quickly, especially when mounted on a wall, check soil moisture daily. Beets prefer evenly moist soil but do not tolerate soggy roots.
Step 5: Maintenance and Feeding
Beets are relatively low-maintenance but benefit from light feeding every 2–3 weeks. Use a diluted organic liquid fertilizer or compost tea to keep the plants growing strong.
Remove any yellowing leaves and watch for signs of aphids or fungal disease. Good air circulation between bottles helps prevent moisture buildup and reduces disease risk.
Step 6: Harvesting
Beets are usually ready to harvest 50–70 days after planting, depending on the variety and growing conditions. Harvest when the roots are about the size of a golf ball to ensure they remain tender and flavorful.
Use scissors or a small knife to cut the beet greens if you plan to harvest leaves selectively. Greens can be eaten raw in salads or cooked like spinach.
Once harvested, remove the plant, refresh the soil if needed, and replant for a continuous growing cycle.
Final Thoughts
Growing beets in recycled plastic bottles mounted on a wall is a practical, eco-friendly solution for gardeners with limited space. Not only do you get fresh, organic roots and greens at your fingertips, but you also turn waste into something useful and beautiful.
With a few simple tools and a sunny wall, you can turn plastic waste into a productive vertical garden that provides food, saves space, and adds green life to your home environment.


