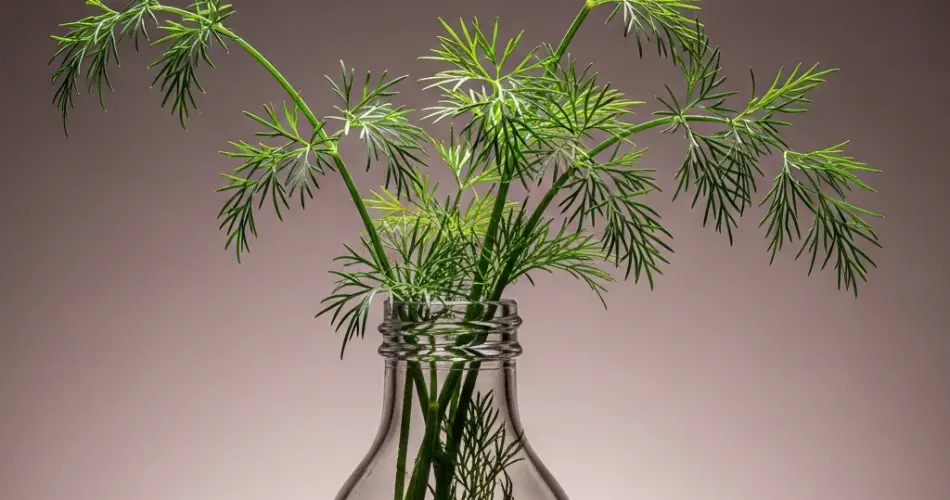
Dill is an aromatic herb that brings a fresh, slightly tangy flavor to many dishes—salads, pickles, sauces, and fish are just a few. Its feathery green leaves and bright yellow flowers also make it an attractive addition to a kitchen garden. If you have limited space or want to garden more sustainably, you can grow dill easily in upcycled plastic bottles. This guide takes you from seed to harvest, showing you how to grow and enjoy dill at home, step by step.
Whether you’re a beginner or looking to add a new herb to your urban garden, this dill-in-a-bottle method is simple, space-saving, and environmentally friendly.
Why Grow Dill in Plastic Bottles?
Plastic bottles are lightweight, affordable, and widely available. By repurposing them into planters, you not only reduce waste but also create a vertical or compact herb garden that fits just about anywhere—windowsills, balconies, patios, or small backyard corners.
Dill is a great candidate for bottle gardening. It grows quickly, doesn’t need deep soil, and thrives in full sun. Once mature, you can enjoy fresh sprigs throughout the growing season and harvest seeds at the end for seasoning or replanting.
What You’ll Need
To grow dill in a bottle, gather the following materials:
-
A 1.5- or 2-liter plastic bottle
-
Scissors or a craft knife
-
A heated nail or pin (for drainage holes)
-
Potting soil or compost-rich garden soil
-
Dill seeds
-
Watering can or spray bottle
-
Sunny location (6+ hours of sunlight daily)
-
Optional: twine or hooks if you plan to hang the bottle
Step 1: Prepare Your Bottle Planter
-
Clean the Bottle
Rinse the bottle thoroughly and remove any labels. This ensures your planter is safe for planting and looks neat. -
Cut the Bottle
Cut the bottle horizontally about one-third from the top. Use the bottom portion as your planter. If you want to create a humidity dome for the early seedling stage, keep the top part and use it as a cover. -
Add Drainage Holes
Use a hot needle or small nail to poke several holes into the bottom of the bottle to allow water to drain properly. -
Add Soil
Fill the bottle with well-draining potting soil or a mix of compost and garden soil. Leave about 2 cm from the rim for watering space.
Step 2: Planting the Dill Seeds
-
Sprinkle dill seeds evenly across the surface of the soil.
-
Gently press the seeds into the soil or cover them lightly with a thin layer (about ¼ inch).
-
Mist with water to moisten the soil, being careful not to flood the seeds.
-
Place the bottle planter in a warm, sunny spot.
-
Germination usually takes 7–10 days. Keep the soil moist but not soggy during this time.
Step 3: Caring for Your Dill
-
Sunlight:
Dill loves sunlight. Make sure your plant receives at least 6 hours of direct sun daily. A sunny balcony, windowsill, or outdoor ledge is ideal. -
Watering:
Dill prefers slightly moist soil. Water when the top inch feels dry. Avoid overwatering, as soggy soil can lead to root rot. -
Thinning:
Once seedlings reach 2–3 inches tall, thin them out so that the remaining plants are about 4 inches apart. This prevents overcrowding and promotes healthy growth. -
Feeding:
Dill usually doesn’t need much fertilizing. If you want to give it a boost, use a diluted compost tea or organic liquid fertilizer once a month. -
Support:
As dill grows tall and slender, it may benefit from light support. Use a small stick or bamboo skewer to keep the stems upright in windy or tight areas.
Step 4: Harvesting
You can begin harvesting dill leaves (also called fronds) once the plant is about 8 inches tall.
-
Cut the outer leaves first, allowing the inner ones to continue growing.
-
Always leave at least one-third of the plant intact to encourage new growth.
-
Harvest early in the morning for the best flavor and aroma.
If your goal is to collect dill seeds:
-
Allow the plant to flower and form seed heads.
-
Once the seed heads turn brown and dry, cut them and place them upside down in a paper bag.
-
After a few days, shake the bag to release the seeds and store them in a dry, airtight container.
Step 5: Replant and Repeat
One of the best things about dill is that it’s self-sowing. If you let some seeds fall into the soil, new plants may sprout on their own during the next season.
You can also collect and save seeds to plant again in fresh bottles or share with friends. Since dill grows quickly, you can repeat this process several times a year, depending on your climate.
Sustainable Tips
-
Reuse bottles to grow multiple herbs together—like dill, parsley, and cilantro—in a vertical setup.
-
Compost plant trimmings to return nutrients to your soil.
-
Use rainwater for watering your herbs when possible to conserve tap water.
-
Let one or two plants go to seed so you always have a supply of seeds for the next season.
Final Thoughts
Growing dill in plastic bottles is a fun, practical, and eco-conscious way to bring fresh herbs into your kitchen. From sowing seeds to snipping fronds or collecting seeds, each step connects you to your food and the natural cycle of plants. Whether you’re a beginner gardener or someone seeking a more sustainable lifestyle, this easy project is a great way to start.
With minimal space and effort, you can enjoy the fresh flavor of dill and the satisfaction of growing it yourself—all from a humble plastic bottle.


