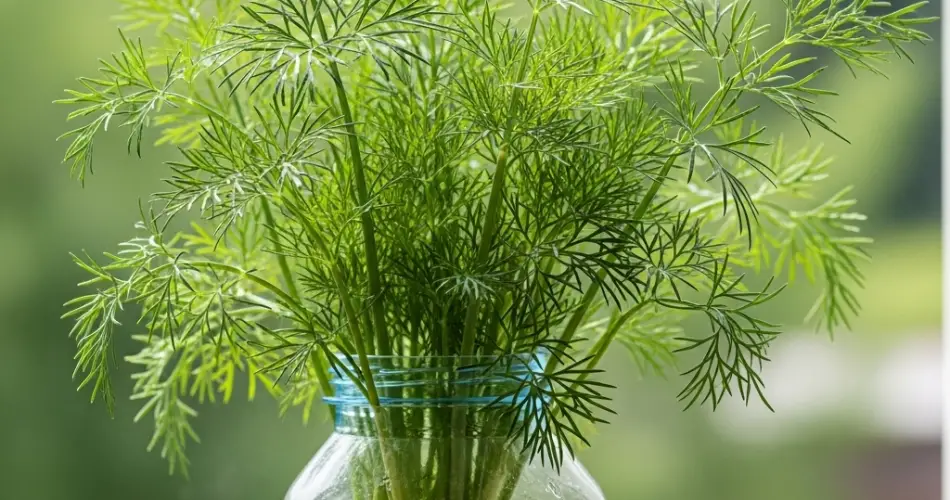
Dill is a flavorful, feathery herb that brings a fresh, slightly tangy taste to pickles, salads, soups, and seafood dishes. It’s also surprisingly easy to grow at home—even without a garden. With just a few recycled plastic bottles and some sunlight, you can cultivate your own dill plants in a simple, compact, and eco-friendly way.
Growing dill in plastic bottles is perfect for balconies, sunny windows, and small outdoor corners. This method reduces plastic waste while providing you with a steady supply of homegrown herbs. If you’re looking for a low-maintenance plant that delivers big on flavor, dill is the herb for you—and plastic bottles make the perfect container.
Why Use Plastic Bottles for Dill Gardening?
Plastic bottles are a practical option for growing herbs like dill because they’re easy to find, lightweight, and simple to modify. Dill doesn’t need deep soil, and its fine root system thrives in containers with good drainage and airflow.
Using plastic bottles as planters allows you to repurpose household waste, reduce clutter, and create a vertical or horizontal herb garden with minimal space. Whether you hang them or arrange them on a ledge, these DIY planters help you grow fresh herbs without investing in expensive pots or gardening tools.
Materials You’ll Need:
-
1.5- or 2-liter plastic bottles (cleaned and label-free)
-
Dill seeds or seedlings
-
Sharp scissors or utility knife
-
Nail or heated skewer (for drainage holes)
-
Lightweight potting mix (well-draining)
-
Small gravel or pebbles (optional for drainage)
-
Twine, string, or wire (if hanging)
-
Spray bottle or watering can
-
A sunny spot—balcony, windowsill, or outdoor wall
Step 1: Preparing the Bottles
Start by rinsing out the plastic bottles thoroughly and removing any labels. Use a sharp knife or scissors to cut a wide rectangular window into one side of the bottle. This will be your planting area.
Poke 3–5 holes in the bottom of each bottle to ensure proper drainage. If you’re planning to hang your bottles, make two small holes near the top edge, opposite each other. Thread through twine or wire and knot the ends to create sturdy hanging loops.
Step 2: Add Soil and Set Up Drainage
Dill thrives in loose, well-draining soil. If your potting mix is dense, add perlite, sand, or coconut coir to improve aeration. For additional drainage, place a thin layer of small gravel or stones at the bottom of the bottle before adding the soil.
Fill each bottle about two-thirds full, leaving space at the top for watering and plant growth. Avoid compacting the soil too much—it should stay airy to support root health.
Step 3: Plant Your Dill
From seeds:
Dill grows readily from seed. Sprinkle 5–7 seeds evenly across the surface of the soil. Cover them with a very thin layer of soil—just enough to lightly bury them. Mist the top with water and place the bottle in a warm, sunny location.
Keep the soil slightly moist until germination, which usually occurs within 7–14 days.
From seedlings:
If using young dill plants, dig a small hole in the soil and gently insert the root ball. Pat the soil around the base and water lightly to settle the plant.
Step 4: Positioning Your Dill Bottles
Dill loves full sunlight, so choose a location that gets at least 5–6 hours of direct light per day. Windowsills, sunny balconies, or fences facing the sun are ideal spots.
You can hang the bottles vertically on a wall or place them on a flat surface like a shelf, tray, or wooden pallet. If using a vertical arrangement, stagger the bottles to ensure each plant gets enough light and airflow.
Step 5: Watering and Fertilizing
Water your dill plants when the top inch of soil feels dry. Be careful not to overwater—dill is somewhat drought-tolerant and dislikes soggy roots. Use a watering can with a narrow spout or a spray bottle to water gently around the base.
Dill doesn’t require much fertilizer. A diluted organic liquid feed once every 3–4 weeks is sufficient during the growing season. Avoid over-fertilizing, as it can lead to weak, leggy plants with reduced flavor.
Step 6: Harvesting Your Dill
You can begin harvesting once the plant reaches 6–8 inches tall. Use clean scissors to snip outer leaves or small stems, cutting above a leaf node to encourage continued growth. Never harvest more than one-third of the plant at once.
Dill grows quickly and continuously, so regular light harvesting helps keep the plant healthy and bushy. You can use the leaves fresh or dry them by tying small bundles together and hanging them upside down in a dry, shaded area.
If the plant flowers, you can collect the seeds once they mature and dry on the plant. These seeds are edible and can also be used to start a new planting cycle.
Creative Ideas for Your Dill Bottle Garden
-
Paint the bottles to match your kitchen or balcony decor.
-
Label each bottle with the planting date and herb name.
-
Create a vertical herb wall by attaching bottles to a pallet or wooden frame.
-
Mix dill with other herbs like basil, mint, or oregano in nearby bottles for a diverse herb garden.
Conclusion
Growing dill in plastic bottles is an easy and eco-conscious way to bring fresh herbs into your home. With minimal effort and space, you can enjoy the aroma and flavor of homegrown dill right from your windowsill or balcony. This “dill-icious” bottle garden is a fun and sustainable project that delivers beauty, fragrance, and flavor all in one. So grab some bottles, sow your seeds, and let your herb garden grow!


