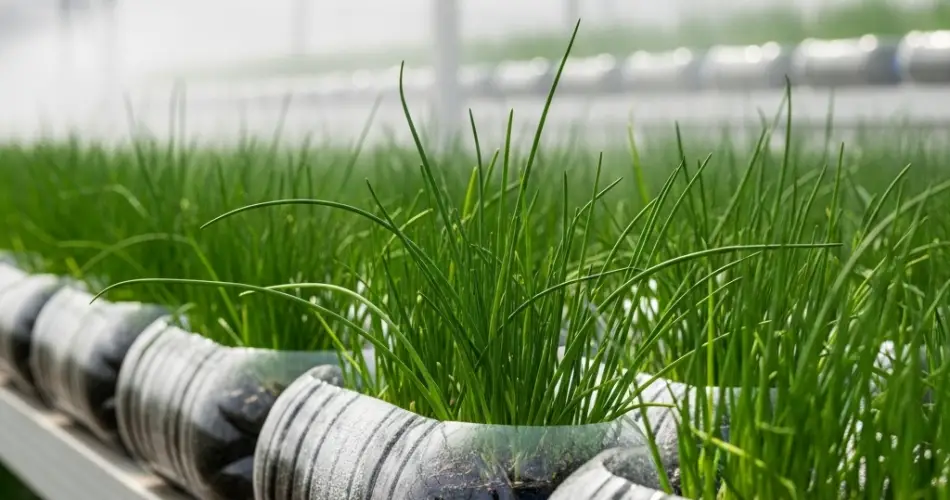
Chives are among the easiest and most rewarding herbs to grow, prized for their delicate onion-like flavor and vibrant green leaves. Perfect for small-space gardeners, chives thrive in containers, hanging pots, and even kitchen windowsills. For urban gardeners seeking a simple, space-efficient propagation method, using a bottle as a mini propagator is an ingenious solution. This approach allows you to grow chives from cuttings or small plants, creating a continuous supply of fresh herbs while recycling everyday materials.
Using a bottle propagator not only saves space but also provides an optimal environment for young chive plants. By maintaining humidity, protecting delicate shoots, and promoting faster root development, this DIY method ensures healthier, more productive plants.
Why Use a Bottle Propagator for Chives?
Chives are hardy, but like many herbs, they benefit from a controlled start, especially when grown from cuttings. A bottle propagator provides:
-
Humidity Retention: Keeps young roots and shoots from drying out.
-
Temperature Stability: Protects delicate plants from sudden drafts or cold air.
-
Space Efficiency: Ideal for balconies, patios, or small indoor gardening setups.
-
Easy Monitoring: Transparent bottles let you observe root growth and overall plant health.
This method is perfect for gardeners who want fresh herbs year-round without large garden beds or bulky containers.
Materials Needed
Creating a chive propagator is simple and requires only a few household items:
-
A clean, transparent plastic bottle (1–2 liters)
-
Scissors or a sharp utility knife
-
Chive cuttings or small plants
-
Water
-
Optional: potting soil for transplanting later
This minimalist setup is budget-friendly, eco-conscious, and highly effective.
Preparing the Bottle
-
Clean Thoroughly: Wash the bottle to remove any residues. Remove the label to allow maximum sunlight to reach the plant.
-
Cut the Bottle: Slice the bottle in half horizontally. The bottom half will serve as a water reservoir, while the top half acts as a dome or protective cover.
-
Fill with Water: Add water to the bottom section so that the cut ends of the chive cuttings are submerged while keeping leaves above the waterline to prevent rotting.
This simple design creates a mini greenhouse effect, maintaining moisture and warmth around the young plants.
Selecting and Preparing Chive Cuttings
Choose healthy chive stems with vibrant green leaves, approximately 4–6 inches long. Remove any leaves that would sit below the waterline to prevent decay. Place the cuttings in the bottle, ensuring the stem ends are submerged in water.
Position the bottle in a bright area with indirect sunlight. Chives need about 4–6 hours of light daily to thrive. Avoid placing the bottle in harsh afternoon sun, which can overheat the delicate cuttings.
Encouraging Root Development
Chives usually begin forming roots within 7–10 days. To promote strong root growth:
-
Change Water Regularly: Refresh water every 2–3 days to prevent stagnation and keep it oxygenated.
-
Maintain Moderate Temperatures: Ideal growing temperatures are 18–24°C (65–75°F).
-
Optional Fertilizer: A mild, diluted liquid fertilizer can be added once roots appear to encourage vigorous growth.
Roots should be 2–3 inches long before transplanting into soil. This ensures the chives are strong enough to establish themselves in a more permanent container.
Transplanting Chives
Once roots are well-developed, plant the cuttings in a small pot or container filled with well-draining soil. A mix of potting soil and perlite or sand works best, providing both structure and drainage. Water lightly to help the plant settle, and place it in a location with indirect sunlight for the first few days to acclimate.
Care for Established Chives
After transplanting, chives require minimal care but benefit from regular maintenance:
-
Sunlight: Provide 6–8 hours of light daily. Chives thrive in full sun but can tolerate partial shade.
-
Watering: Keep soil consistently moist but avoid waterlogging, as excessive moisture can harm roots.
-
Harvesting: Snip leaves as needed, cutting at the base to encourage regrowth. Avoid removing more than one-third of the plant at a time to maintain vigor.
-
Pruning: Trim flower stalks to redirect energy to leaf production and prolong the harvest season.
Benefits of Bottle Propagation
-
Eco-Friendly: Repurposes plastic bottles and reduces waste.
-
Compact: Ideal for indoor and balcony gardens with limited space.
-
Cost-Effective: Uses household materials instead of buying specialized propagation trays.
-
Educational: Allows observation of root growth, making it an excellent learning tool.
Final Thoughts
Growing chives in a bottle propagator is an easy, sustainable, and highly rewarding way to enjoy fresh herbs year-round. By starting from cuttings and nurturing them in a controlled mini greenhouse, gardeners can ensure faster root development, healthier plants, and a continuous supply of flavorful leaves.
This method demonstrates how creativity and resourcefulness can transform small spaces into productive urban gardens. With just a plastic bottle, water, and a few chive cuttings, you can cultivate vibrant green shoots that bring fresh flavor, color, and vitality to your home garden.


