You don’t need a large backyard to grow your own carrots. With a simple container, the right variety, and a bit of care, you can grow crisp, sweet carrots right on your balcony, patio, or windowsill. Carrots adapt well to pot gardening, and their vertical growth makes them perfect for tight spaces. Whether you’re a beginner or an experienced urban gardener, container-grown carrots can be both fun and rewarding.
This guide walks you through everything you need to grow carrots successfully from seed to harvest—all in a pot.
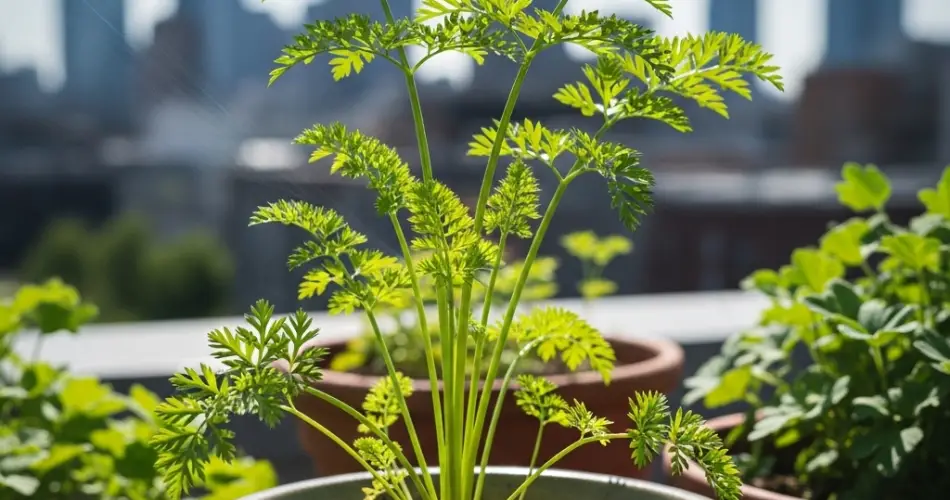
Why Grow Carrots in Containers?
Carrots are ideal for small-space gardening. Their upright growth means you can grow a good number of roots in a relatively small area, and with the right soil, they often grow more cleanly and evenly in pots than in the ground.
Advantages of container-grown carrots:
-
Great for balconies, rooftops, and patios
-
Easy to control soil quality and drainage
-
Fewer pest problems and root deformities
-
No digging or weeding needed
-
Clean harvests with minimal mess
Selecting the Right Carrot Variety
Carrots come in many shapes and sizes. Some grow long and straight, while others form short, round roots that are better suited for container gardening.
Top carrot varieties for pots:
-
Parisian – Small and round, perfect for shallow containers
-
Thumbelina – Golf ball-sized carrots that mature quickly
-
Nantes – Medium-length roots, sweet and crisp
-
Chantenay – Short, stocky carrots ideal for medium-depth pots
-
Atlas – Round carrots that do well in tight spaces
Short or round carrot types are generally easier to grow in pots because they don’t require deep soil. However, if you have a deep enough container, even longer varieties can thrive.
What You Need
Before you begin, gather the essentials:
-
Container (at least 10–12 inches deep) with good drainage
-
Loose, well-draining potting mix
-
Compost or aged organic matter
-
Carrot seeds
-
Watering can or spray bottle
-
A sunny location (6–8 hours of sunlight daily)
You can use terracotta pots, fabric grow bags, plastic tubs, or deep repurposed containers. Just make sure they allow excess water to drain freely.
Preparing Your Container
-
Choose the Right Container
Depth is key for carrots. The container should be deep enough for the variety you choose—typically at least 10 inches. -
Fill with Soil
Mix potting soil with compost or aged manure in a 70:30 ratio. The soil should be fluffy and free of stones or clumps, which can cause misshapen roots. -
Level and Moisten
Smooth the surface of the soil and moisten it evenly before sowing your seeds.
Sowing Carrot Seeds
-
Sow Directly
Carrots don’t transplant well, so always sow them directly into the final container. -
Spacing and Depth
Plant seeds about ¼ inch deep and 1 inch apart. If sowing in rows, leave 2 inches between rows. -
Cover and Water
Lightly cover the seeds with soil and mist with water. Keep the soil surface moist during germination, which can take 7–14 days.
Growing Conditions
-
Sunlight: Carrots need 6–8 hours of direct sunlight each day. Place your container in the brightest spot you can find.
-
Temperature: Carrots grow best between 60–75°F (15–24°C). In hot climates, partial shade in the afternoon can help prevent bolting.
-
Watering: Keep the soil consistently moist but not soggy. Irregular watering can lead to cracked or woody roots.
Thinning and Feeding
Once the seedlings reach 2 inches in height, thin them to 2–3 inches apart. This gives each plant enough room to develop properly shaped roots.
If your potting mix included compost, no extra fertilizer is needed. For an extra boost, a light feeding of low-nitrogen organic fertilizer after thinning can support healthy root growth.
Preventing Problems
-
Forked or twisted roots: Usually caused by stones or compacted soil. Use fine, loose potting mix and remove any debris.
-
Pests: Container-grown carrots are less susceptible to pests, but keep an eye out for aphids and leaf miners. Neem oil or insecticidal soap can help if needed.
-
Poor germination: Keep soil moist and avoid letting it dry out during the germination period.
Harvesting Your Carrots
Depending on the variety, carrots are usually ready 60–80 days after sowing. The shoulders may start to peek out of the soil surface—this is a good sign they’re ready.
To check, gently pull one carrot and examine its size. If it’s mature, carefully loosen the surrounding soil and pull the rest. Don’t wait too long after maturity, or the roots may turn woody.
After the Harvest
Once you’ve harvested your crop, refresh the soil with new compost or rotate with another shallow-rooted crop like lettuce or spinach. You can sow a new round of carrots every 8–10 weeks in temperate climates to keep the harvest going.
Final Thoughts
Carrots are an excellent vegetable to grow in containers, especially for those living in apartments or homes without garden space. With just a deep pot, a sunny spot, and regular watering, you can enjoy fresh, flavorful carrots grown entirely by you.
From pot to plate, growing carrots is an easy, satisfying way to connect with your food—even in the heart of the city.


