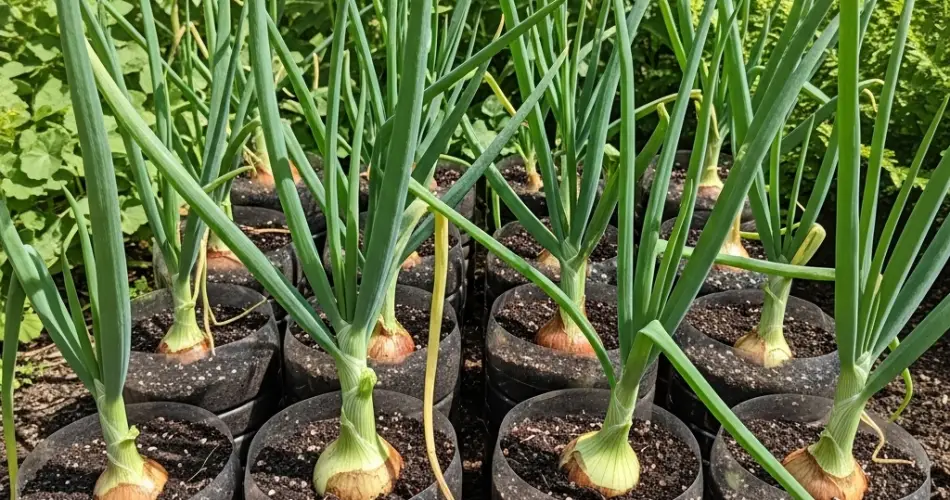
Growing onions at home doesn’t require a large garden or expensive tools. With just a few plastic bottles and some basic supplies, you can set up an efficient, space-saving system to grow onions right on your balcony, windowsill, or patio. This DIY method not only reuses plastic waste but also provides a steady supply of fresh green onions or bulb onions with minimal effort.
Here’s a step-by-step guide to turning ordinary bottles into productive onion planters—perfect for small spaces and sustainable gardening.
Why Grow Onions in Bottles?
Plastic bottle gardening is gaining popularity due to its affordability and simplicity. Onions are especially suitable for this method because they don’t require deep soil or large containers. Their shallow roots make them ideal for vertical or compact planting systems.
Benefits of using bottles for onions include:
-
Recycling plastic waste
-
Saving garden space
-
Easy maintenance
-
Affordable setup
-
Consistent homegrown harvest
What You’ll Need
-
1.5L or 2L plastic bottles (transparent bottles are best)
-
A sharp knife or cutter
-
A nail or screwdriver (for making holes)
-
Potting mix or garden soil mixed with compost
-
Onion bulbs, sets, or scraps (from kitchen leftovers)
-
Watering can or spray bottle
-
Optional: charcoal or small stones for drainage
Preparing the Bottles
-
Clean the Bottles
Wash the bottles thoroughly to remove any labels or residue. Let them dry before use. -
Cutting Holes
Using a cutter or sharp knife, create circular holes around the body of the bottle. Each hole should be around 3–4 cm in diameter—just enough for an onion bulb to fit halfway through. Space the holes evenly, about 5–7 cm apart. Make sure you leave enough plastic between holes for structural support. -
Drainage Holes
Poke 3–5 small holes at the bottom of the bottle using a nail or screwdriver. This allows excess water to drain and helps prevent root rot. -
Cutting the Top (Optional)
You can cut off the bottle’s neck to make it easier to fill with soil and water later. This is optional but recommended if you want to water directly from the top.
Planting Onions in the Bottle
-
Add Drainage Layer (Optional)
Place a thin layer of small stones or charcoal at the bottom of the bottle to help with drainage and reduce odor buildup. -
Fill with Potting Mix
Use a light, well-draining mix enriched with organic compost. Begin filling the bottle with soil layer by layer. As you go up, insert onion bulbs through the holes—roots facing inward and the tip pointing outward. -
Insert Onions
As you add soil, place an onion in each hole, gently pressing it into the mix so it remains secure. You can also plant one onion at the top of the bottle if space allows. -
Watering
After planting, water the soil lightly until moist. Avoid overwatering, especially in the early stages.
Caring for Bottle-Grown Onions
-
Sunlight
Place the bottle planter in a location that receives 6–8 hours of sunlight daily. A sunny balcony, windowsill, or veranda is ideal. -
Watering Schedule
Check the soil regularly. Water when the top layer feels dry, ensuring that excess water drains freely. Avoid letting the soil become soggy. -
Fertilizing
Once shoots start appearing, you can feed the plants every two weeks with a diluted organic liquid fertilizer to promote healthy growth. -
Trimming for Green Onions
If you’re growing for green onions (spring onions), you can begin trimming the greens once they reach about 15–20 cm tall. Always leave at least 5 cm so the plant can regrow.
Harvesting
-
Green Onions: Cut the greens with clean scissors when they are long enough. These will regrow multiple times from the same bulb.
-
Bulb Onions: If you’re growing full-sized onions, allow them to mature over 90–120 days. Once the tops start yellowing and falling over, stop watering and allow the bulbs to cure for a few days before harvesting.
Harvesting from bottles is simple: just pull out the onions when ready. For repeated harvests, you can replace the used bulbs with new ones and reuse the soil after amending it with compost.
Tips for Success
-
Choose smaller or medium onion varieties for best results in limited soil volume.
-
Use onion sets or kitchen scraps for a cost-free start.
-
Rotate the bottle occasionally to ensure even sunlight distribution on all sides.
-
Reuse the same bottle multiple times by refreshing the soil each growing cycle.
-
Avoid overcrowding; one bulb per hole is ideal for proper air circulation and root development.
Conclusion
Growing onions in plastic bottles is a clever, eco-friendly solution for home gardeners with limited space or budget. This method allows you to produce nutritious onions while reusing plastic waste—turning everyday trash into a source of food. Whether you want a constant supply of green onions or are aiming to grow full-sized bulbs, this simple DIY project makes it both easy and rewarding.


