Chives are among the easiest and most rewarding herbs to grow at home. Their mild onion-like flavor and bright green stalks make them a go-to ingredient for salads, soups, omelets, baked potatoes, and dips. Aside from their culinary value, chives also produce beautiful purple flowers that attract pollinators and add visual appeal to any outdoor space. If you’re looking for a simple way to grow fresh herbs, using DIY wooden crate planters is a charming and practical option—especially for small gardens, patios, or balconies.
With just a few materials and some sunlight, you can transform a wooden crate into a productive and portable herb garden for chives and other small greens.
Why Use Crates to Grow Chives?
Wooden crates are perfect containers for growing herbs. They’re inexpensive, easy to find or repurpose, and offer great drainage—essential for healthy herb roots. Crates also add a rustic, handmade feel to your outdoor area, blending gardening with design.
Chives have a shallow root system and don’t require deep soil, making them an ideal match for crate gardening. Crates allow you to control soil quality, manage water drainage, and reposition the plants to follow the sun or avoid bad weather. Their portable nature makes them especially useful for renters or anyone with limited gardening space.
Materials You’ll Need
To build your crate planter for chives, gather the following:
-
A wooden crate (preferably untreated wood)
-
Landscape fabric or coconut coir liner
-
Gravel or pebbles (optional, for drainage)
-
Herb-friendly potting soil
-
Organic compost
-
Chive seeds or seedlings
-
A trowel
-
Watering can or hose with spray setting
Optional:
-
Sandpaper (to smooth rough edges)
-
Natural wood sealant (if you want to protect the crate from weathering)
Preparing the Crate
Start by inspecting the wooden crate to ensure it’s clean and in good condition. If necessary, sand down any rough edges to prevent splinters. If the crate doesn’t already have drainage holes, drill a few in the base to help water escape.
Next, line the inside of the crate with landscape fabric or a coconut fiber liner. This will hold the soil in place while still allowing water to drain. If you like, add a thin layer of gravel or small stones to the bottom of the crate to improve drainage further.
Fill the crate with a light, well-draining potting mix blended with compost. Chives grow best in fertile, slightly moist soil that drains easily. Avoid using dense or compacted garden soil.
Planting Chives
You can grow chives from seeds, seedlings, or divided clumps from an existing plant. If using seeds, sprinkle them evenly across the soil surface and lightly cover them with a thin layer of soil—about 6 mm deep. Water gently to avoid displacing the seeds.
If planting seedlings or divisions, space them about 10–15 cm apart. Chives don’t need much room to grow, but they do appreciate airflow and light. Press the soil gently around the base of each plant and water thoroughly after planting.
Sunlight and Watering
Chives love sunlight. Place your crate in a spot where it will receive at least 6 hours of direct sun each day. In very hot climates, partial shade in the afternoon can help prevent the tips from drying out.
Water regularly to keep the soil lightly moist but not soggy. Chives are relatively drought-tolerant once established, but consistent moisture will produce the most tender, flavorful leaves. During hot weather, check the soil daily, especially in a shallow container like a crate.
Feeding and Maintenance
Chives don’t require much fertilizing, especially if you’ve started with compost-rich soil. If desired, feed them once a month with a diluted organic liquid fertilizer to encourage leafy growth.
Trim chives often to keep them from becoming too tall or developing woody stalks. Cutting also encourages new, tender shoots. Snip leaves about 2.5 cm above the base with clean scissors. Harvest frequently for best flavor and appearance.
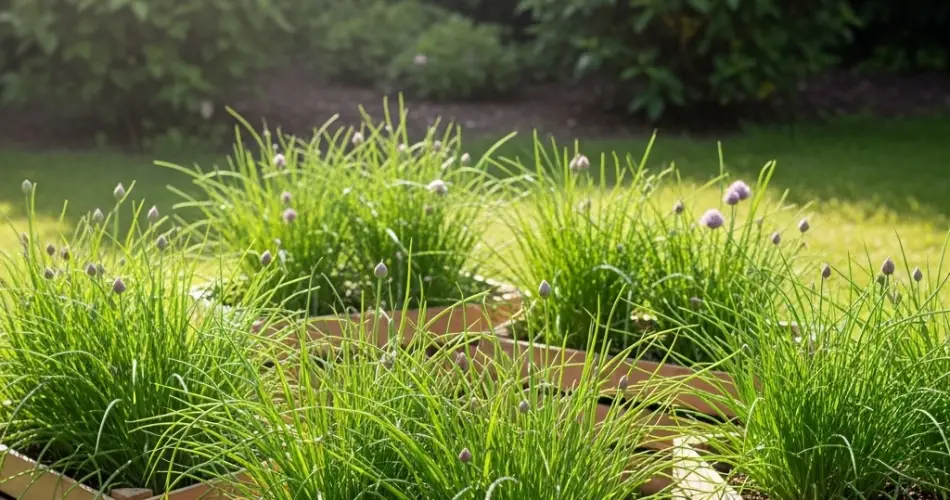
Chives will form small purple flowers in late spring or summer. While these are edible and attractive, removing the flower heads early can prolong leaf production and prevent self-seeding.
Dividing and Overwintering
Chives are perennials and will return year after year with proper care. Every 2 to 3 years, divide the clumps to maintain plant health and vigor. Simply dig up the root ball, separate it into smaller sections, and replant them into fresh soil.
In colder climates, crate planters can be moved to a protected area like a garage or covered porch during winter. Chives will go dormant in freezing temperatures but usually return in spring. Mulching the top of the crate with straw or dry leaves can provide added insulation.
Pests and Problems
Chives are generally pest-resistant thanks to their strong scent, which deters many insects. However, they can occasionally be affected by fungal issues if the soil is too wet or overcrowded. Ensure good airflow and avoid overwatering to prevent problems.
Aphids may occasionally appear on the flower stalks. A gentle spray of water or neem oil can help keep them in check.
Conclusion
Growing chives in DIY wooden crate planters is an easy and rewarding way to enjoy fresh herbs at home. These hardy, flavorful greens are perfect for container gardens and require minimal maintenance. Whether placed on a balcony, back porch, or garden table, a crate full of chives provides beauty, utility, and delicious harvests throughout the growing season. With just a little sunlight and care, your crate planter will be brimming with fresh chives ready to elevate every meal.


