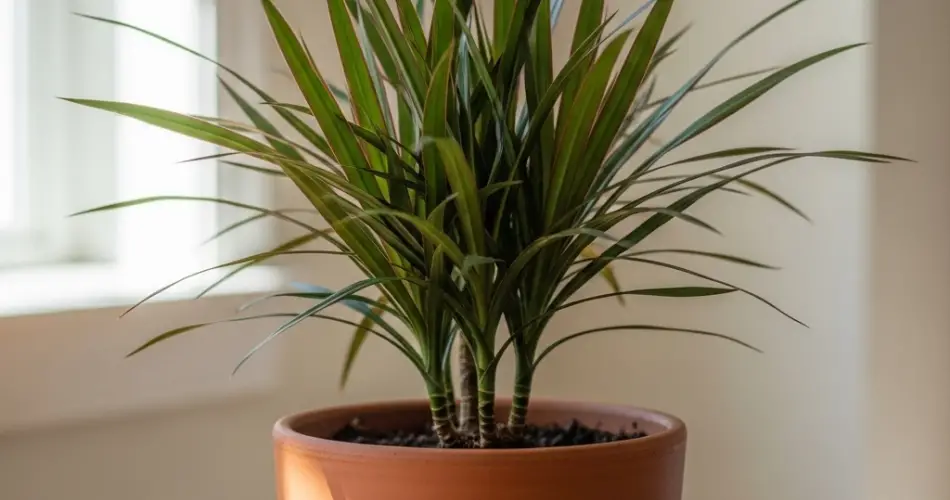
Dracaena is a beloved indoor plant known for its upright growth, vibrant green leaves, and adaptability. While generally low-maintenance, repotting is a crucial part of its long-term care. Over time, the roots of your Dracaena will outgrow their current container, the soil will become depleted, and proper drainage may decline—all of which can slow growth or even damage the plant.
Repotting not only gives your Dracaena a fresh start with new soil and space to grow but also allows you to check the health of its root system and remove any signs of rot or compaction. This guide will walk you through the best time to repot, what tools you need, and how to repot your Dracaena properly for healthy, continued growth.
Why and When to Repot Dracaena
Repotting is essential for:
-
Encouraging healthy growth by giving roots more room to spread.
-
Refreshing the potting mix, which provides nutrients and better drainage.
-
Preventing root rot by eliminating compacted or soggy soil.
-
Correcting issues like root binding or poor drainage in the current pot.
Signs it’s time to repot:
-
Roots are growing through the drainage holes.
-
Water drains too quickly or pools on the surface.
-
Soil is compacted or smells sour.
-
Growth has slowed significantly or leaves appear unhealthy.
-
The plant has become top-heavy or unstable in its pot.
Best time to repot:
Early spring to early summer is ideal. This is when the plant is actively growing and will recover more quickly. Avoid repotting in winter when the plant is dormant.
Tools and Materials You’ll Need
Gather these supplies before you start:
-
A new pot: 1–2 inches wider in diameter than the current pot, with drainage holes.
-
Fresh potting mix: Use a well-draining, light mix—ideally one suited for houseplants or palms.
-
A trowel or scoop: For transferring soil.
-
Scissors or pruners: To trim dead or damaged roots.
-
Gloves: Optional but helpful, especially if your Dracaena has any sap.
-
A watering can: With room-temperature water for after repotting.
Optional: Pebbles or mesh to cover the drainage holes if your new pot is prone to soil loss.
Step-by-Step Repotting Instructions
Step 1: Prepare the New Pot
-
Ensure the new pot is clean and has proper drainage.
-
Add a layer of fresh potting mix at the bottom—enough so that when the plant is placed inside, the top of the root ball sits about an inch below the rim.
Step 2: Remove the Dracaena from the Old Pot
-
Gently tip the pot on its side and slide the plant out. If it’s stuck, tap the sides or use a dull knife to loosen the edges.
-
Be careful not to tug the plant by the stems or leaves to avoid damage.
Step 3: Inspect and Loosen the Roots
-
Shake off excess soil and inspect the root system.
-
Trim away any mushy, black, or dead roots with clean pruners.
-
Gently loosen tightly wound roots if the plant is root-bound, which encourages outward growth in the new container.
Step 4: Repot the Plant
-
Place the Dracaena in the center of the new pot.
-
Fill in around the root ball with fresh soil, pressing lightly to eliminate air pockets.
-
Do not bury the plant deeper than it was in the old pot—keep the base of the stems level with the soil surface.
Step 5: Water Thoroughly
-
Water the plant generously to help the soil settle around the roots.
-
Allow excess water to drain completely—never let the pot sit in standing water.
Post-Repotting Care
After repotting, your Dracaena may show signs of slight stress—such as drooping or slowed growth—which is normal.
-
Avoid fertilizing for 4–6 weeks to let the roots adjust.
-
Keep in bright, indirect light, avoiding harsh sunlight during the recovery period.
-
Maintain moderate moisture in the soil. Allow the top inch to dry between waterings.
-
Don’t move the plant too much during this phase—give it a chance to stabilize.
Within a few weeks, your Dracaena should resume healthy growth as it adjusts to its new home.
Tips for Long-Term Success
-
Repot Dracaena every 2–3 years, or sooner if signs of root crowding appear.
-
Choose containers with drainage and avoid overly large pots that retain excess moisture.
-
Refresh the top 2 inches of soil annually if you don’t need a full repot—this provides nutrients and improves drainage.
-
Rotate your plant occasionally to ensure even growth and light exposure.
Final Thoughts
Repotting your Dracaena doesn’t have to be intimidating. With the right tools, timing, and care, the process is straightforward and highly beneficial. Not only does it support your plant’s long-term health, but it also gives you the opportunity to refresh its look—perhaps even upgrading to a more stylish container to suit your décor.
A freshly repotted Dracaena, rooted in nutrient-rich soil and room to grow, will reward you with stronger, greener leaves and upright, vibrant growth that enhances any space.


