If you’re looking to grow your own vegetables at home but lack a garden plot, green beans are the perfect crop to try. They’re fast-growing, productive, and ideal for small spaces. With a few containers and simple materials, you can create your own DIY green bean planters and enjoy homegrown harvests on your balcony, patio, or porch.
Whether you’re planting bush beans or climbing pole beans, container gardening gives you flexibility and control over your growing environment. This guide walks you through how to set up your own green bean planter, step by step.
Why Green Beans Are Perfect for Containers
Green beans are well-suited to container growing for several reasons:
-
Compact and manageable: Both bush and pole types thrive in pots
-
Quick growing: Bush beans mature in 50–60 days, pole beans in 60–75
-
Minimal maintenance: No complicated care routines or pruning
-
High yield: Just a few plants can produce a steady supply of beans
-
Space-efficient: Vertical support structures make great use of small areas
With the right planter and setup, you can enjoy multiple harvests throughout the season.
Choosing the Right Type of Bean
There are two types of green beans to choose from, and each affects how you’ll build your planter:
-
Bush beans: Short, compact, and self-supporting; require wider but shallower containers
-
Pole beans: Vining plants that need trellises, poles, or cages; grow upwards, great for vertical gardens
Choose based on your available space and how often you’d like to harvest. Pole beans provide a longer harvest period, while bush beans mature quickly for a faster crop.
Materials You’ll Need for a DIY Green Bean Planter
Here’s what you’ll need to build your own green bean planter:
-
Container: At least 10–12 inches deep (larger for pole beans)
-
Potting mix: Well-draining mix enriched with compost
-
Green bean seeds: Choose bush or pole varieties
-
Organic fertilizer or compost
-
Watering can or garden hose
-
Trellis, bamboo stakes, or string (for pole beans)
-
Optional: mulch to retain moisture
You can repurpose buckets, wooden boxes, large fabric grow bags, or plastic tubs—just make sure they have good drainage holes.
How to Build and Plant Your DIY Planter
1. Choose and Prepare the Container
Drill several holes in the bottom if your container doesn’t have drainage. Elevate the pot slightly on bricks or a stand to help water drain freely.
2. Add Soil
Fill your container with potting mix, leaving 1–2 inches from the top. Mix in compost or a slow-release fertilizer to provide nutrients for growing beans.
3. Plant Your Beans
Sow seeds directly into the soil:
-
Bush beans: Plant 1 inch deep and 2–3 inches apart in rows
-
Pole beans: Plant 1 inch deep, spacing 3–4 seeds around each support structure
Water thoroughly after planting. Seeds usually sprout in 7–10 days.
4. Provide Support (for Pole Beans)
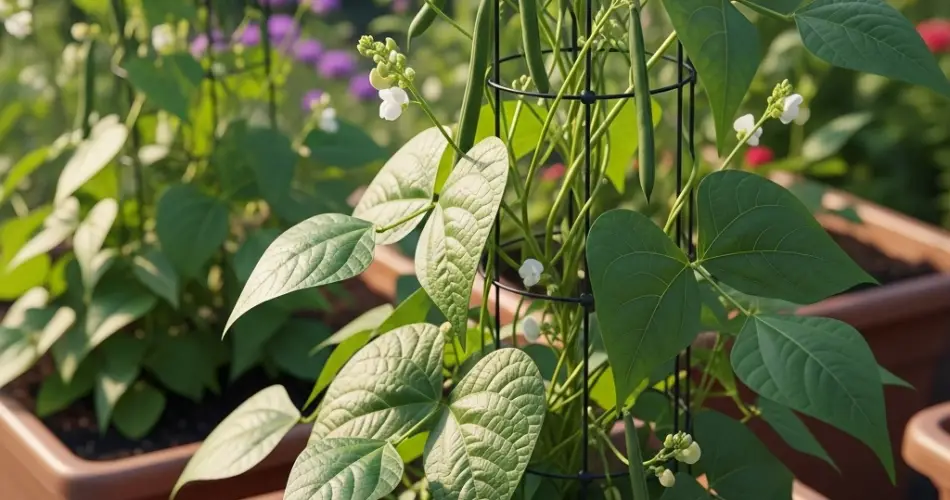
If you’re growing climbing beans, insert a bamboo teepee, tomato cage, or trellis into the pot at the time of planting. Secure the structure well so it doesn’t topple as vines grow.
Growing Tips for a Healthy Harvest
Sunlight: Green beans need full sun—at least 6 hours daily. Place planters where they’ll get maximum light.
Watering: Water consistently to keep the soil evenly moist, especially once flowers appear and pods start forming. Avoid waterlogging by ensuring good drainage.
Feeding: Every 2–3 weeks, apply a balanced liquid fertilizer. Once plants are flowering, switch to a low-nitrogen blend to encourage fruit over foliage.
Mulching: Add a thin layer of mulch (straw, shredded leaves, or coconut husk) on top of the soil to retain moisture and reduce weeds.
Training Vines: For pole beans, gently guide vines to wrap around the trellis or strings as they grow upward.
Common Problems and Solutions
-
Yellowing leaves: Often caused by overwatering or poor drainage—check soil moisture and adjust watering.
-
Pests: Aphids and beetles are common. Remove by hand or use insecticidal soap.
-
Fungal diseases: Avoid wetting the leaves when watering. Provide good airflow between containers.
Harvesting Your Beans
Bush beans are ready to harvest about 50–60 days after planting; pole beans may take a little longer but will produce over several weeks. Harvest when the pods are firm, about 4–6 inches long, and before seeds inside get too large.
Use scissors or garden snips to avoid damaging the plant. Frequent picking encourages more pods to grow.
Final Thoughts
DIY green bean planters are simple to build, fun to care for, and incredibly productive. Whether you’re filling a corner of your balcony or lining a sunny windowsill, container-grown green beans will reward you with a continuous, crunchy harvest.
Growing your own beans not only adds freshness to your meals but also turns any small space into a thriving vegetable garden. With just a container, some soil, and a little sun, your green bean journey is ready to begin.


