Dill is an easy-to-grow herb known for its feathery green foliage and distinctive flavor. Used in everything from pickles to salads, fish dishes, and soups, fresh dill adds a unique and refreshing aroma to your kitchen creations. The best part? You can grow this flavorful herb right in your backyard using simple wooden crates.
Crate gardening is a convenient and attractive way to cultivate dill, especially if you’re working with limited ground space or poor soil conditions. Whether you’re an experienced gardener or a beginner, growing dill in crates is an efficient and rewarding method that offers flexibility, control, and fresh harvests just steps away from your kitchen.
Why Grow Dill in Crates?
Wooden crate gardening offers multiple advantages for herbs like dill:
-
Portability: Crates can be moved to follow the sun or to shelter plants from harsh weather.
-
Soil management: You control the soil mix, drainage, and nutrients.
-
Space-saving: Perfect for balconies, patios, or compact garden corners.
-
Organized layout: Keep herbs separate and neatly arranged with crate planters.
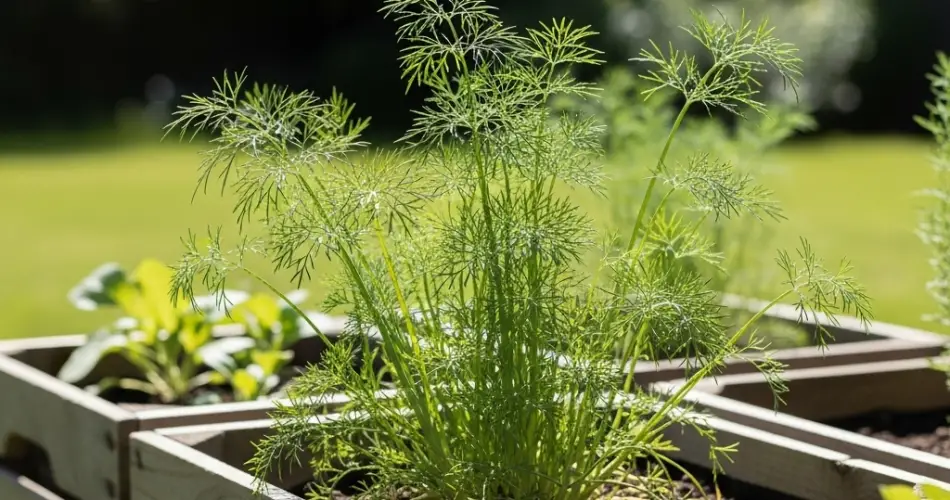
Dill, with its delicate roots and preference for loose soil, does especially well in containers. Crates provide the depth and drainage it needs to grow tall and healthy.
Selecting and Preparing the Crate
Choose a wooden crate that is untreated and safe for gardening. Look for something at least 10–12 inches deep to accommodate dill’s taproot and give it room to develop.
To prepare the crate:
-
Drill drainage holes in the bottom to prevent waterlogging.
-
Line the interior with landscape fabric or burlap to keep the soil in place while allowing water to escape.
-
Fill with well-draining soil. Dill prefers a loose, fertile mix. Combine potting soil with compost and a little sand or perlite to improve drainage and aeration.
Place the crate in a sunny spot and make sure it’s stable and elevated slightly for drainage.
Starting Dill from Seed
Dill is best grown from seed, as it doesn’t transplant well due to its long taproot. Here’s how to start:
-
Sow seeds directly into the crate about ¼ inch deep and spaced 2–3 inches apart.
-
Water gently to moisten the soil.
-
Expect germination in about 7–14 days.
Once seedlings are 4–6 inches tall, thin them to 8–10 inches apart to allow room for full growth. The thinned seedlings can be used as microgreens or baby dill.
Sunlight and Water Requirements
Dill loves the sun. For best results, place your crate in a location where it gets 6–8 hours of direct sunlight daily. Insufficient sunlight can cause the plant to become leggy and weak.
Water consistently, keeping the soil evenly moist but never soggy. Check the top inch of soil—if it feels dry, it’s time to water. Because crates dry out faster than in-ground beds, regular watering is important, especially in warm weather.
Feeding and General Care
Dill doesn’t require heavy feeding. If your soil is rich in compost, it should have enough nutrients for healthy growth. If desired, use a balanced liquid fertilizer diluted to half-strength once or twice during the growing season.
As dill grows, it may need light support to prevent it from falling over, especially in windy conditions. A small bamboo stake or stick can provide gentle support.
Pinch off flower buds early if your goal is to extend leaf harvest. Once dill flowers, leaf production slows as the plant begins to focus on seed development.
Harvesting Dill
You can begin harvesting dill leaves when the plant is about 8 inches tall. Use scissors to snip off fronds as needed, starting with the outer leaves and working your way in.
-
Harvest in the morning for the best flavor.
-
Avoid cutting more than one-third of the plant at a time.
-
Use leaves fresh in your recipes or dry them for later use.
If you allow the plant to flower and go to seed, you can also collect dill seeds, which are useful in cooking and pickling.
Managing Pests and Problems
Dill is generally pest-resistant but can occasionally attract aphids or caterpillars like the black swallowtail. Hand-pick pests or use a gentle spray of water or neem oil to remove them.
To avoid fungal problems:
-
Water at the base, not overhead.
-
Ensure good airflow around the plant.
-
Avoid overcrowding by proper spacing and thinning.
Dill is an annual, so it completes its life cycle in one season. Let a few plants go to seed at the end of the growing season, and you may see new dill sprout naturally the following year.
Final Thought: Growing dill in wooden crates is a simple and satisfying way to enjoy fresh herbs right at home. With minimal effort, you can have a steady supply of aromatic dill for your kitchen and an attractive, productive addition to your backyard garden. Whether you’re cooking, preserving, or simply enjoying the view, crate-grown dill is a smart and rewarding choice.


