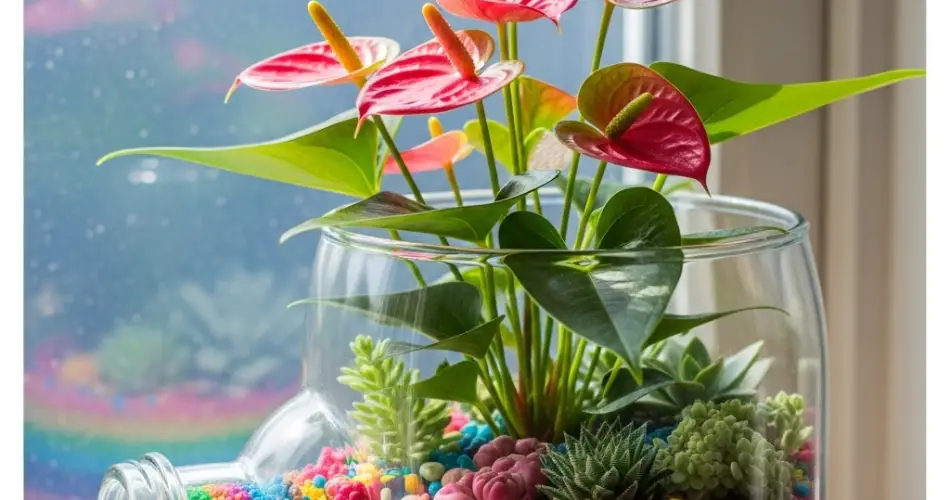
If you love tropical plants and want to bring color and elegance into your indoor space, Anthuriums are a perfect choice. With their striking heart-shaped spathes in bold reds, pinks, whites, and even purples, Anthuriums are long-lasting, eye-catching, and surprisingly easy to care for. One of the most creative and sustainable ways to display these tropical beauties is by reusing plastic bottles to build a colorful bottle garden.
Bottle gardening with Anthuriums allows you to grow a vibrant collection of plants using simple materials that might otherwise be thrown away. It’s a fun and eco-conscious way to decorate small indoor spaces while minimizing your carbon footprint. This guide will show you how to start your own Anthurium bottle garden—from preparation to styling—for a lush, vivid indoor display.
Why Bottle Gardens Work for Anthuriums
Anthuriums adapt well to various indoor conditions and thrive in bright, humid environments. When grown in bottles—either hydroponically or in soil—they require little space and allow for creative arrangements.
Here’s why plastic bottles are an ideal choice for an Anthurium garden:
-
Eco-friendly: Upcycles plastic waste into functional and beautiful planters.
-
Affordable: Reduces the need to purchase traditional pots or containers.
-
Compact: Great for shelves, windowsills, desks, and other small spaces.
-
Customizable: Bottles can be cut, colored, or decorated to match any interior theme.
-
Hydroponic-friendly: Anthuriums can grow in water with the proper care, making transparent bottles ideal for root observation.
Materials You’ll Need
-
Healthy Anthurium plants or divisions
-
Clean plastic bottles (preferably transparent, 1–2 liter sizes)
-
Scissors or a utility knife
-
Filtered or dechlorinated water (for hydroponic setups)
-
Potting mix suitable for tropical houseplants (if using soil)
-
Decorative materials (twine, paint, stickers, fabric, etc.)
-
Optional: activated charcoal and pebbles
Step 1: Prepare Your Bottles
Select bottles of similar or varied shapes depending on the layout you want to achieve. Each bottle can house one Anthurium for a tidy, modular look.
-
Cut the top third of the bottle to create an open planter.
-
Smooth sharp edges with sandpaper or by gently melting with a lighter.
-
Optionally, poke drainage holes in the base if growing in soil.
-
Decorate the bottles to make them colorful and vibrant—use non-toxic paint, wrap with colorful yarn or fabric, or even label them with plant names.
For hydroponic setups, keep the bottle clear so you can monitor water level and root health.
Step 2: Choose and Prepare Your Anthuriums
You can use small potted Anthuriums or divide a larger plant with several offshoots.
-
Gently remove the plant from its original container.
-
Rinse the roots clean if switching to hydroponics, trimming away any dead or mushy roots.
-
If planting in soil, ensure the roots are healthy and not overly compacted.
Each bottle will hold one plant, allowing room for growth while showcasing the stunning flowers and foliage.
Step 3: Planting or Rooting
Hydroponic Method:
-
Fill the lower half of the bottle with filtered or dechlorinated water.
-
Add a pinch of activated charcoal to reduce bacteria and algae.
-
Suspend the plant in the neck or funnel of the bottle so only the roots touch the water.
-
Make sure no part of the stem or leaves sits in the water to prevent rot.
Soil Method:
-
Place a layer of small stones or charcoal at the bottom if there are no drainage holes.
-
Fill with tropical potting mix (preferably containing peat, orchid bark, and perlite).
-
Gently insert the Anthurium and pat down the soil around the roots.
-
Water lightly and avoid overwatering.
Step 4: Provide the Right Environment
Anthuriums thrive in conditions that mimic their tropical rainforest origin:
-
Light: Bright, indirect sunlight is best. Avoid direct midday sun.
-
Humidity: Moderate to high humidity keeps the leaves lush and vibrant.
-
Temperature: Maintain between 65–80°F (18–27°C).
-
Air circulation: Keep the plants in a ventilated space to prevent fungal growth.
Place your bottle garden on a windowsill, shelf, or table that receives filtered light.
Step 5: Ongoing Care and Maintenance
-
Water changes: For hydroponic setups, change the water every 7–10 days.
-
Soil moisture: For potted Anthuriums, water when the top inch of soil feels dry.
-
Cleaning: Rinse the roots and bottle during each water change.
-
Fertilizer: Use a diluted liquid houseplant fertilizer monthly during the growing season.
-
Pruning: Remove yellowing leaves and spent flowers to encourage healthy growth.
Anthuriums grow slowly but can thrive for years with proper care—even in bottle containers.
Styling Your Colorful Bottle Garden
Creating a visually pleasing bottle garden is part of the fun. Try these styling ideas:
-
Color theme: Match your bottle colors to the bloom shades of your Anthuriums.
-
Grouping: Arrange bottles in clusters of three or five for a balanced look.
-
Vertical display: Hang bottle planters on a wall or from ceiling hooks with macramé.
-
Mini jungle: Combine Anthuriums with other bottle-grown tropicals like pothos or peace lilies.
The variety of bottle shapes and plant colors can make your garden look dynamic and modern.
Final Thoughts
A colorful bottle garden featuring Anthuriums combines sustainability with beauty. These exotic plants, with their glossy foliage and vivid blooms, bring life and elegance to any corner of your home. By upcycling plastic bottles into planters, you create a garden that’s not only visually stunning but also kind to the planet.
With just a few materials and a bit of creativity, you can turn discarded bottles into a lush, tropical display that celebrates nature in all its vibrant, low-waste glory.


