Aloe vera is one of the most well-known and versatile houseplants. Loved for its sculptural beauty and soothing gel, it combines style and function in one hardy plant. With its spiky green leaves and low-maintenance care needs, aloe is a perfect choice for those who want a decorative plant that also serves a purpose. Whether you grow it on a sunny windowsill or as part of a container arrangement, aloe can thrive indoors with minimal effort.
Here’s how to grow and care for aloe vera in a container so it stays healthy, attractive, and ready to provide its many benefits.
Why Aloe Makes a Great Houseplant
Aloe vera is both ornamental and practical. Its fleshy leaves store water, allowing it to survive in dry conditions. The gel inside can be used for minor burns, skin irritation, and some beauty treatments, making it a natural home remedy plant. Beyond its usefulness, aloe’s bold, upright leaves add texture and a touch of the desert to any indoor space.
Choosing the Right Container
The container you select for aloe is important for both style and plant health. Aloe needs excellent drainage to prevent root rot, so choose a pot with drainage holes at the bottom.
Pot materials to consider:
-
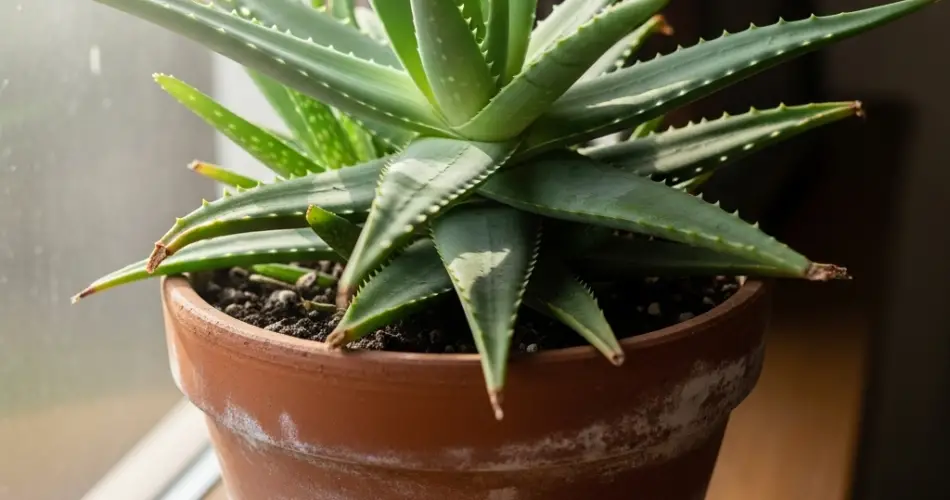
Terracotta or unglazed clay: These pots are porous, allowing excess moisture to evaporate quickly. This helps keep aloe’s roots dry.
-
Ceramic pots with drainage: Ideal for adding a polished look while still meeting the plant’s needs.
-
Decorative containers without holes: These can be used as outer covers, but always keep the aloe in a smaller pot with drainage inside to avoid standing water.
Pick a pot size just a little larger than the aloe’s root ball. Too much extra soil can retain unnecessary moisture.
The Best Soil Mix for Aloe
Aloe vera prefers sandy, fast-draining soil. Regular potting soil holds too much water, which can damage the plant. Instead, use a cactus or succulent potting mix, or make your own blend:
-
2 parts potting soil – for structure and nutrients
-
1 part coarse sand – to improve drainage
-
1 part perlite or pumice – for aeration and faster drying
This mix mimics aloe’s natural desert environment, keeping roots healthy.
Planting Aloe in a Container
-
Prepare the pot by adding a layer of soil at the bottom.
-
Remove the plant from its current container, gently loosening the roots if they are compacted.
-
Position the aloe so the base of the leaves sits just above the soil line—burying leaves can cause them to rot.
-
Fill around the roots with soil, pressing lightly to keep the plant steady without compacting too much.
-
Water lightly to help the soil settle, then allow it to drain completely.
Light and Temperature Needs
Aloe vera loves sunlight. Indoors, place it in a spot with bright, indirect light for at least 6 hours a day. A south- or west-facing window is ideal. Direct sunlight is fine if it’s not too harsh, but gradually acclimate the plant to prevent leaf burn.
Temperature-wise, aloe thrives between 60°F and 85°F (15°C to 29°C). Protect it from drafts, cold windows, or heaters that can cause sudden temperature changes.
Watering Aloe Correctly
Aloe is a succulent, so it stores water in its leaves and prefers infrequent watering. The key is to let the soil dry out completely between waterings. During spring and summer, water every 2–3 weeks, depending on your climate and indoor conditions. In fall and winter, reduce watering to once a month or less.
Always water deeply, letting excess water drain from the bottom of the pot. Never let aloe sit in standing water, as this can quickly lead to root rot.
Fertilizing Aloe
Aloe doesn’t need much feeding, but a light boost during its active growing season can help. Use a diluted, balanced liquid fertilizer (about half the recommended strength) once every 6–8 weeks in spring and summer. Skip fertilizing in fall and winter when the plant’s growth slows.
Using Aloe’s Gel
One of aloe’s biggest appeals is its gel, which can be applied to minor burns, cuts, or dry skin. To harvest, cut an outer leaf near the base, slice it open, and scoop out the gel. Always test on a small area of skin first to ensure no allergic reaction.
Only harvest from a healthy, mature plant, and avoid removing too many leaves at once.
Styling Aloe Indoors
Aloe’s modern, architectural shape makes it a natural fit for a variety of décor styles:
-
In a minimalist home, use a sleek white or black pot for a clean look.
-
For a rustic feel, choose a terracotta container with a natural finish.
-
As part of a plant grouping, pair aloe with other succulents for a desert-inspired arrangement.
Common Problems and Solutions
-
Mushy leaves: Caused by overwatering—allow soil to dry before watering again.
-
Brown tips: Often from too little water, intense sunburn, or low humidity.
-
Pale or stretched leaves: Indicate insufficient light—move the plant to a brighter spot.
Final Thoughts
Aloe vera is more than just a beautiful houseplant—it’s a functional one, too. With its unique shape, minimal care requirements, and healing gel, it brings both style and practicality to your indoor garden. By providing a well-draining container, the right soil mix, bright light, and occasional watering, your aloe will thrive for years, offering beauty and benefits in equal measure.


