Chives are among the easiest herbs to grow indoors, and their slender green shoots make for beautiful, edible décor—especially when placed in a sunny spot by the kitchen sink. With their mild onion-like flavor and delicate purple blossoms, chives are a culinary staple that pairs perfectly with eggs, soups, dips, salads, and more. Growing chives in your kitchen not only adds fresh flavor to your meals, but it also brightens your space with a touch of green that’s both decorative and functional.
Here’s a complete guide to growing and maintaining healthy chives indoors—right where you need them most.
Why Grow Chives Indoors?
Chives are hardy, low-maintenance, and compact, making them ideal for indoor growing. They’re perfect for small-space gardeners or anyone who wants the convenience of having fresh herbs nearby. Indoors, chives are protected from pests, harsh weather, and inconsistent watering, allowing you to grow them year-round.
Placing them by the sink is practical: it ensures you’ll remember to water them and puts them within reach for cooking. Plus, their tidy, upright growth makes them a neat addition to your kitchen décor.
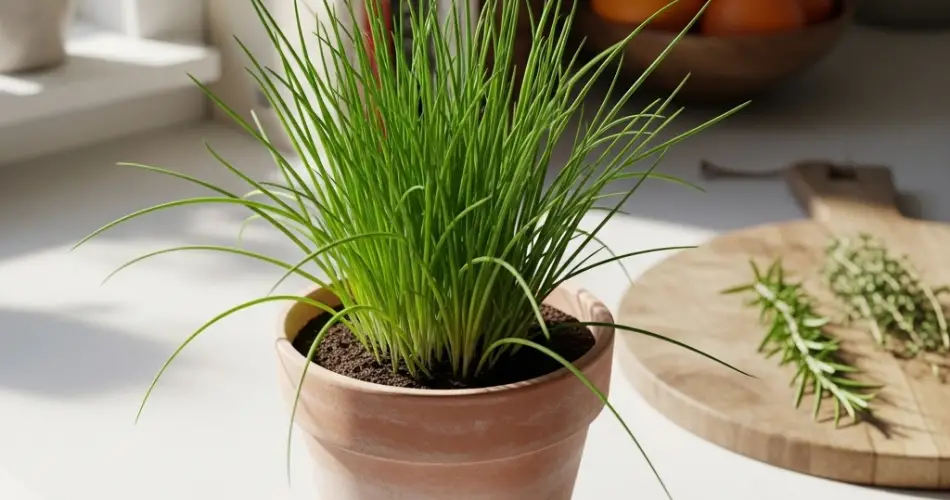
Choosing the Right Container
Chives don’t need deep soil, so a medium-sized container, 6 to 8 inches in depth, works well. Choose a pot with drainage holes to avoid soggy soil, which can cause root rot. Terra cotta or ceramic pots are excellent options, as they allow moisture to evaporate and keep roots healthy.
You can also plant chives in small trough-style planters or window boxes if you’re growing multiple herbs together.
Best Soil for Chives
Use a well-draining, high-quality potting mix formulated for herbs or vegetables. Chives prefer loose, slightly moist soil with a pH between 6.0 and 7.0. Avoid heavy or compacted soils that hold water, as this can lead to poor root health and yellowing leaves.
Adding a small amount of compost or worm castings can provide a gentle nutrient boost to keep your chives growing strong.
Starting from Seeds, Bulbs, or Transplants
Chives can be grown from seed, but the process is slow, taking several weeks to reach a harvestable size. For quicker results, use divisions or transplants from a garden center or an existing clump. Chives grow in dense bunches, and mature clumps can be easily divided and replanted in pots.
To divide, gently separate a small section of the root clump, making sure each piece has both roots and shoots. Replant in fresh soil and water thoroughly.
Light and Location
Chives love sunlight and grow best with at least 6 hours of direct light each day. A sunny kitchen windowsill or counter near a south- or east-facing window is perfect. If natural light is limited, use a grow light to supplement. Keep the grow light on for about 12 hours a day for optimal growth.
Rotate the pot occasionally to keep the leaves growing upright and evenly on all sides.
Watering and Humidity
Chives prefer consistently moist—but not soggy—soil. Water when the top inch of soil feels dry, and be sure to empty excess water from saucers after watering. Consistent watering keeps the leaves tender and flavorful.
While chives tolerate average indoor humidity, they appreciate a little extra moisture in dry climates. You can mist the leaves occasionally or place the pot on a tray filled with pebbles and water to create a more humid microclimate.
Feeding and Fertilizing
Chives aren’t heavy feeders, but regular light feeding will keep them productive. Use a balanced liquid fertilizer every 4–6 weeks during the growing season. Alternatively, topdress the soil with compost or worm castings every few months to replenish nutrients naturally.
Avoid over-fertilizing, which can lead to excessive leaf growth with reduced flavor intensity.
Pruning and Harvesting
Harvesting chives is simple and actually encourages the plant to grow fuller. Use scissors to snip the leaves about an inch above the base when they are at least 6 inches tall. Always cut from the outside of the clump, leaving the inner leaves to continue growing.
You can harvest chives frequently, but avoid cutting more than one-third of the plant at once to prevent stress. If flowers appear, you can enjoy them as edible garnishes—or pinch them off to focus growth on the leaves.
Common Problems and Solutions
-
Yellowing tips: Often caused by overwatering or nutrient deficiency. Let the soil dry slightly between waterings and fertilize as needed.
-
Thin, floppy growth: Indicates a lack of light. Move the plant to a sunnier spot or add a grow light.
-
Pests: Rare indoors, but aphids or spider mites may appear. Rinse the plant or use a mild soap spray if needed.
With good air circulation and proper watering, most problems can be avoided.
Final Thoughts
Chives are a charming and useful addition to any kitchen. Growing them indoors by your sink not only ensures fresh flavor at your fingertips but also adds a touch of green to your home. With just a little care—adequate sunlight, regular watering, and occasional trimming—your chive plant will thrive and reward you with flavorful leaves and delicate blooms all year long. Whether you’re whipping up scrambled eggs, topping baked potatoes, or garnishing a dip, freshly snipped chives make every dish feel extra special.


