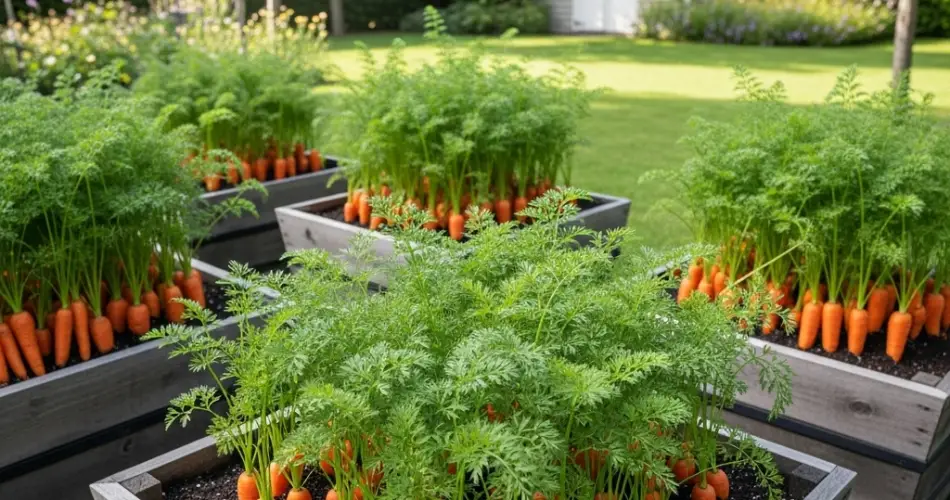
Carrots are a rewarding crop to grow at home, and contrary to popular belief, they don’t require a large vegetable bed. With the right setup, carrots thrive in containers, producing sweet, crisp roots right on your patio, balcony, or even windowsill. Container gardening not only saves space but also gives you better control over soil quality, moisture, and growing conditions.
Whether you’re short on garden space or just want to try a new way to grow vegetables, cultivating carrots in containers is a simple, efficient, and satisfying method. Here’s a complete guide to get you started.
Why Grow Carrots in Containers?
Carrots are root vegetables, and their success depends largely on soil conditions. Growing them in containers allows you to avoid compacted or rocky soil, which often leads to forked or stunted roots.
Benefits of container-grown carrots include:
-
Space-saving – Perfect for small patios, balconies, and urban homes
-
Improved soil control – Loose, rock-free soil supports straight root growth
-
Fewer pests – Containers reduce the risk of carrot flies and other soil-borne pests
-
Portability – Easily move containers to optimize sunlight or shelter from harsh weather
With the right container and care, you can grow high-quality carrots in almost any space.
Best Carrot Varieties for Containers
Shorter carrot varieties are best suited for container gardening due to their compact root systems. Consider these popular types:
-
Parisian – Round, golf-ball-shaped carrots perfect for shallow pots
-
Thumbelina – Small and sweet, great for tight spaces
-
Nantes – Cylindrical, blunt-tipped carrots with a tender texture
-
Chantenay – Short and wide, ideal for containers at least 10 inches deep
While longer varieties like ‘Imperator’ can be grown in deep containers, beginners often have better results with compact types.
What You’ll Need
To get started, gather the following materials:
-
Container at least 10–12 inches deep with drainage holes
-
High-quality potting soil mixed with compost
-
Carrot seeds (choose a variety suited for containers)
-
Watering can or gentle spray nozzle
-
Organic fertilizer (optional)
-
Labels (optional)
Step 1: Select the Right Container
Choose a container that’s deep enough for the carrot variety you’re growing. For short carrots, 10 inches of depth is enough, while longer types may require 12–14 inches.
Plastic pots, grow bags, wooden boxes, or even repurposed buckets work well as long as they have good drainage. Wider containers allow for more plants to be grown at once.
Step 2: Prepare the Soil
Carrots need light, loose, and well-draining soil for straight, healthy root development. Mix potting soil with compost or aged manure and add perlite or sand if needed to improve drainage.
Avoid soil with rocks, sticks, or clumps, which can deform the growing roots. Fill the container to about 1–2 inches below the rim to allow space for watering.
Step 3: Sow the Seeds
Carrot seeds are tiny and best sown directly into the container. Sprinkle seeds evenly across the surface and cover them with a thin layer of fine soil, about ¼ inch deep.
Lightly water the soil after sowing. Keep the soil consistently moist until the seeds germinate, which usually takes 7–14 days.
Step 4: Thin the Seedlings
Once the seedlings are about 2 inches tall, thin them out to give each plant enough room to grow. Aim for 2 inches of space between each seedling. Crowding leads to small, misshapen roots.
Use scissors to snip the excess seedlings at the base rather than pulling them out, which could disturb nearby roots.
Step 5: Provide Sunlight and Water
Carrots grow best in full sun—at least 6 hours of direct sunlight each day. Place your container in the sunniest spot on your patio or balcony.
Keep the soil evenly moist, especially during root development. Water gently and deeply when the top inch of soil feels dry. Dry soil can cause roots to split, while soggy soil may lead to rot.
Step 6: Feed as Needed
If your soil mix is rich in compost, additional fertilizer may not be necessary. However, a light feeding with a balanced, low-nitrogen organic fertilizer halfway through the growing cycle can support root development.
Avoid high-nitrogen fertilizers, which encourage leafy tops at the expense of root size.
Step 7: Monitor Growth and Pests
Carrots are generally low-maintenance, but check regularly for signs of pests like aphids or fungus gnats. Good air circulation and proper watering help prevent most issues.
Carrot tops can be attractive to birds—consider using a mesh cover if needed to protect your plants.
Step 8: Harvesting
Carrots are usually ready to harvest 60–80 days after sowing, depending on the variety. Check maturity by brushing away some soil near the crown. When the root is the desired size, gently pull it from the soil.
Harvest all carrots once they reach maturity to avoid them becoming woody. Rinse them well and store in the refrigerator or use immediately in salads, soups, and stir-fries.
Final Thoughts
Growing carrots in containers is an easy and effective way to enjoy fresh, homegrown produce—even if you’re limited to a patio or balcony. With proper soil, consistent moisture, and the right variety, you can enjoy a steady harvest of sweet, crisp carrots throughout the season.
Whether you’re a beginner or an experienced gardener, container-grown carrots are a satisfying addition to your edible garden. Give it a try—and enjoy the flavor of carrots you’ve grown yourself.


