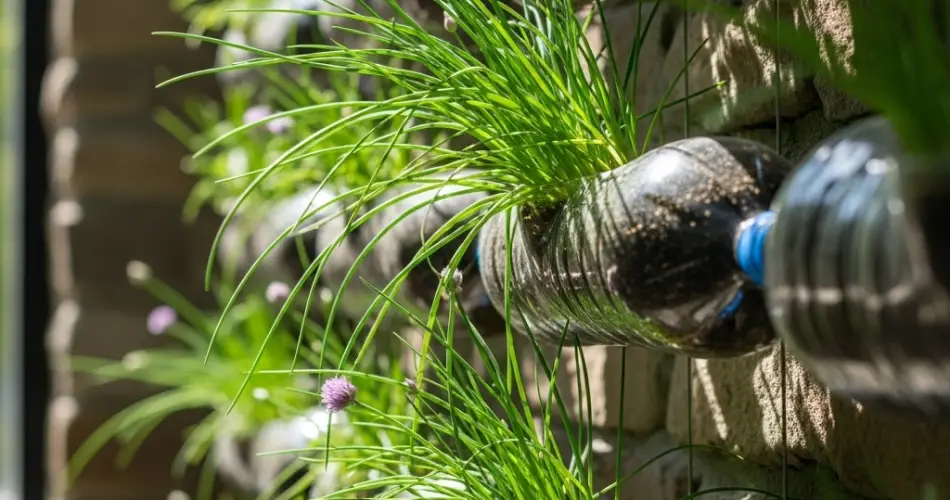
If you’re short on space but want to grow fresh herbs at home, a vertical wall garden using recycled plastic bottles is a creative and eco-friendly solution. Chives, with their mild onion flavor and easy-to-grow nature, are perfect for vertical gardening. Whether you live in an apartment or simply want to add greenery to a wall or fence, this project offers a practical way to recycle materials while cultivating fresh herbs right at your fingertips.
Why Choose Chives for Wall Gardens?
Chives are among the easiest herbs to grow. They’re perennial, meaning they come back year after year, and they thrive in containers with minimal care. Chives grow well in small spaces, don’t need deep soil, and tolerate a range of conditions. Their slender green stalks and purple flowers also add a decorative touch to any garden wall.
Whether chopped into omelets, stirred into dips, or used as garnish, chives provide fresh flavor throughout the growing season.
Materials You’ll Need
To create your wall-mounted chive garden, gather the following materials:
-
Empty 1.5- to 2-liter plastic bottles
-
Sharp scissors or a utility knife
-
A drill or nail for drainage holes
-
Potting soil or herb-friendly garden mix
-
Chive seeds or seedlings
-
Zip ties, twine, or wire
-
A wooden panel, fence, or wall for mounting
-
Optional: small stones or gravel for improved drainage
Step 1: Prepare the Bottles
Clean your plastic bottles thoroughly and remove any labels. Using a sharp knife or scissors, cut a large window on the side of each bottle. Leave enough of the bottle intact to hold soil securely. The opening should be big enough to allow the chives to grow freely while giving you access for watering and harvesting.
Drill or poke several small holes in the bottom of each bottle to allow excess water to drain. Proper drainage is essential to prevent waterlogging and root rot.
Step 2: Design the Vertical Setup
Decide how you want to display your bottles on the wall. Here are a few simple methods:
-
String or Twine Method: Tie two holes near the top of each bottle and hang them with twine or wire on a horizontal rod or hook.
-
Mounted to Board: Secure the bottles to a wooden board using brackets or strong adhesive strips and lean or fix the board against a wall or fence.
-
Vertical Column: Stack bottles vertically and stagger them so that water from the top bottle can drip into the lower ones, reducing watering needs.
Make sure all bottles are secure and slightly angled to hold soil properly and avoid spills.
Step 3: Add Soil and Plant Seeds
Place a layer of small stones or gravel at the bottom of each bottle to improve drainage. Then fill them about three-quarters full with potting mix suitable for herbs. Chives prefer well-draining soil with organic matter.
If you’re planting seeds, sprinkle 10–15 chive seeds across the surface of the soil and cover them lightly with a thin layer of additional soil. If using seedlings, dig a small hole in the center and carefully transplant them into the bottle.
Water the soil gently so that it’s evenly moist but not saturated.
Step 4: Choose a Suitable Location
Chives need plenty of light to grow well. Choose a location that gets at least 4 to 6 hours of sunlight each day. A bright balcony wall, sunny fence, or kitchen wall with indirect light works perfectly. If growing indoors, place the garden near a south-facing window or use a grow light to supplement natural light.
Check that the wall structure can support the weight of the soil-filled bottles.
Step 5: Care and Maintenance
Chives are low-maintenance but benefit from a little regular attention:
-
Watering: Water regularly to keep the soil moist, especially in warm or windy conditions. Avoid overwatering.
-
Fertilizing: Use a mild liquid organic fertilizer every few weeks to encourage growth.
-
Pruning: Snip chive leaves with scissors to encourage regrowth. Remove any dead or yellowing leaves promptly.
-
Pest Control: Chives are naturally pest-resistant. However, if aphids or other pests appear, spray the plants with a diluted solution of neem oil or soapy water.
Step 6: Harvesting Chives
Chives are ready to harvest once the leaves are at least 6 inches tall. Use clean scissors to cut the outer leaves, leaving at least 2 inches at the base so the plant can continue producing. Frequent trimming encourages bushier, fuller growth.
You can use fresh-cut chives immediately in recipes or store them in the fridge for a few days. Chives also freeze well for long-term storage.
Step 7: Keep Your Vertical Garden Thriving
As your chives mature, thin them out occasionally if they become overcrowded. Every 1–2 years, divide the root clumps and replant them to keep the plants vigorous. Refresh the potting mix annually to maintain nutrients and promote healthy growth.
In colder climates, you can bring your wall garden indoors or protect it with a plastic cover to extend the growing season.
Growing chives in a plastic bottle wall garden is an excellent way to save space, reduce plastic waste, and enjoy fresh herbs all year round. With minimal effort and basic materials, you can turn a plain wall into a thriving vertical herb garden that adds beauty and flavor to your everyday life.


