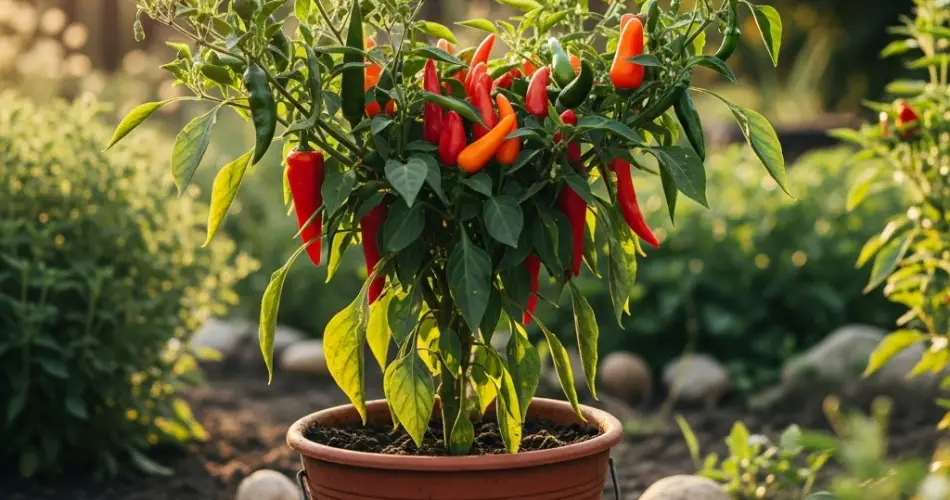
Hot peppers, with their fiery flavor and vibrant colors, are a favorite among gardeners and food lovers alike. Whether you enjoy adding a little spice to your meals or prefer preserving them for sauces and pickles, hot peppers are a versatile crop worth growing. Fortunately, you don’t need a large plot of land to cultivate them successfully. With a few buckets, quality soil, and the right care, you can enjoy a steady harvest of fresh peppers from your balcony, patio, or small backyard.
This guide will walk you through the process of growing hot peppers in buckets, making it easy for beginners and experienced gardeners to enjoy this rewarding crop.
Why Grow Hot Peppers in Buckets?
Container gardening has become increasingly popular for urban growers, and hot peppers thrive in this setup. Here’s why buckets work so well:
-
Space-saving: Buckets allow you to grow peppers in tight spaces such as balconies or patios.
-
Soil control: You can ensure the soil is nutrient-rich and free from diseases or pests common in garden beds.
-
Mobility: Buckets are portable, allowing you to move plants to sunnier spots or shelter them from harsh weather.
-
Extended growing season: In cooler regions, buckets can be brought indoors to continue growing peppers after the outdoor season ends.
Choosing the Right Bucket
The type of bucket you use plays a key role in plant success.
-
Size: A 5-gallon bucket is ideal for one hot pepper plant. This provides enough room for the roots to spread.
-
Material: Food-grade plastic buckets are recommended, though ceramic or grow bags also work well.
-
Drainage: Drill several holes at the bottom to prevent waterlogging. Without proper drainage, roots may rot.
-
Color tip: Light-colored buckets are preferable in hot climates as they reflect heat, helping to keep roots cool.
Best Varieties of Hot Peppers for Buckets
While most hot peppers adapt well to containers, some varieties are especially suited for bucket growing.
-
Jalapeño: Compact plants with reliable yields and moderate heat.
-
Cayenne: Slim, long peppers that grow abundantly in small spaces.
-
Habanero: Fiery heat in compact plants that do well in buckets.
-
Thai Chili: Small but extremely productive, ideal for container growing.
-
Serrano: Similar to jalapeños but spicier and just as adaptable.
Choosing compact or medium-sized varieties ensures the plant won’t outgrow its container.
Preparing the Soil
Hot peppers need well-draining, fertile soil to thrive.
-
Potting mix: Use high-quality potting soil instead of heavy garden soil.
-
Organic matter: Enrich with compost or aged manure to provide nutrients.
-
Aeration: Add perlite, vermiculite, or coarse sand to improve drainage.
-
pH balance: Aim for slightly acidic to neutral soil (6.0–7.0).
This combination ensures the roots have the right balance of moisture and oxygen.
Planting Hot Peppers in Buckets
You can start peppers from either seeds or seedlings.
-
Starting from seeds: Sow seeds indoors 8–10 weeks before the last frost. Transplant seedlings into buckets once they are 6–8 inches tall.
-
Transplanting seedlings: If using store-bought seedlings, carefully remove them from their containers and place them in the bucket at the same depth.
-
Spacing: Plant one hot pepper per 5-gallon bucket for optimal growth.
Water the plant thoroughly after transplanting to help establish roots.
Light and Temperature Requirements
Hot peppers love warmth and sunshine.
-
Sunlight: Place buckets where they receive 6–8 hours of direct sunlight daily.
-
Temperature: The ideal range is 70°F to 85°F (21°C–29°C). Avoid exposing them to temperatures below 55°F (13°C), which can stunt growth.
-
Indoor option: If you live in a cooler climate, use grow lights indoors to maintain steady growth.
Watering and Fertilization
Peppers are sensitive to watering fluctuations, so consistency is key.
-
Watering: Keep soil evenly moist but never waterlogged. Allow the top inch of soil to dry before watering again.
-
Fertilization: Use a balanced fertilizer every two weeks during early growth. Once flowers appear, switch to a fertilizer higher in potassium and phosphorus to encourage fruiting.
-
Mulching: Adding mulch on top of the soil helps retain moisture and regulate temperature.
Supporting and Pruning
As hot peppers grow, they may need additional support.
-
Staking: Insert a small stake into the bucket to support branches, especially for varieties with heavy fruit.
-
Pruning: Remove lower leaves and suckers to encourage airflow and prevent fungal problems. Light pruning also redirects energy toward fruit production.
Pest and Disease Management
Even in buckets, peppers can face pests and diseases.
-
Pests: Watch for aphids, spider mites, and whiteflies. Neem oil or insecticidal soap can help manage infestations.
-
Diseases: Avoid overwatering to prevent root rot and fungal diseases. Good air circulation reduces the risk of leaf spots or mildew.
-
Preventive care: Rotate soil between seasons or refresh the potting mix to avoid nutrient depletion and pathogens.
Harvesting Hot Peppers
The reward of bucket gardening is harvesting fresh peppers right outside your door.
-
When to harvest: Pick peppers when they reach their mature size and color. Green peppers are less spicy, while fully ripened ones (red, orange, or yellow) develop maximum heat and flavor.
-
How to harvest: Use scissors or pruning shears to cut peppers cleanly from the plant, avoiding stem damage.
-
Continuous harvest: Regular picking encourages more fruit production throughout the season.
Conclusion
Growing hot peppers in buckets is a simple, rewarding, and space-efficient way to enjoy a steady supply of fresh, spicy harvests. With proper soil, consistent watering, and plenty of sunlight, your peppers will thrive in containers just as well as in traditional garden beds. Whether you’re adding heat to daily meals or experimenting with homemade sauces, your bucket-grown peppers will bring flavor and satisfaction straight from your garden to your kitchen.


