Brilliant Idea: How to Grow Wheatgrass Without Soil at Home – Easy for Beginners
Wheatgrass is a superfood known for its exceptional nutritional benefits. Rich in vitamins, minerals, antioxidants, and chlorophyll, it supports detoxification, boosts immunity, and promotes better digestion. While many people buy wheatgrass juice or supplements, you can easily grow it at home—without soil. This clean and simple growing method is perfect for beginners, requires minimal space, and yields fresh, healthy greens in just a few days.
In this article, you’ll learn how to grow wheatgrass hydroponically using basic materials, step-by-step instructions, and tips to ensure a healthy, abundant crop.
Why Grow Wheatgrass Without Soil?
Growing wheatgrass without soil, or hydroponically, offers several advantages:
-
Clean and mess-free: No dirt means no muddy cleanup or soil-borne pests.
-
Ideal for small spaces: Great for apartment dwellers or those without access to a garden.
-
Faster germination: Without soil, wheatgrass seeds sprout quickly and evenly.
-
Efficient and low-maintenance: Minimal tools and maintenance are needed throughout the process.
-
Reusable system: Trays and materials can be reused for multiple batches.
What You’ll Need
You don’t need a garden or special equipment to grow wheatgrass at home. Here’s a list of the basic materials:
-
Wheatgrass seeds (also called wheat berries)
-
Water
-
Shallow tray or container (preferably with drainage holes)
-
Mesh or paper towels
-
Spray bottle
-
A clean, bright area with indirect sunlight
Optional:
-
Growing rack or shelf for multiple trays
-
Kitchen sieve or strainer for rinsing seeds
Step-by-Step Guide to Growing Wheatgrass Without Soil
1. Soak the Seeds
Start by soaking 1–2 cups of wheatgrass seeds in clean, cool water. Use a bowl or container large enough for the seeds to expand. Soak for 8 to 12 hours or overnight. This softens the seed husk and jumpstarts germination.
2. Rinse and Sprout
After soaking, drain the water using a strainer or sieve. Rinse the seeds thoroughly, then drain again. Place the rinsed seeds back in the container and cover it loosely with a lid or cloth. Leave it in a dark, warm area.
For the next 1–2 days, rinse and drain the seeds twice a day to prevent mold and encourage sprouting. Within 48 hours, you’ll see small white roots emerging. This indicates they’re ready for planting.
3. Prepare the Tray
Line the shallow tray with a layer of moist paper towels or a fine mesh. This provides support and moisture for the roots to develop without using soil.
Evenly spread the sprouted seeds across the surface. Avoid overlapping too much, as crowded seeds can encourage mold growth.
4. Cover and Keep Moist
Lightly cover the tray with a lid or another tray to simulate a dark, humid environment, which helps the roots anchor and grow quickly. Mist the seeds 2–3 times daily using a spray bottle to maintain moisture.
After 2–3 days, when the shoots reach about 1–2 inches tall and begin turning green, remove the cover and place the tray in a bright area with indirect sunlight or near a window.
5. Daily Care
Continue misting the wheatgrass 2–3 times a day. Make sure the paper towel or mesh stays moist but not soaked. Good air circulation is important to prevent mold. Avoid direct, harsh sunlight, which can dry the sprouts too quickly.
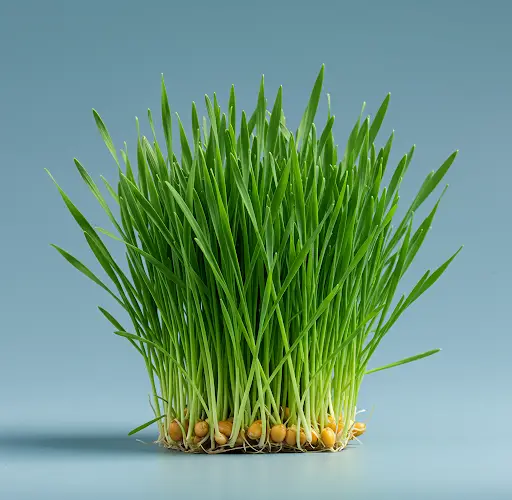
Wheatgrass will grow rapidly from this point and typically reaches harvest height (6–7 inches) within 7–9 days.
Harvesting Your Wheatgrass
Once the blades are tall, lush, and vibrant green, it’s time to harvest. Use clean kitchen scissors to snip the grass just above the root line. For the freshest juice or use, harvest only what you need each day.
Wheatgrass can be juiced, blended into smoothies, or added to salads and health drinks. For best results, consume it immediately after harvesting to maximize nutrient intake.
Regrowing and Reusing
While it’s possible to regrow wheatgrass from the same roots, the second growth is usually thinner and less nutritious. For optimal quality, start a new batch with fresh seeds each time. The materials—trays, mesh, and spray bottles—can all be washed and reused for your next crop.
Tips for Success
-
Use good-quality seeds: Organic, untreated wheat berries ensure healthy germination and chemical-free greens.
-
Keep everything clean: Sanitize trays and tools to prevent mold and bacteria.
-
Monitor moisture: Don’t overwater—just keep the paper towel or mesh consistently moist.
-
Improve airflow: Use a fan or open window to prevent humidity buildup and mold.
-
Start a growing rotation: To ensure a steady supply, start new trays every 3–4 days.
Final Thoughts
Growing wheatgrass without soil is a simple, satisfying project that delivers excellent health benefits. It’s ideal for beginners, requires minimal investment, and produces a fresh superfood right at home. With a little care and consistency, you can enjoy vibrant, nutrient-rich wheatgrass whenever you need it—without ever setting foot in a garden.
Whether you’re health-conscious, exploring urban gardening, or simply curious about growing your own food, wheatgrass is an excellent place to start. Give it a try—you’ll be amazed by how quickly and easily it grows.


