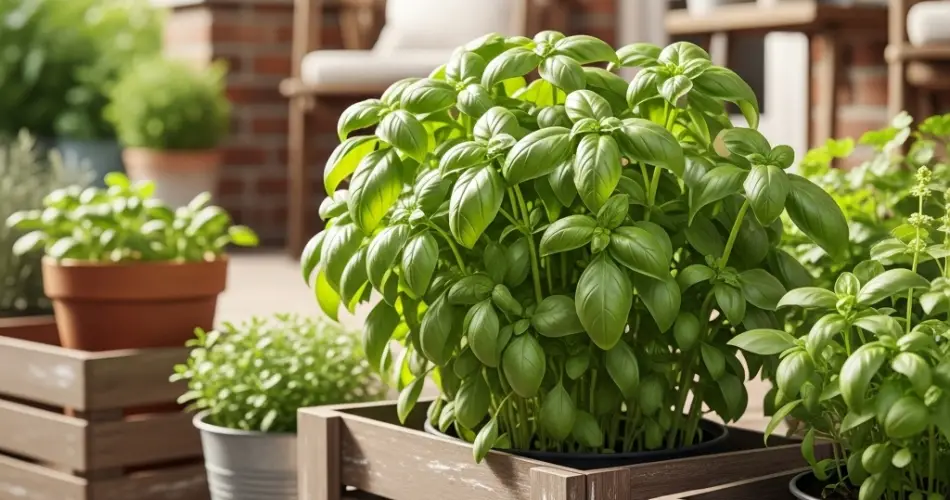
Fresh basil is one of the most rewarding herbs to grow at home. Its aromatic leaves are a staple in countless recipes, from classic pesto and pasta sauces to fresh salads and infused oils. While many people assume that growing herbs requires a large garden, basil can actually thrive in small, creative setups. One of the most sustainable and space-efficient methods is planting basil in recycled wooden crates. Not only does this approach give new life to old materials, but it also adds a rustic charm to any backyard, patio, or balcony garden.
This article will guide you through the process of growing healthy basil plants in wooden crates, ensuring a continuous harvest of flavorful leaves for your kitchen.
Why Choose Wooden Crates for Basil?
Recycled wooden crates provide an excellent alternative to traditional garden beds or pots. They are:
-
Eco-friendly – Repurposing crates reduces waste and gives materials a second life.
-
Cost-effective – Instead of buying new planters, you can often source wooden crates for free or at little cost.
-
Customizable – Crates can be lined, painted, or left rustic, depending on your backyard style.
-
Space-saving – Perfect for small patios or balconies, crates can be arranged vertically or horizontally.
Basil, being a relatively shallow-rooted plant, adapts well to this setup, making crates an ideal choice.
Step 1: Preparing the Crates
Before planting, your crates need some preparation to ensure durability and proper growing conditions.
-
Choose sturdy crates – Opt for strong wooden crates that can hold soil without collapsing. Fruit or wine crates work well.
-
Line the inside – Since wood can deteriorate with moisture, line the inside with a breathable material such as landscape fabric or burlap. This prevents soil loss while allowing excess water to drain.
-
Add drainage holes – If the crate sits directly on a surface, drill a few holes in the bottom to prevent waterlogging.
With this preparation, your crate will function much like a raised bed while maintaining proper drainage.
Step 2: Creating the Right Soil Mix
Basil thrives in nutrient-rich, well-draining soil. A good mix for crate planting includes:
-
60% high-quality potting soil
-
20% compost for added nutrients
-
20% perlite or coarse sand to improve drainage
Mixing in a small amount of organic fertilizer at the start will also encourage strong growth.
Step 3: Planting Basil Seeds or Seedlings
You can grow basil from seeds or start with nursery seedlings.
-
Seeds – Sow them about ¼ inch deep, spaced two inches apart. Thin seedlings later so they’re about 8–10 inches apart.
-
Seedlings – Transplant them gently into the soil, maintaining the same spacing.
If you want a continuous supply of basil, stagger plantings every 2–3 weeks so that new plants are always coming up as older ones mature.
Step 4: Sunlight and Watering Needs
Basil is a sun-loving herb. Place your crate in a location where it receives 6–8 hours of direct sunlight daily.
When it comes to watering:
-
Keep the soil consistently moist but not soggy.
-
Water at the base of the plant to avoid wetting the leaves, which can lead to fungal issues.
-
In hot weather, crates may dry out faster, so check the soil frequently.
Step 5: Feeding and Maintenance
To keep your basil lush and flavorful:
-
Feed with a liquid organic fertilizer, such as compost tea or fish emulsion, every two weeks.
-
Pinch off the tips of young plants to encourage bushier growth.
-
Remove flower buds as soon as they appear. Allowing basil to flower reduces the intensity of its flavor and slows leaf production.
Step 6: Harvesting Basil
One of the joys of growing basil is that you can harvest leaves regularly.
-
Start harvesting once plants are about 6–8 inches tall.
-
Use clean scissors or pinch leaves off just above a leaf node.
-
Harvest frequently to encourage continuous growth and prevent the plant from becoming leggy.
If you have an abundant harvest, basil leaves can be dried, frozen, or blended into homemade pesto for later use.
Step 7: Extending the Season
If you live in a region with cooler seasons, your basil may slow down as temperatures drop. To extend your harvest:
-
Move crates to a sunnier, sheltered location such as a patio wall.
-
Cover plants with a light fabric at night to protect against cold.
-
Alternatively, bring smaller crates indoors near a sunny window.
Benefits Beyond the Kitchen
Aside from its culinary uses, basil is also known for its natural pest-repelling properties. It deters mosquitoes and flies, making it an excellent companion plant in your backyard. Its fragrant presence also enhances the look and feel of your garden, giving it both practicality and charm.
Final Thoughts
Growing basil in recycled wooden crates is a practical, eco-friendly, and rewarding gardening project. With just a bit of preparation and care, you can enjoy fresh, aromatic basil leaves straight from your backyard or balcony. This method not only provides a steady supply of flavorful herbs but also adds rustic beauty to your outdoor space.
Whether you are new to gardening or an experienced grower, basil in crates is an easy and sustainable way to bring fresh flavor into your kitchen all season long.


