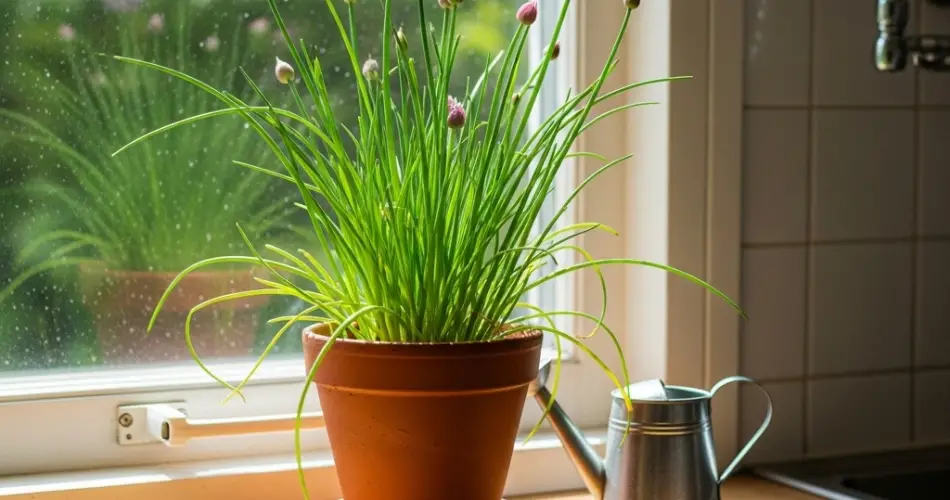
Chives are one of the most rewarding herbs to grow indoors. With their mild onion-like taste and delicate green stalks, they bring a burst of freshness to countless dishes. For home cooks and professional chefs alike, having chives within reach is a culinary game changer. The good news is that chives are remarkably easy to cultivate on a sunny windowsill. They adapt well to indoor conditions, require little maintenance, and provide a continuous harvest of flavorful greens throughout the year.
This guide will show you how to grow, care for, and harvest windowsill chives, ensuring a steady supply of fresh herbs whenever your cooking calls for a quick hit of flavor.
Why Choose Chives for Indoor Growing?
Chives are ideal for indoor gardening because they are compact, resilient, and versatile in the kitchen. Unlike some herbs that demand constant attention, chives grow steadily with minimal care, making them perfect for beginners. Their grassy leaves add a crisp garnish to eggs, salads, soups, baked potatoes, and sauces, while their purple blossoms can be used as edible decorations or infused into vinegar.
Another advantage is that chives regenerate quickly. Once cut, they continue to send up new growth, ensuring a regular supply of leaves without the need to constantly replant.
Selecting the Right Container
When growing chives indoors, the container you choose makes a difference. A pot that is at least 6 inches deep with good drainage holes is ideal. Because chives have shallow but spreading roots, a wider pot works better than a narrow one.
Terracotta containers are an excellent option since they allow excess moisture to evaporate, keeping the soil from staying too wet. Place a saucer beneath the pot to catch drainage, but always empty standing water to avoid root problems.
Soil and Planting
Chives thrive in well-draining, nutrient-rich soil. A good-quality potting mix with added compost or organic matter is sufficient. Avoid heavy soils that trap water, as these can lead to root rot.
You can start chives in two ways:
-
Seeds – Sow seeds about ¼ inch deep in the soil and keep the pot moist until germination occurs, usually within 10–14 days.
-
Transplants or divisions – If you have an established clump outdoors, you can divide it and transfer part of the root ball into your container for a quicker start.
Light Requirements
Chives love sunlight. For indoor growing, place your pot in a sunny window that gets at least 6 hours of direct light per day. A south-facing windowsill is usually best.
If natural light is limited, especially during winter months, supplement with a small grow light. Position the light about 6–12 inches above the plant, keeping it on for 12–14 hours a day to mimic natural sunlight. This prevents weak, spindly growth and keeps the leaves lush.
Watering and Feeding
Chives prefer evenly moist soil, but not soggy conditions. Water when the top inch of soil feels dry, allowing excess water to drain away. Regular but moderate watering helps keep the leaves tender and prevents them from becoming tough or dry.
Feeding should be light but consistent. A balanced liquid fertilizer once a month is usually enough. For an organic option, use diluted compost tea or a seaweed-based fertilizer. Over-fertilizing can lead to overly lush but less flavorful leaves, so moderation is key.
Harvesting Chives
One of the joys of growing chives is how quickly and easily they can be harvested. Once your plant reaches about 6 inches tall, you can begin snipping leaves for use. Always cut from the base, leaving about 2 inches above the soil to encourage regrowth.
Harvesting frequently actually benefits the plant, as it stimulates fresh shoots. Avoid cutting more than one-third of the plant at a time, giving it a chance to recover and continue producing.
Chive flowers, which appear in late spring to early summer, are also edible. Their mild onion flavor makes them a wonderful garnish, and they can be used to infuse vinegars or oils.
Common Issues and Solutions
While chives are generally low-maintenance, a few challenges may arise:
-
Yellowing leaves: Usually a sign of overwatering or poor drainage. Adjust watering habits and check your soil.
-
Lack of growth: May indicate insufficient sunlight. Move the pot to a brighter location or use supplemental lighting.
-
Pests: Aphids or thrips can occasionally appear. A quick rinse under running water or a light application of neem oil usually resolves the problem.
Regular observation will help you catch any problems early, ensuring your chives stay healthy and productive.
Using Fresh Chives in Cooking
The versatility of chives makes them a favorite in the kitchen. Use them fresh to garnish omelets, potatoes, pasta, and soups. They pair beautifully with dairy-based dishes like sour cream, cream cheese spreads, and scrambled eggs.
Chive blossoms add color and a mild onion taste to salads and can be steeped in vinegar to create a vibrant pink, subtly flavored condiment. For longer storage, chopped chives can be frozen in small portions, ready to use straight from the freezer without losing much flavor.
Final Thoughts
Growing chives on your windowsill is one of the simplest ways to add fresh flavor to your cooking year-round. With minimal care—just the right container, good soil, sufficient sunlight, and occasional watering—you’ll have a reliable supply of tender green leaves ready whenever you need them.
This compact herb fits perfectly into small spaces, making it ideal for apartments, kitchens, or homes without outdoor gardens. For any cook who values convenience and taste, windowsill chives truly are a secret to quick, fresh flavor.


